Part 1: leds in series and parallel
The first step in this lab was to create two basic circuits, using LEDs and switches.
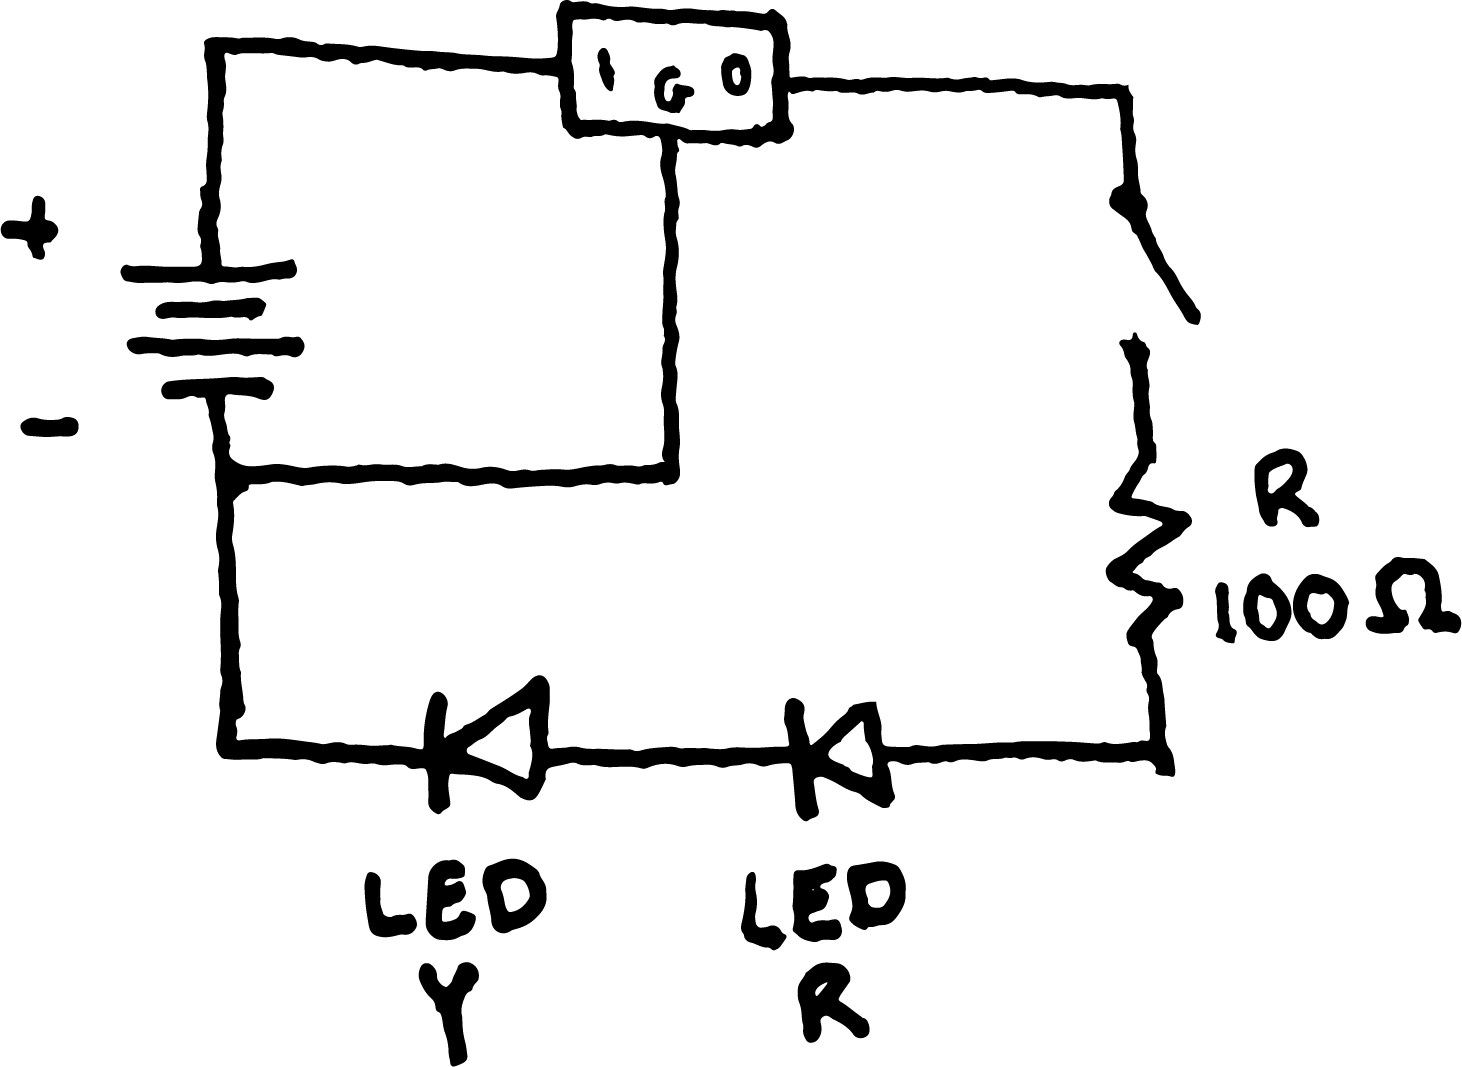
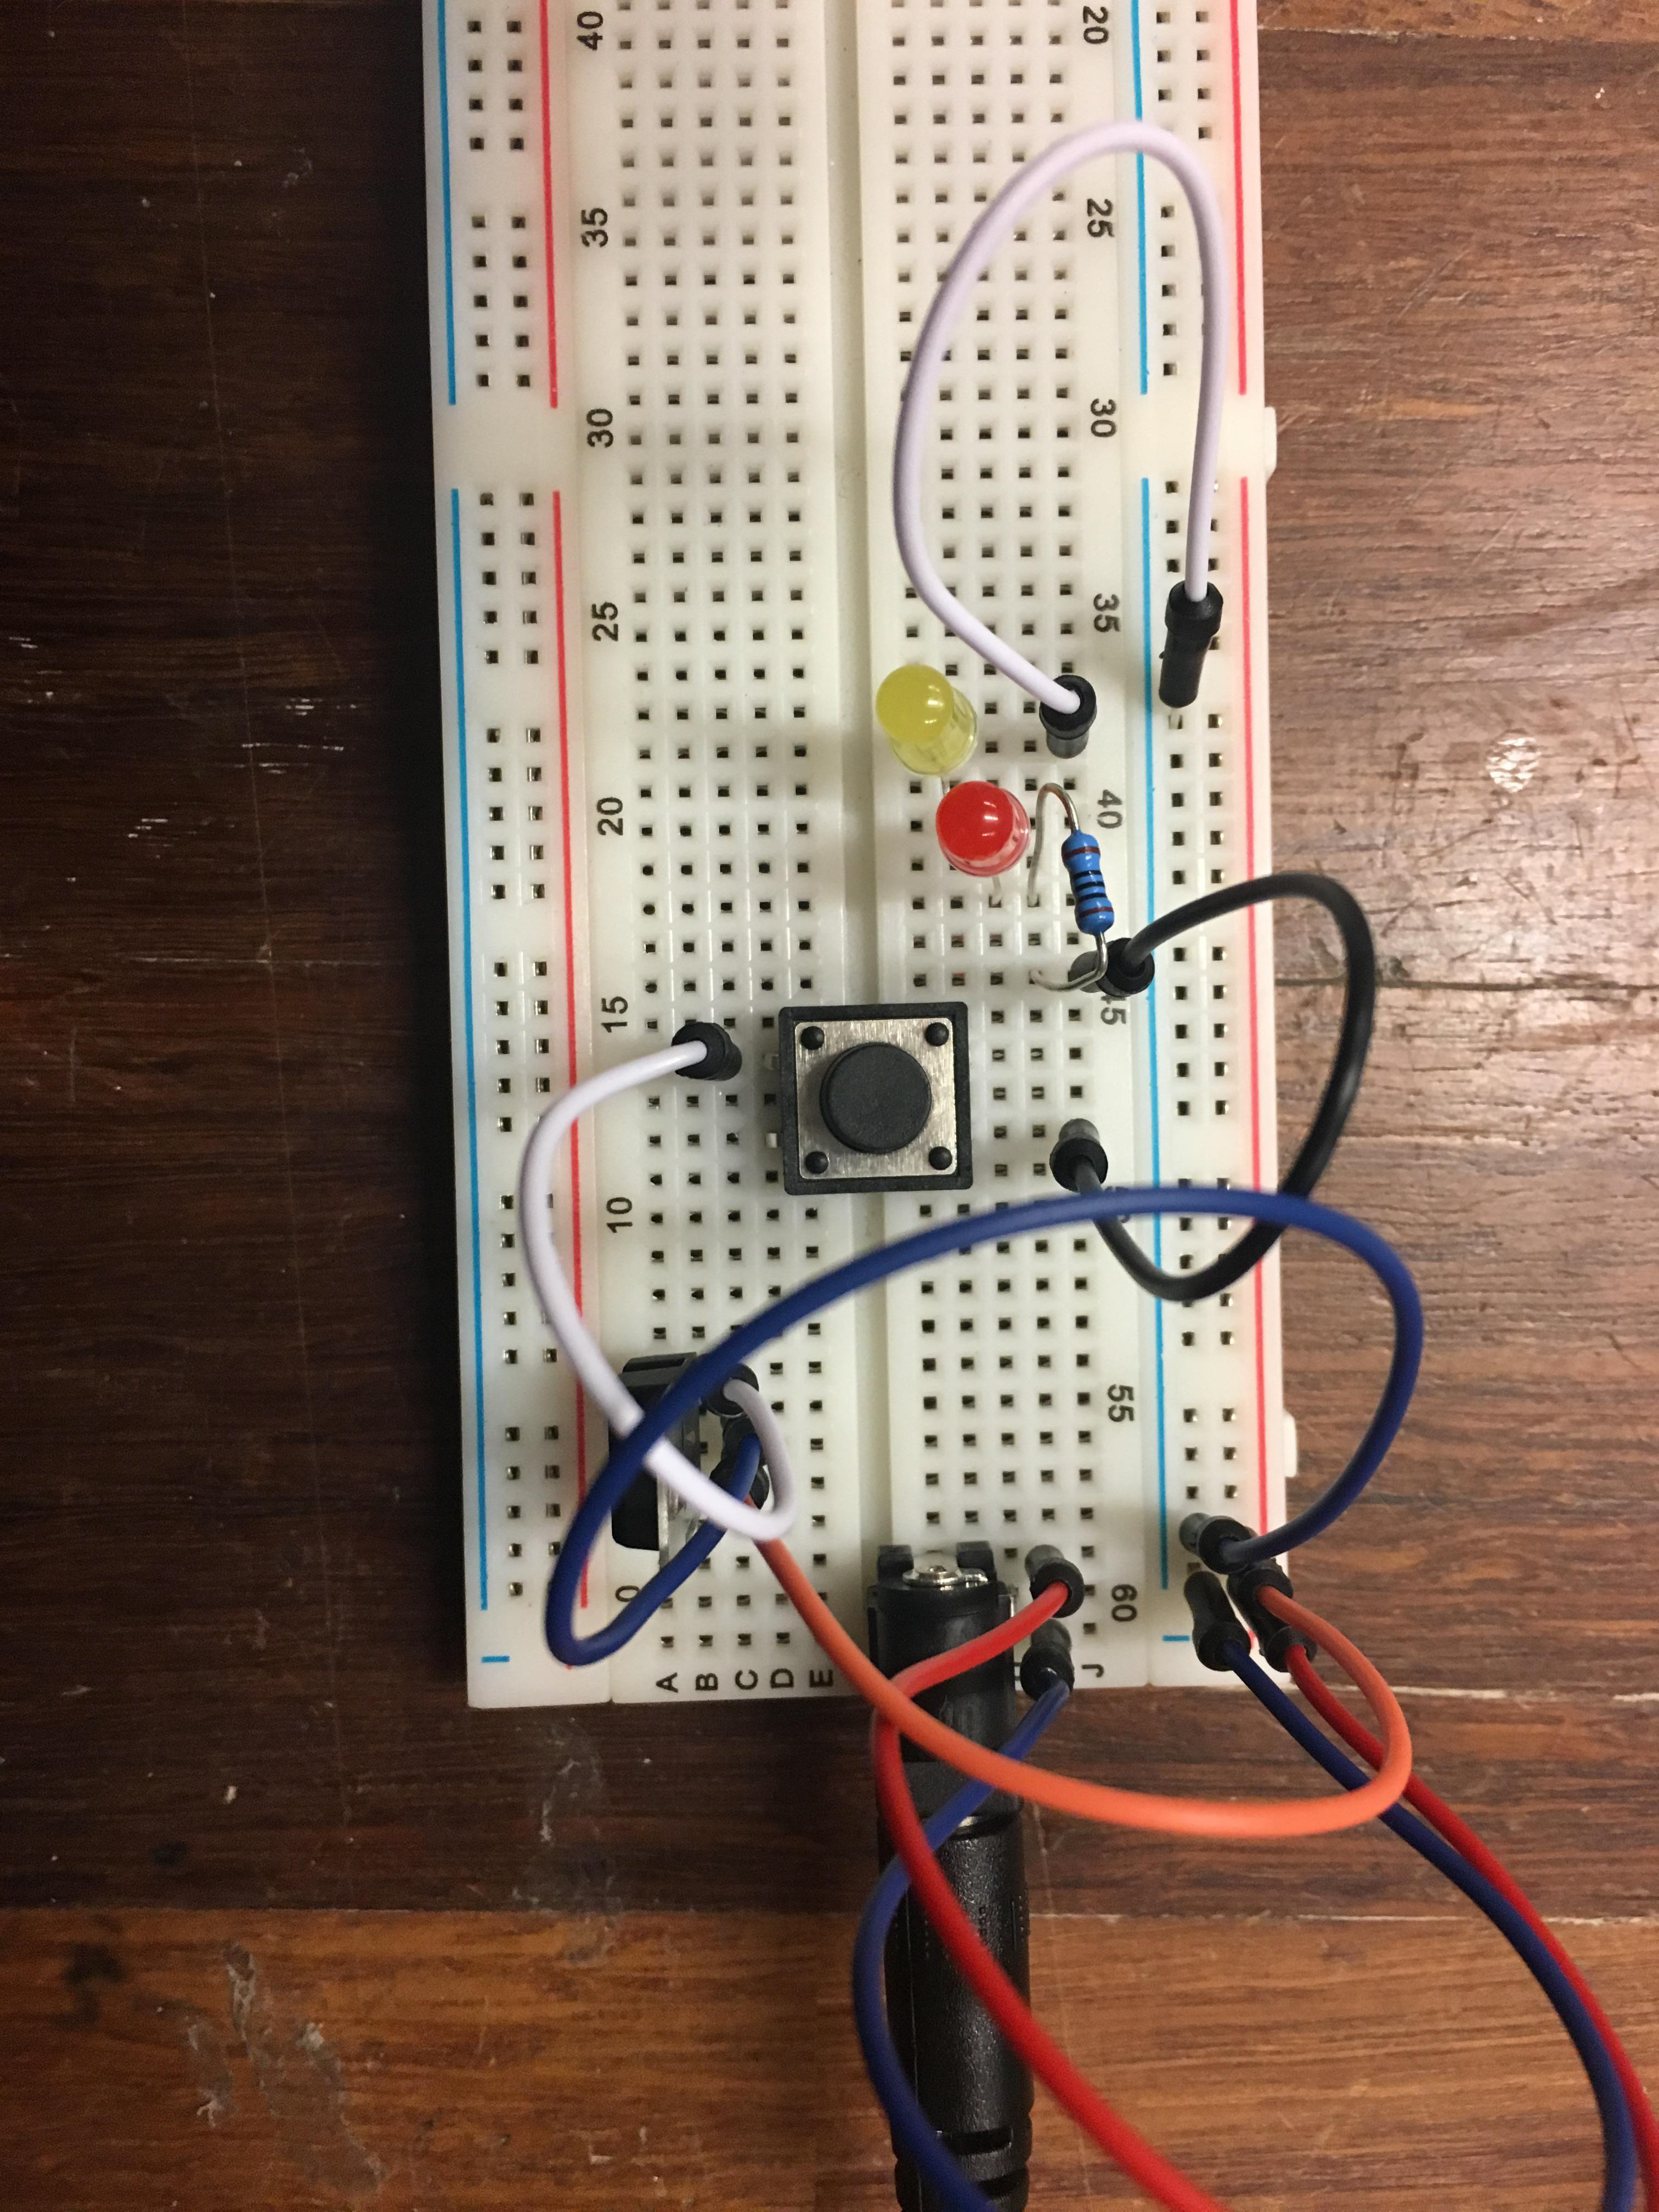
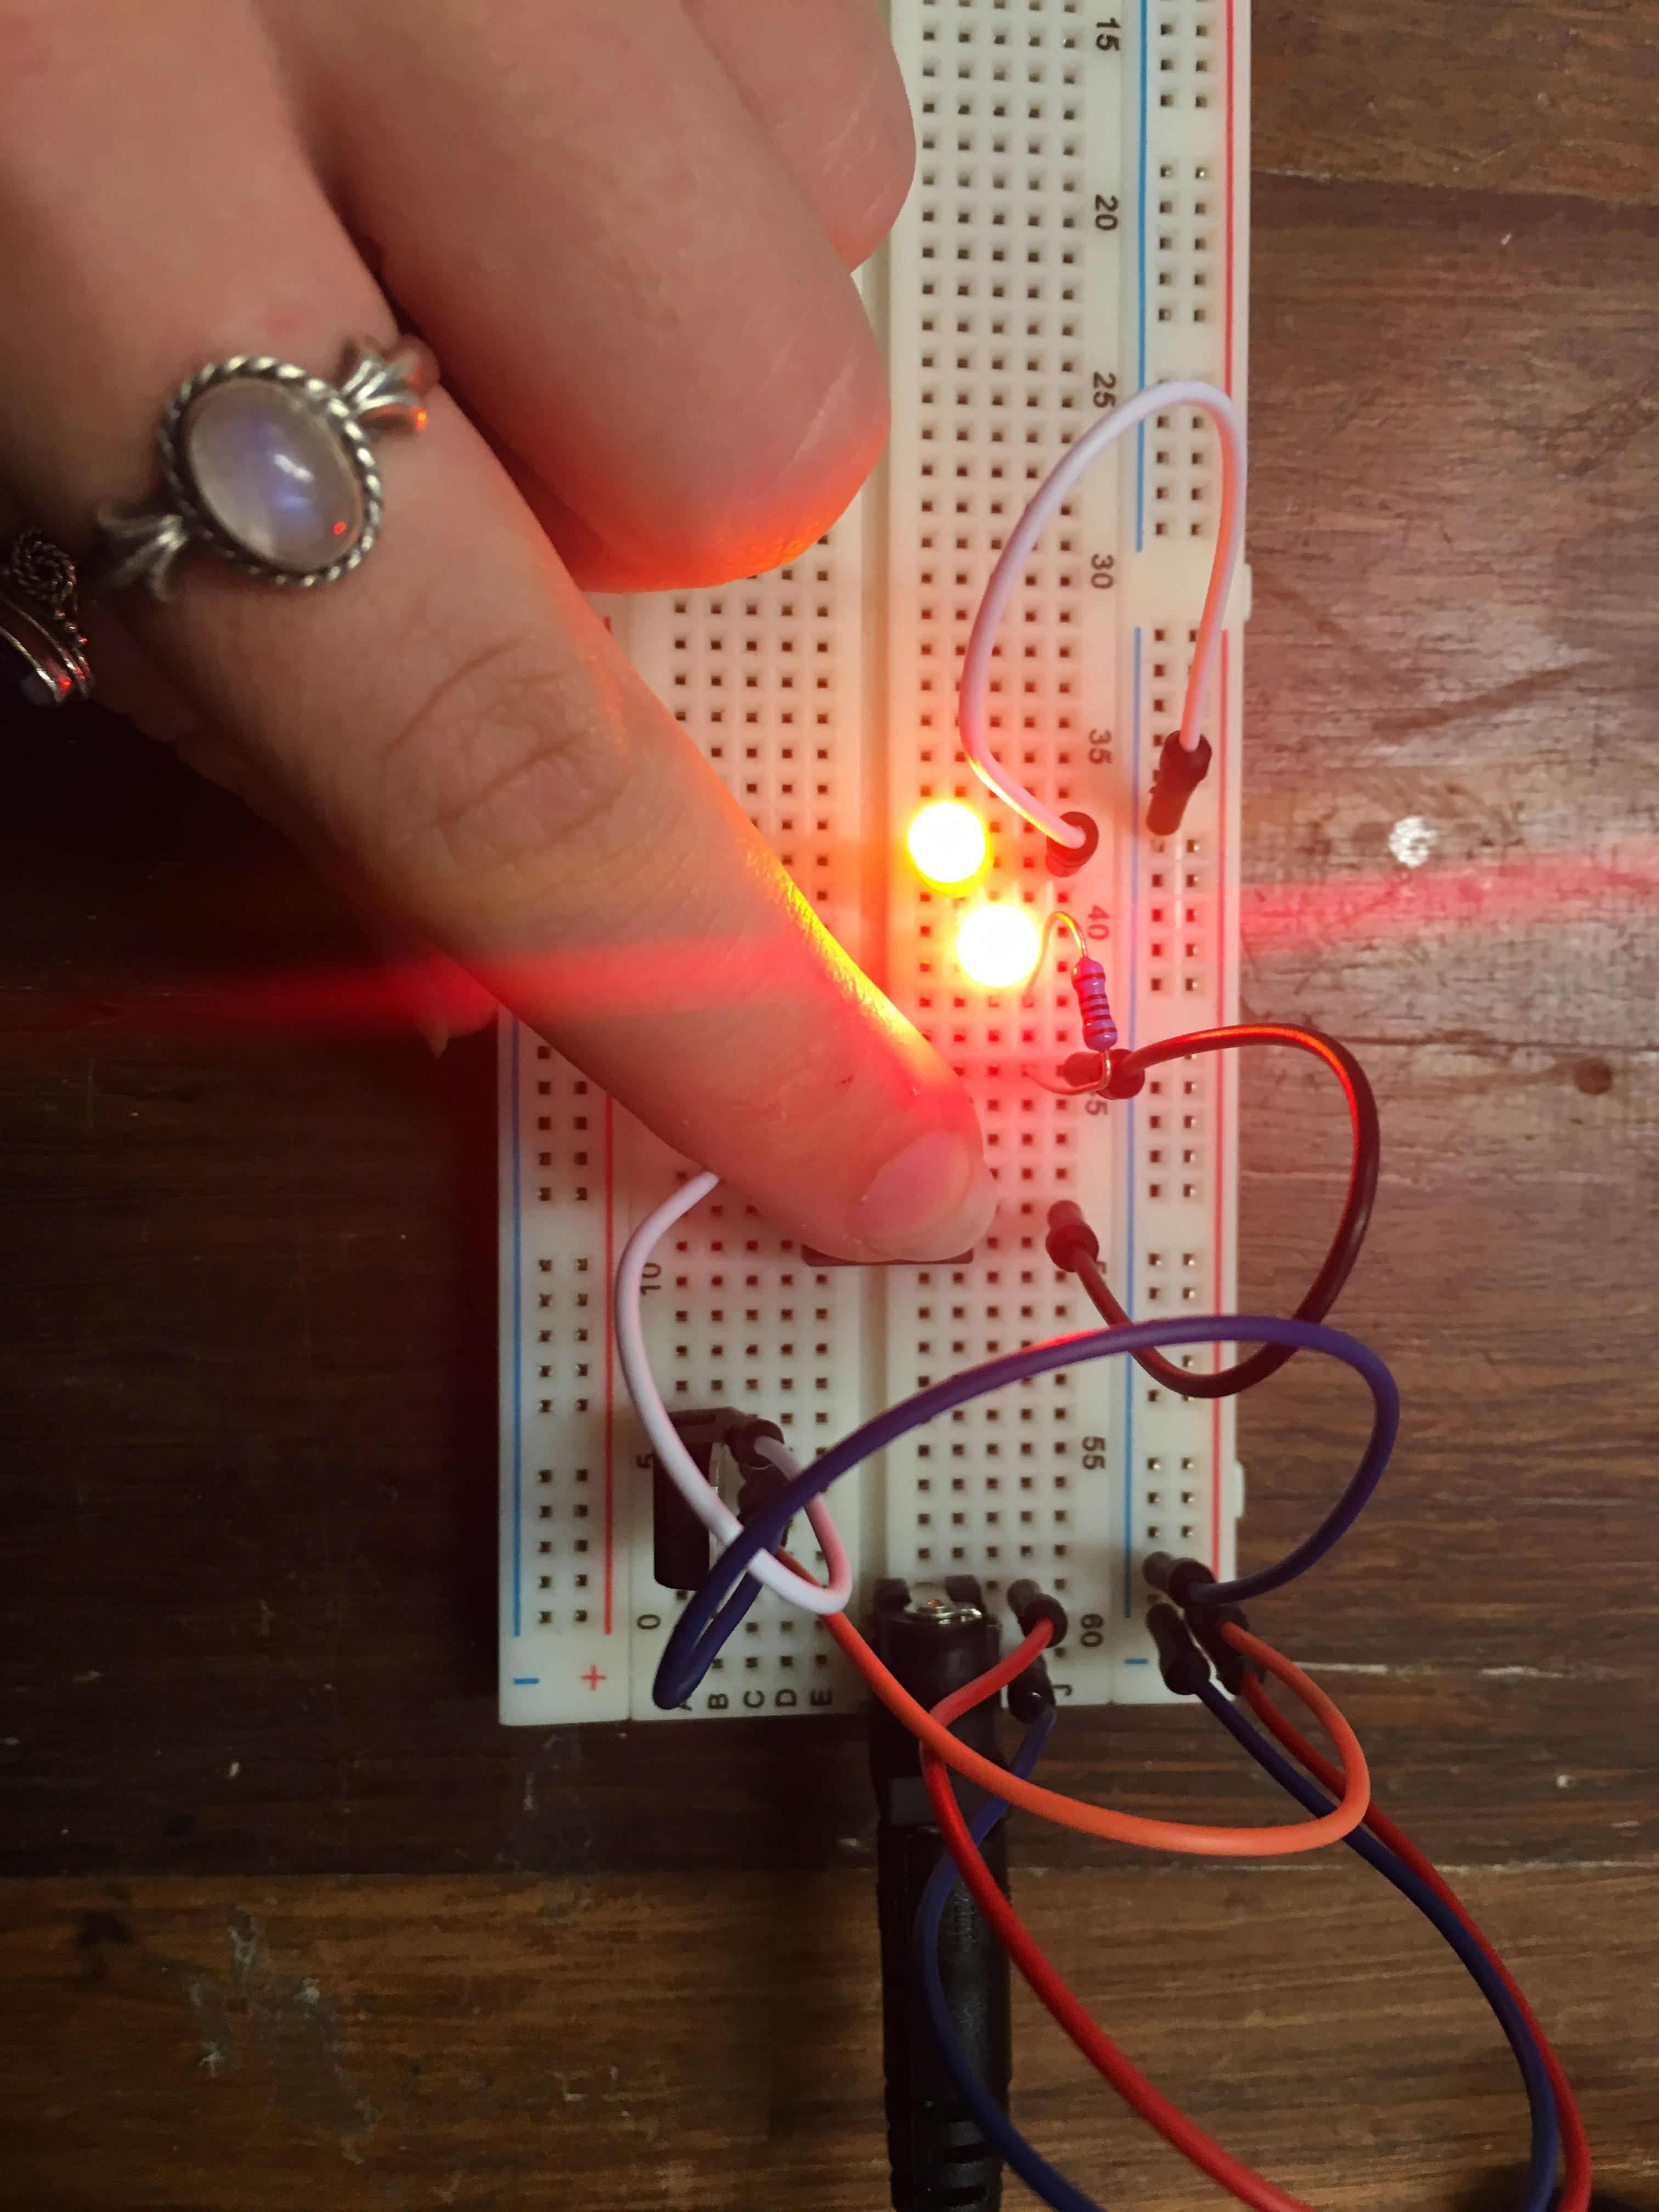
First, I created a series circuit. I decided to use a push button as my switch, which lights up the LEDs when it is held down. I also used a red and yellow LED, both which draw 20mA forward current and .8-2.2VDC forward voltage. Using these values, I calculated my resistance value to be 50Ω, and I used a 100Ω resistor because that was the closest resistance without going under.
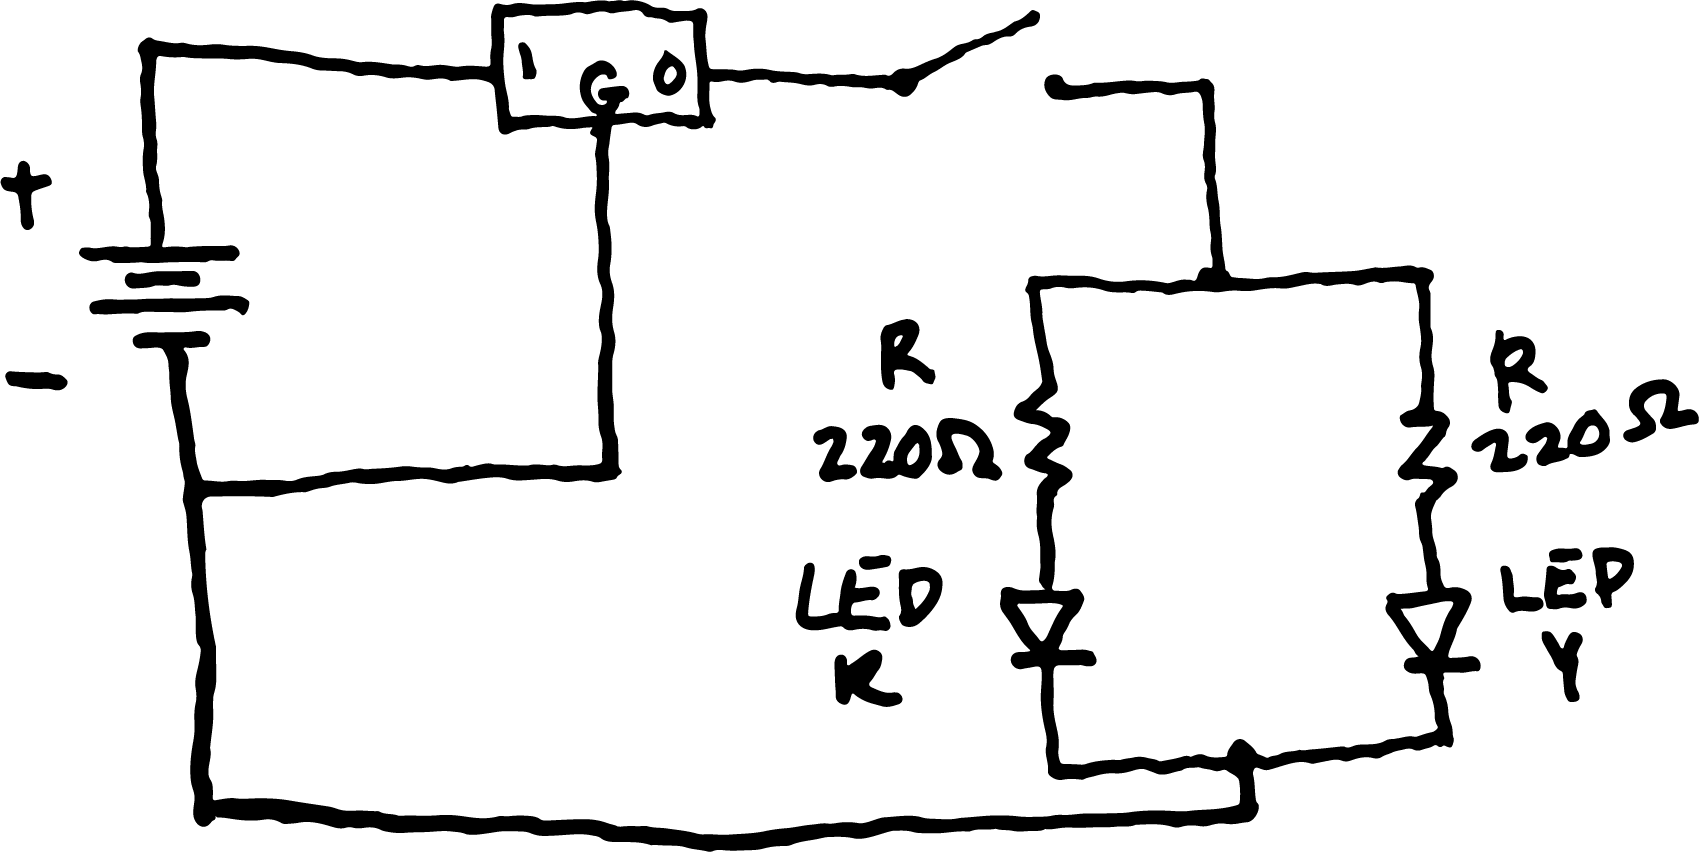
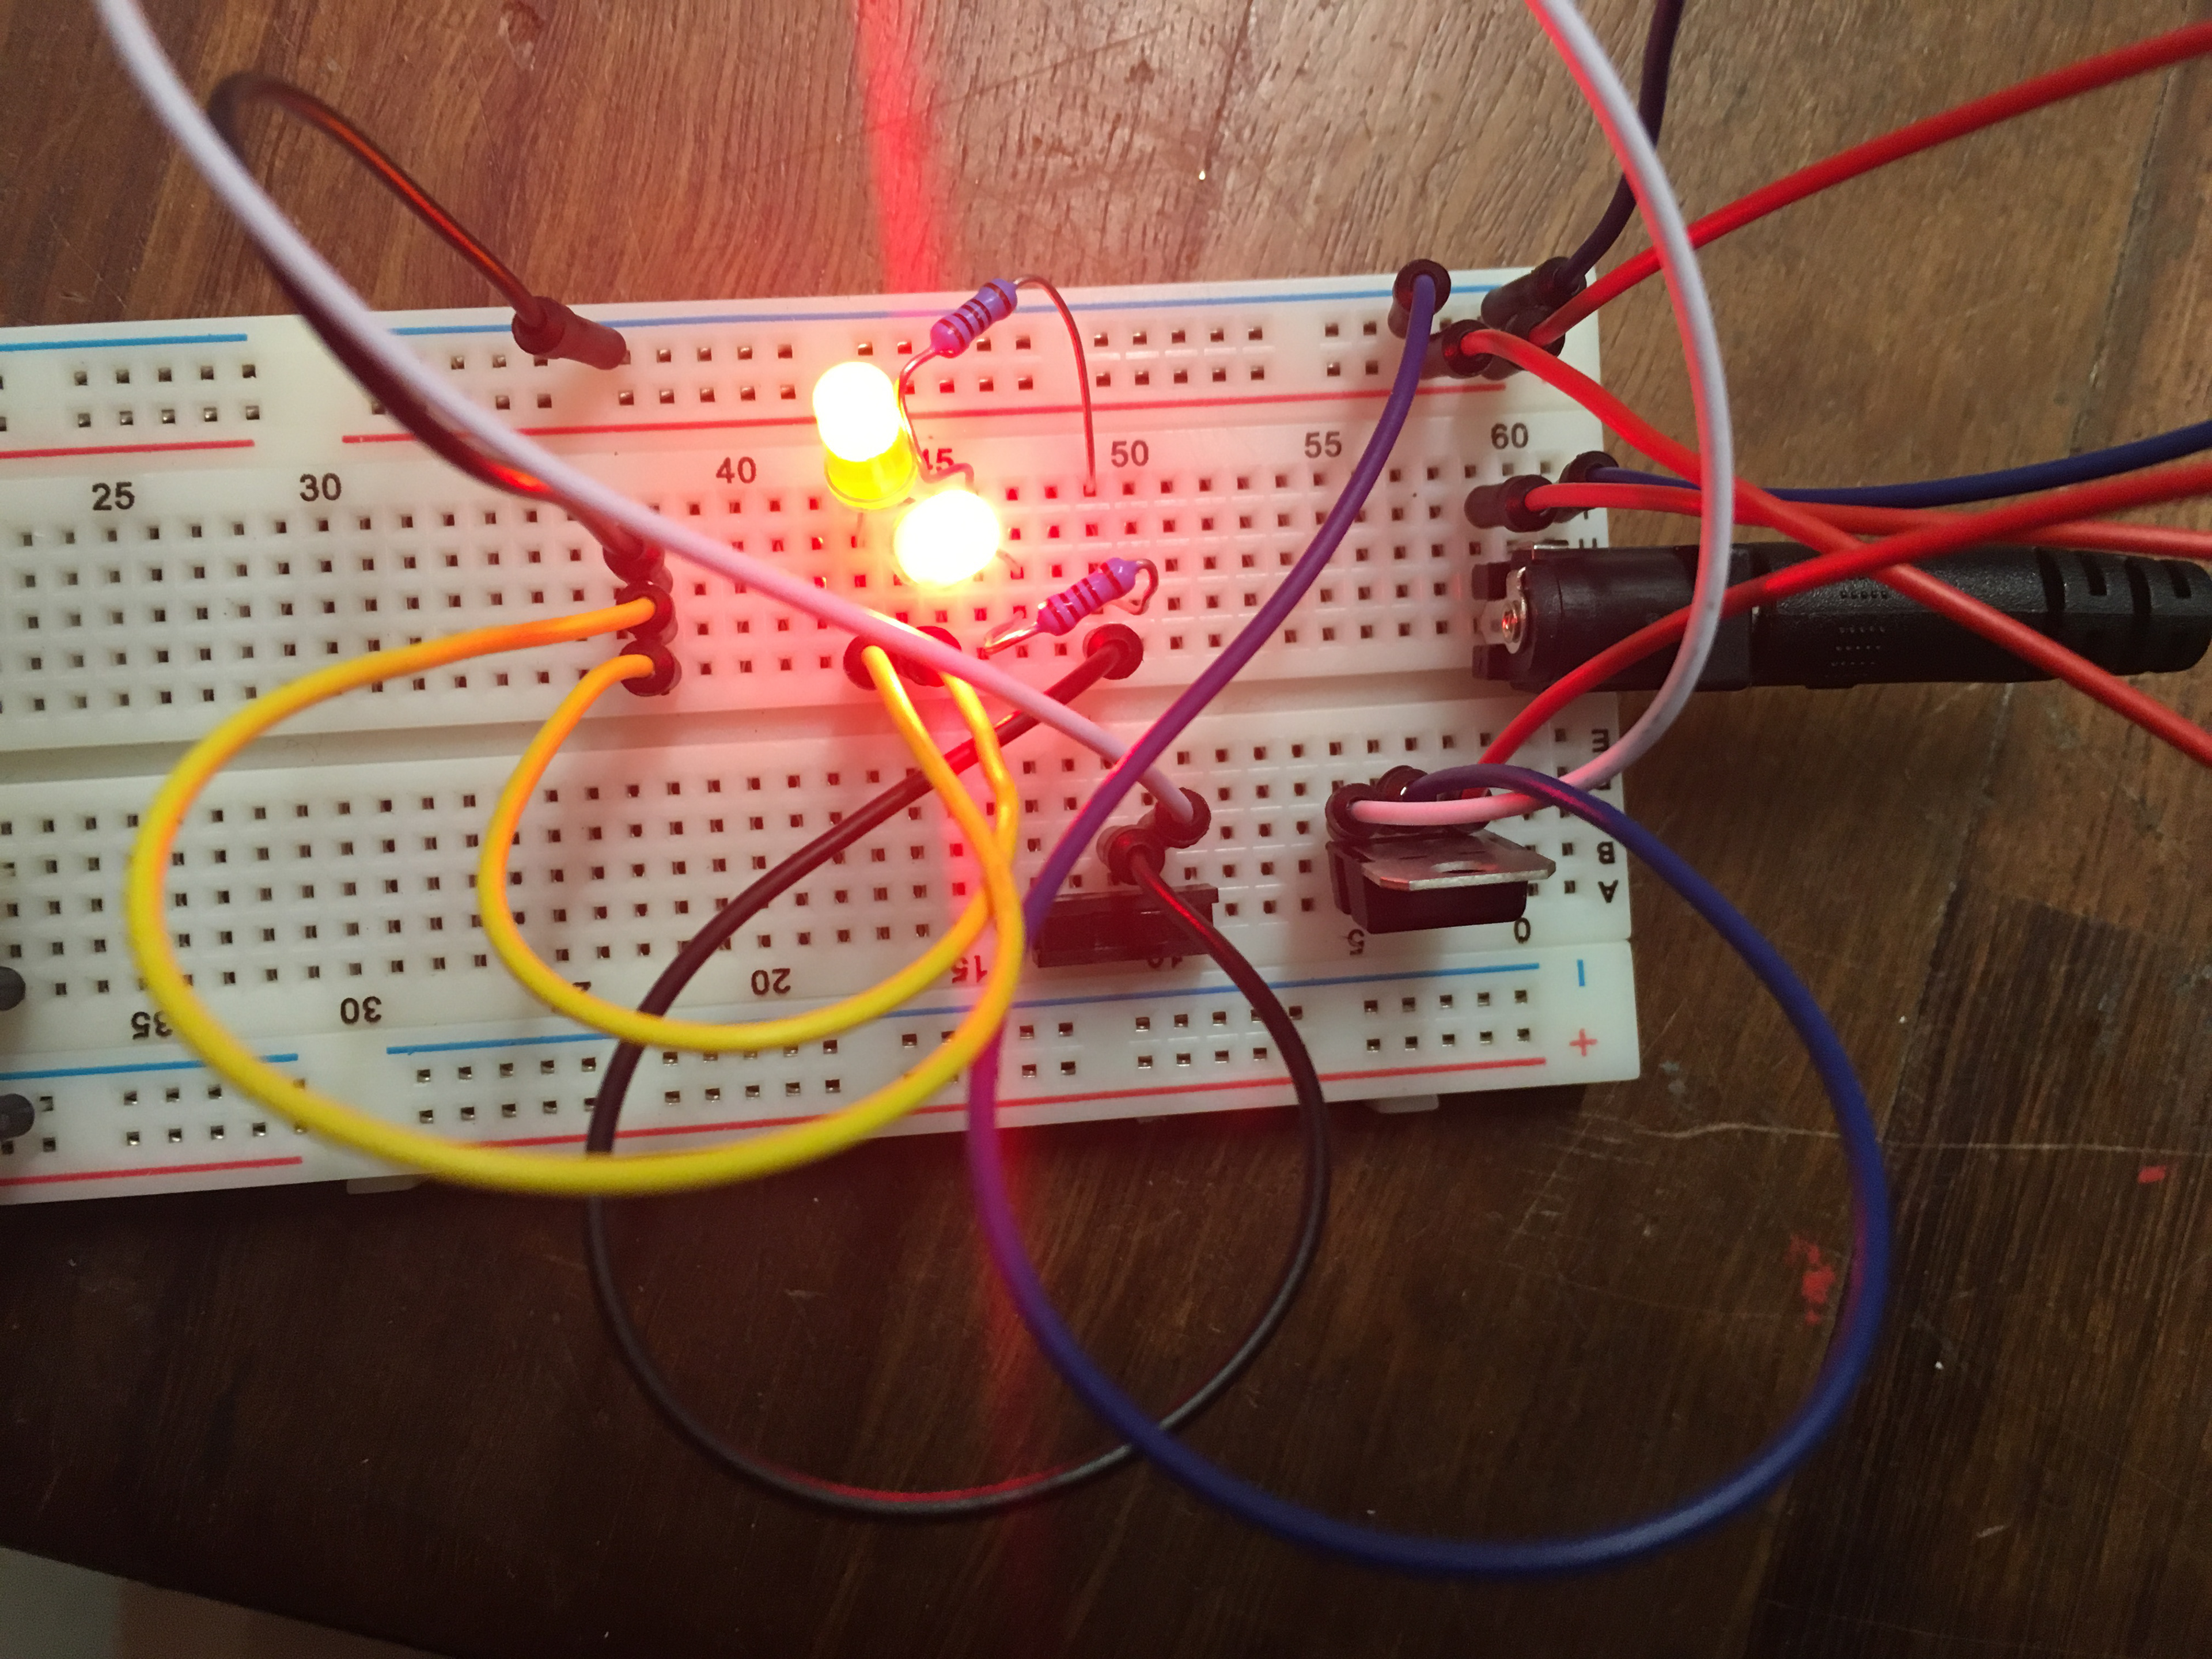
Next, I created a parallel circuit. I decided to use a toggle switch as my switch for this circuit, so that I did not have to press the button to illuminate the LEDS. I again used a red and yellow LED, both which draw 20mA forward current and .8-2.2VDC forward voltage. Using these values, I calculated my resistance value to be 150Ω for each resistor, and I used a 220Ω resistor because that was the closest resistance without going under.
Part 2: A custom switch
For the second part, we were tasked with replacing our current mechanical switches with a creative custom switch. I decided to use copper tape, wires and my paper crafting skills to create a paper crane switch.
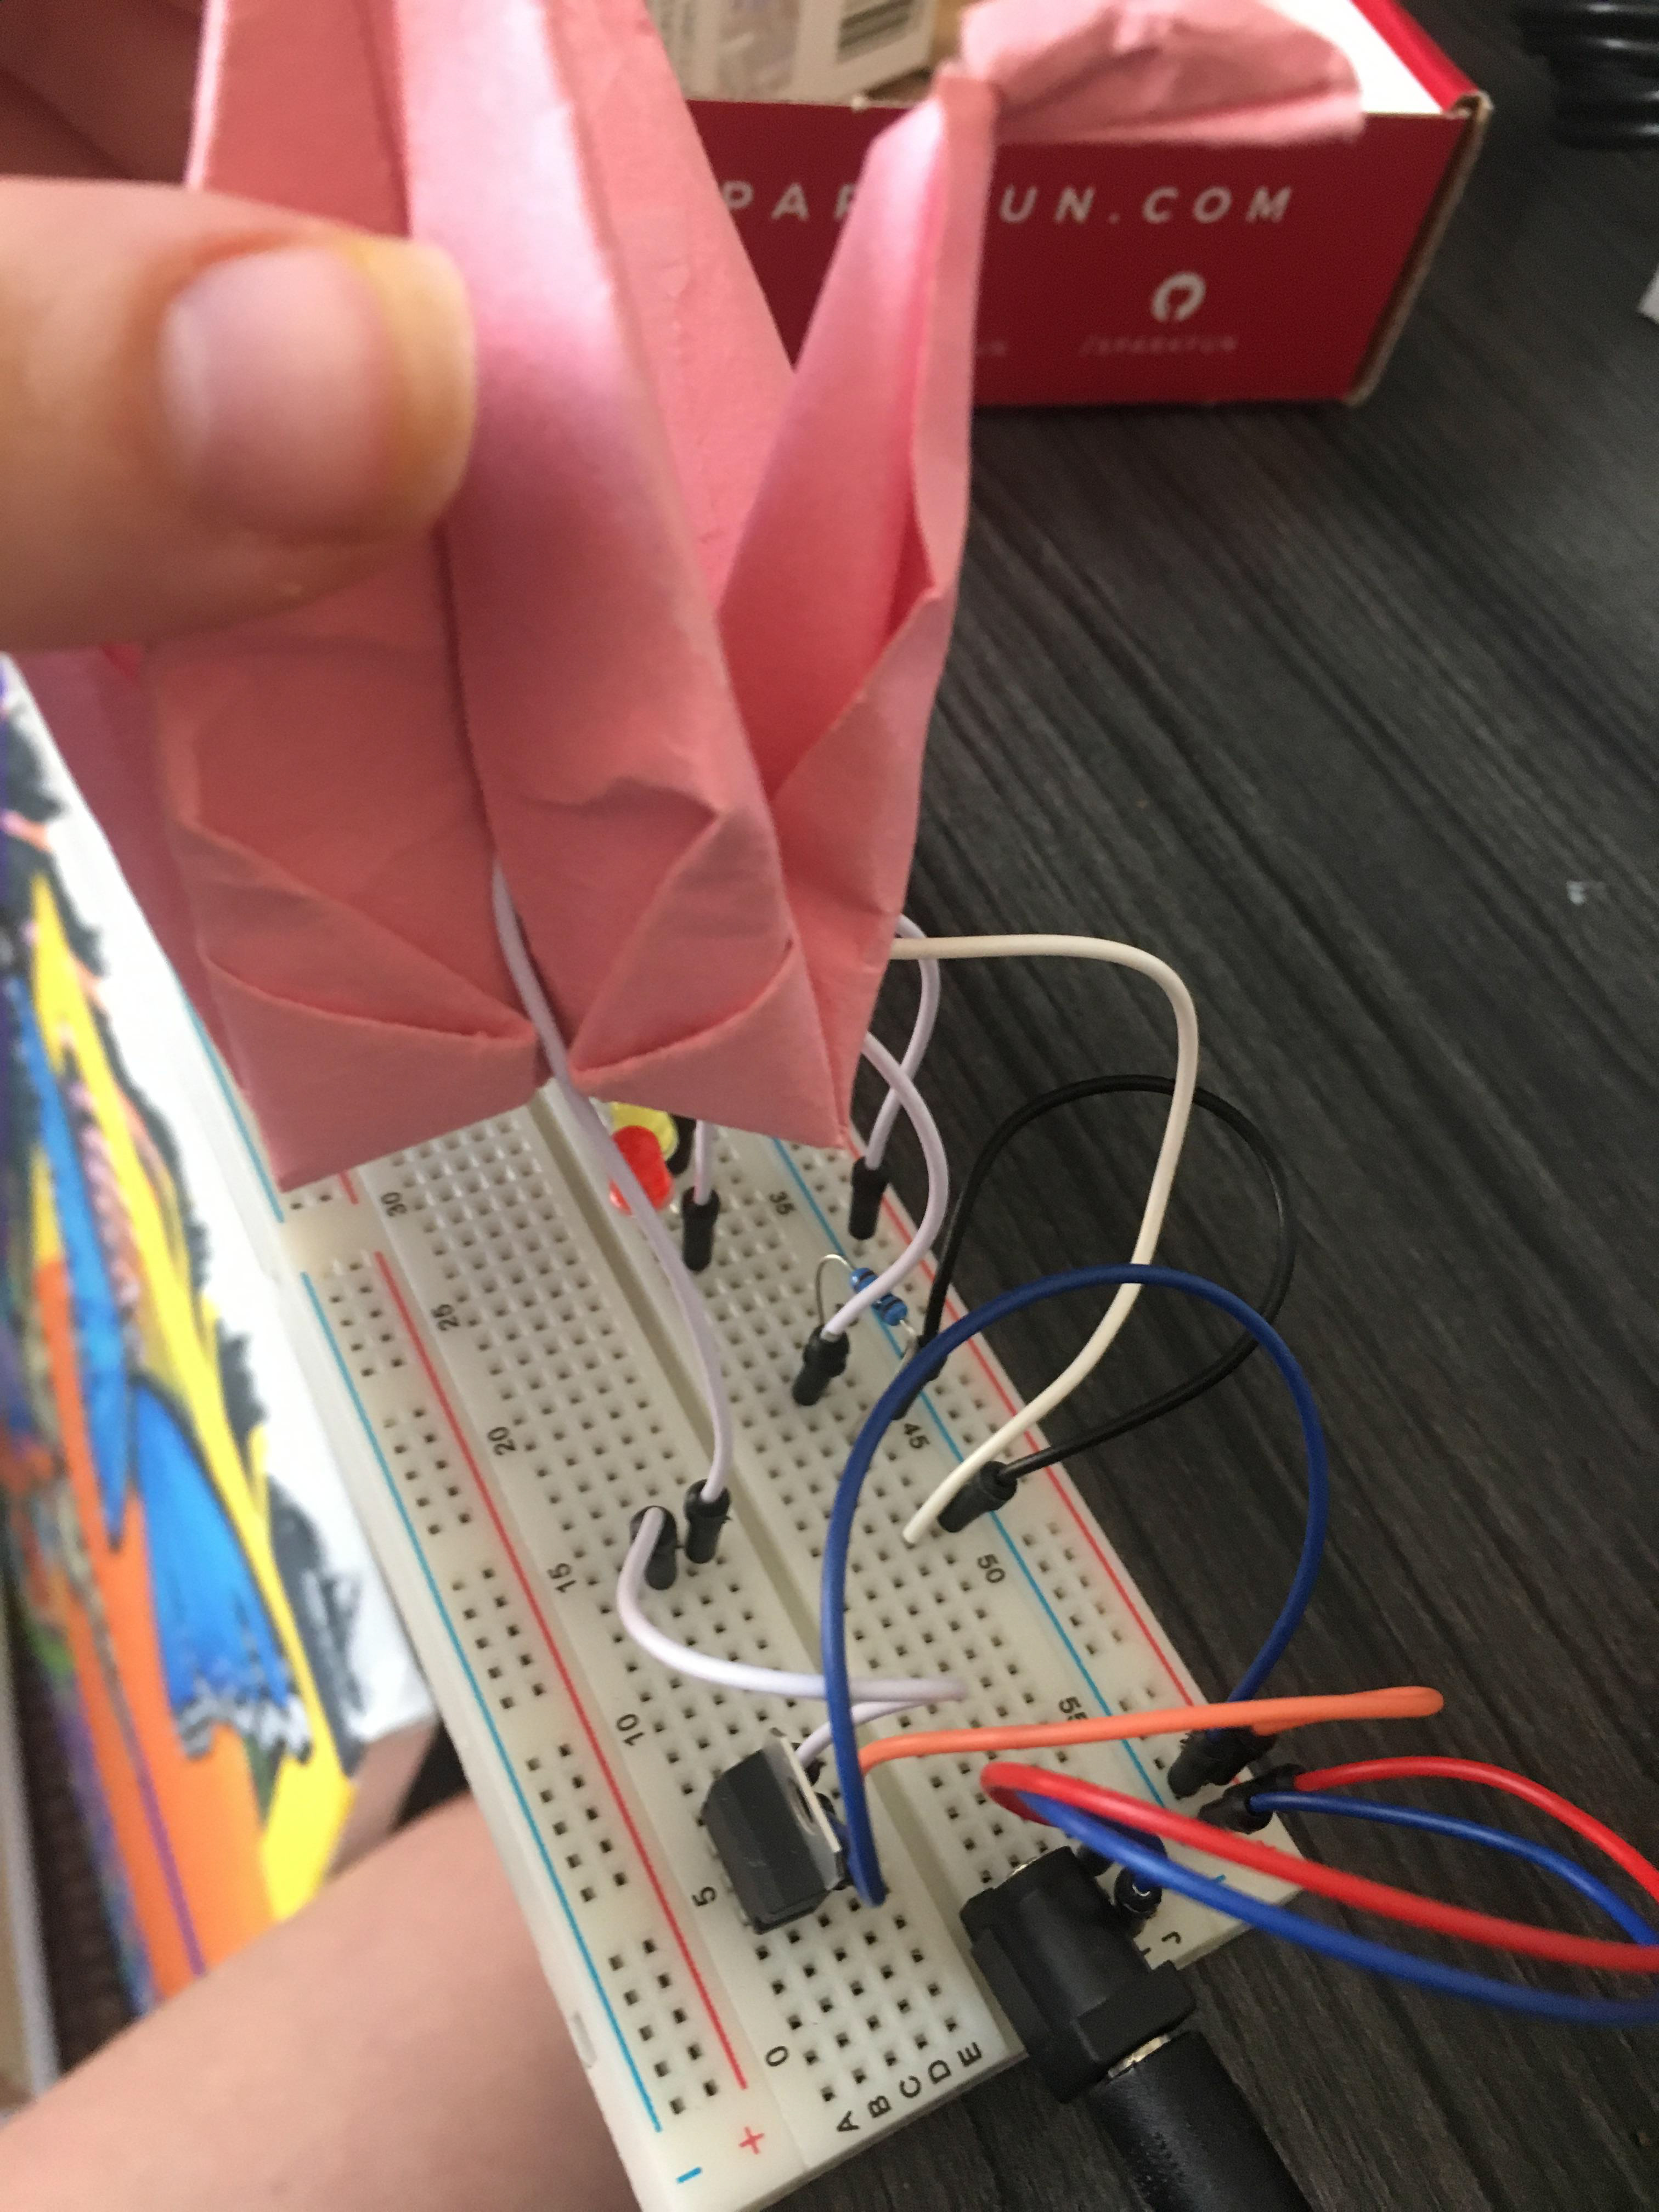
I attached copper tape to the inner tops of the wings of the crane, and then ran wires underneath the copper tape through the body of the crane and then out the bottom, where they connect into the breadboard. To turn on the switch, you press the wings together to complete the circuit.
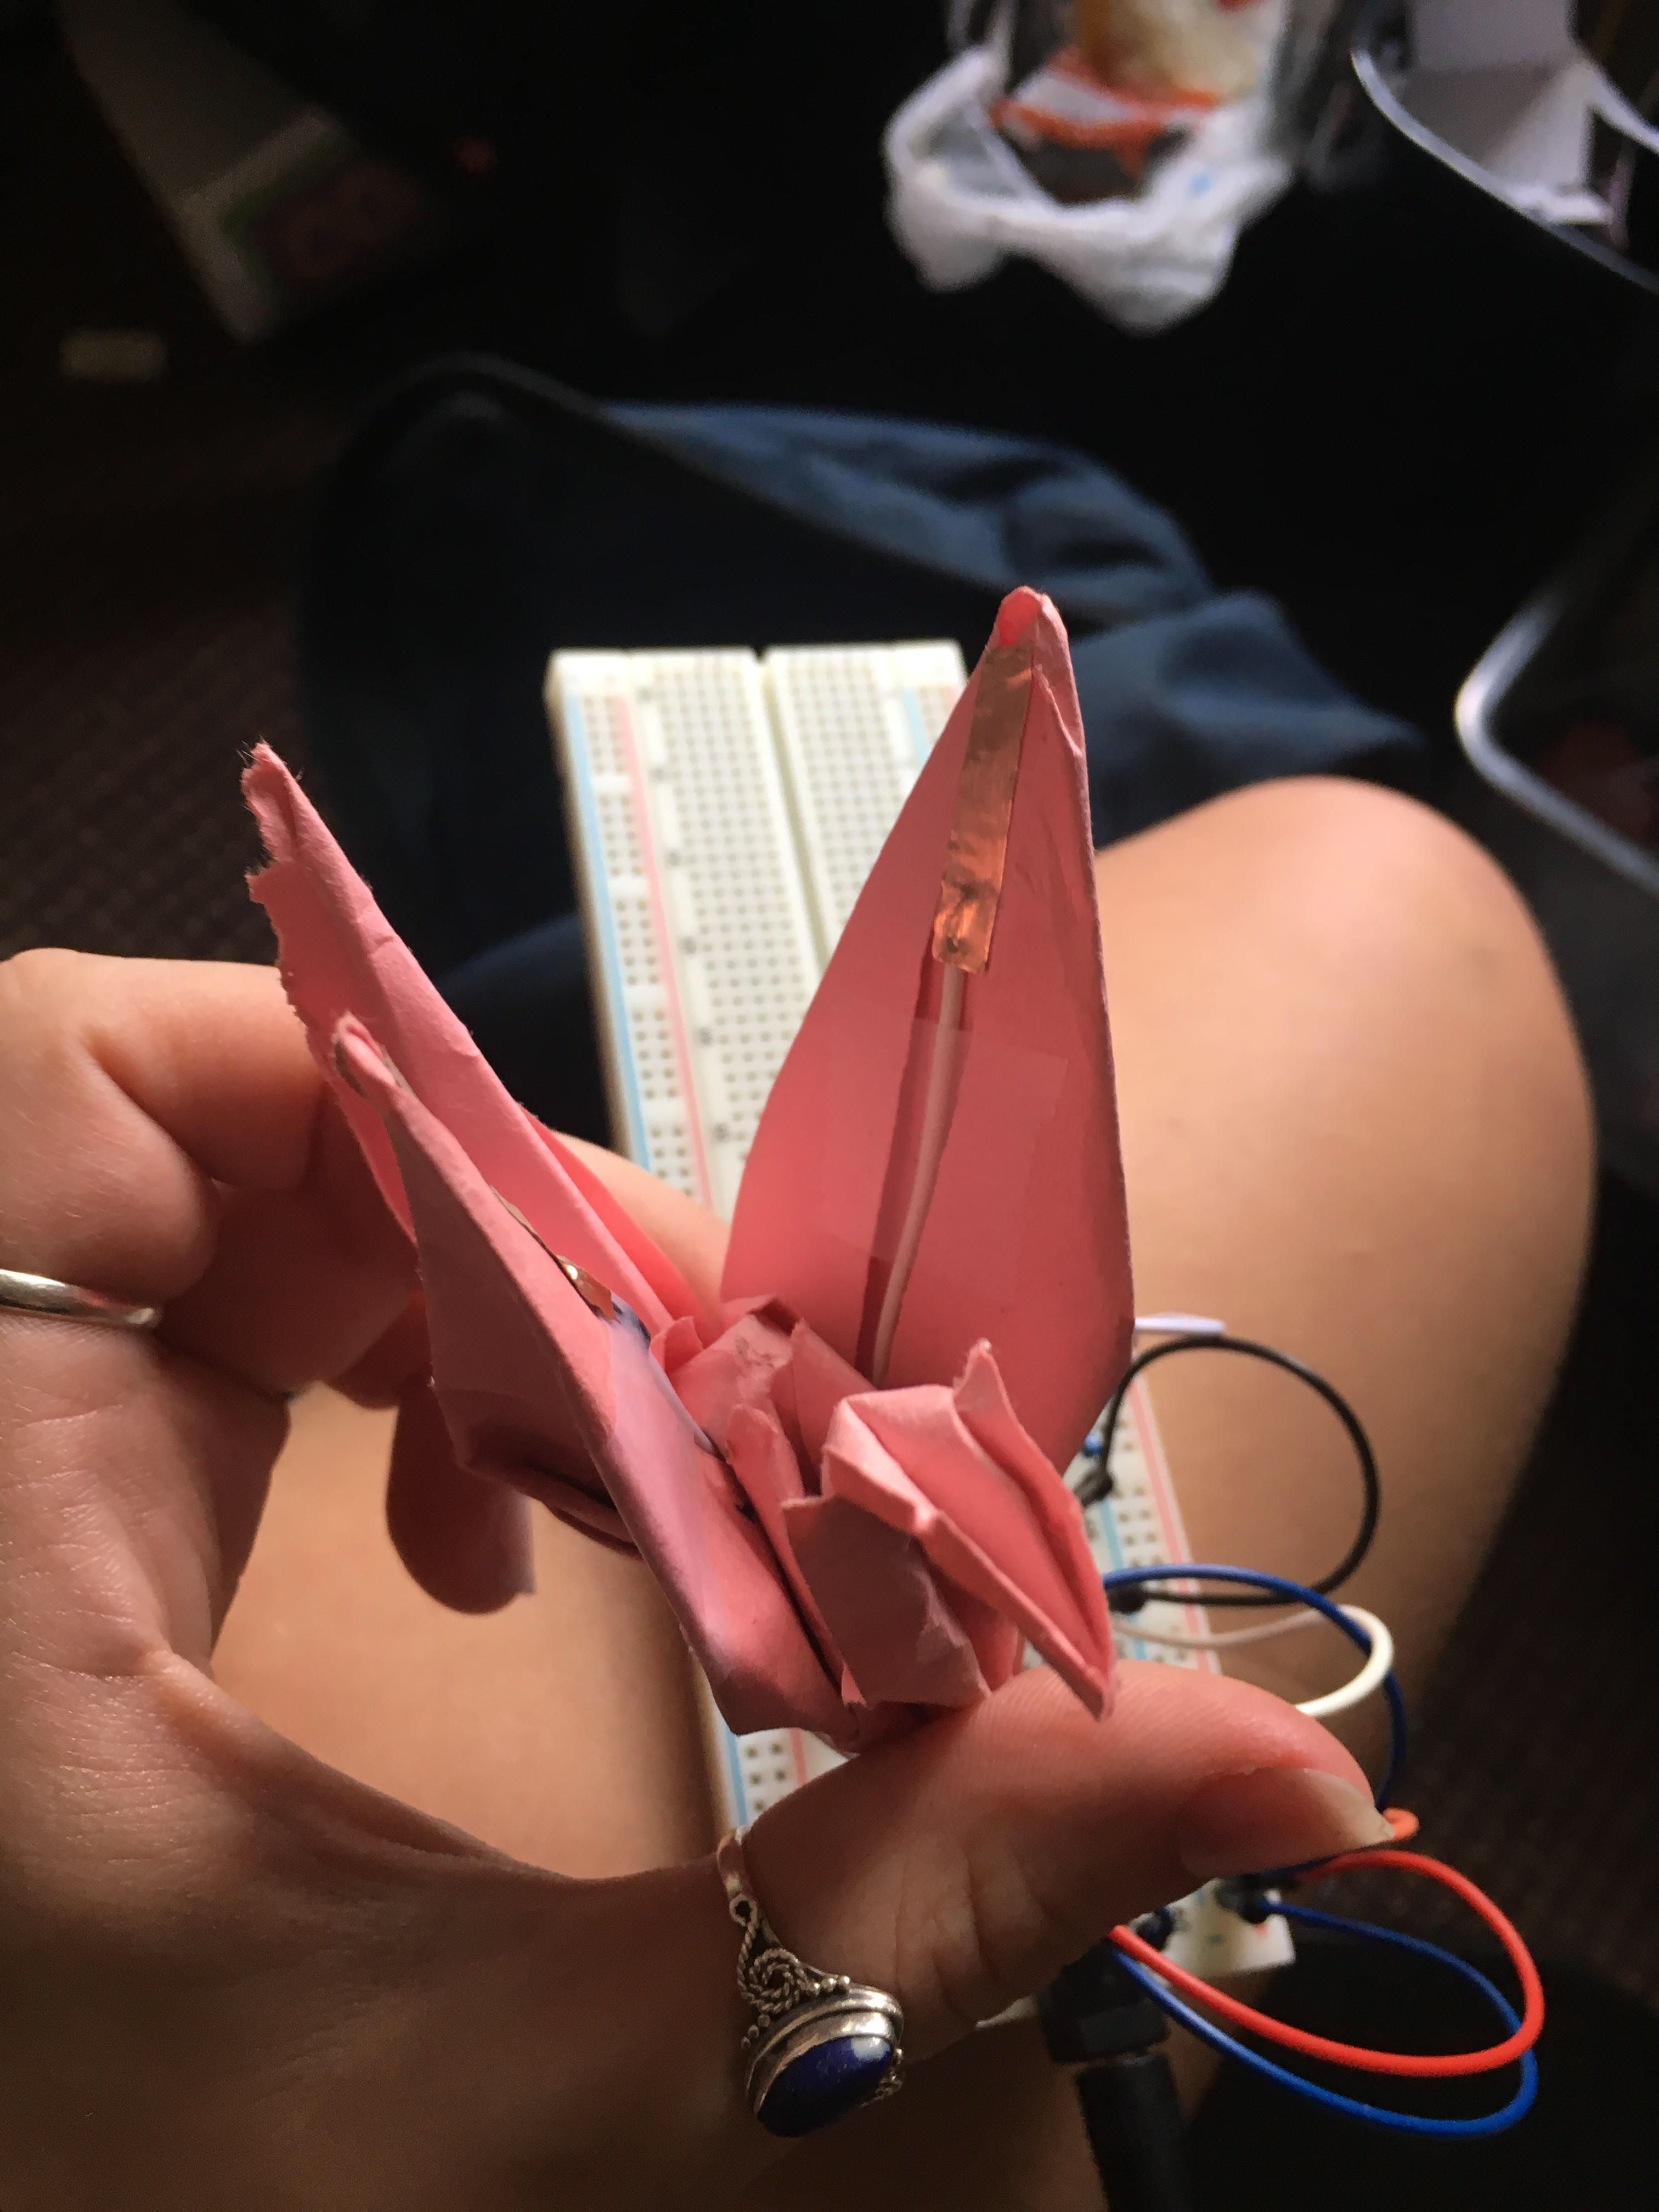
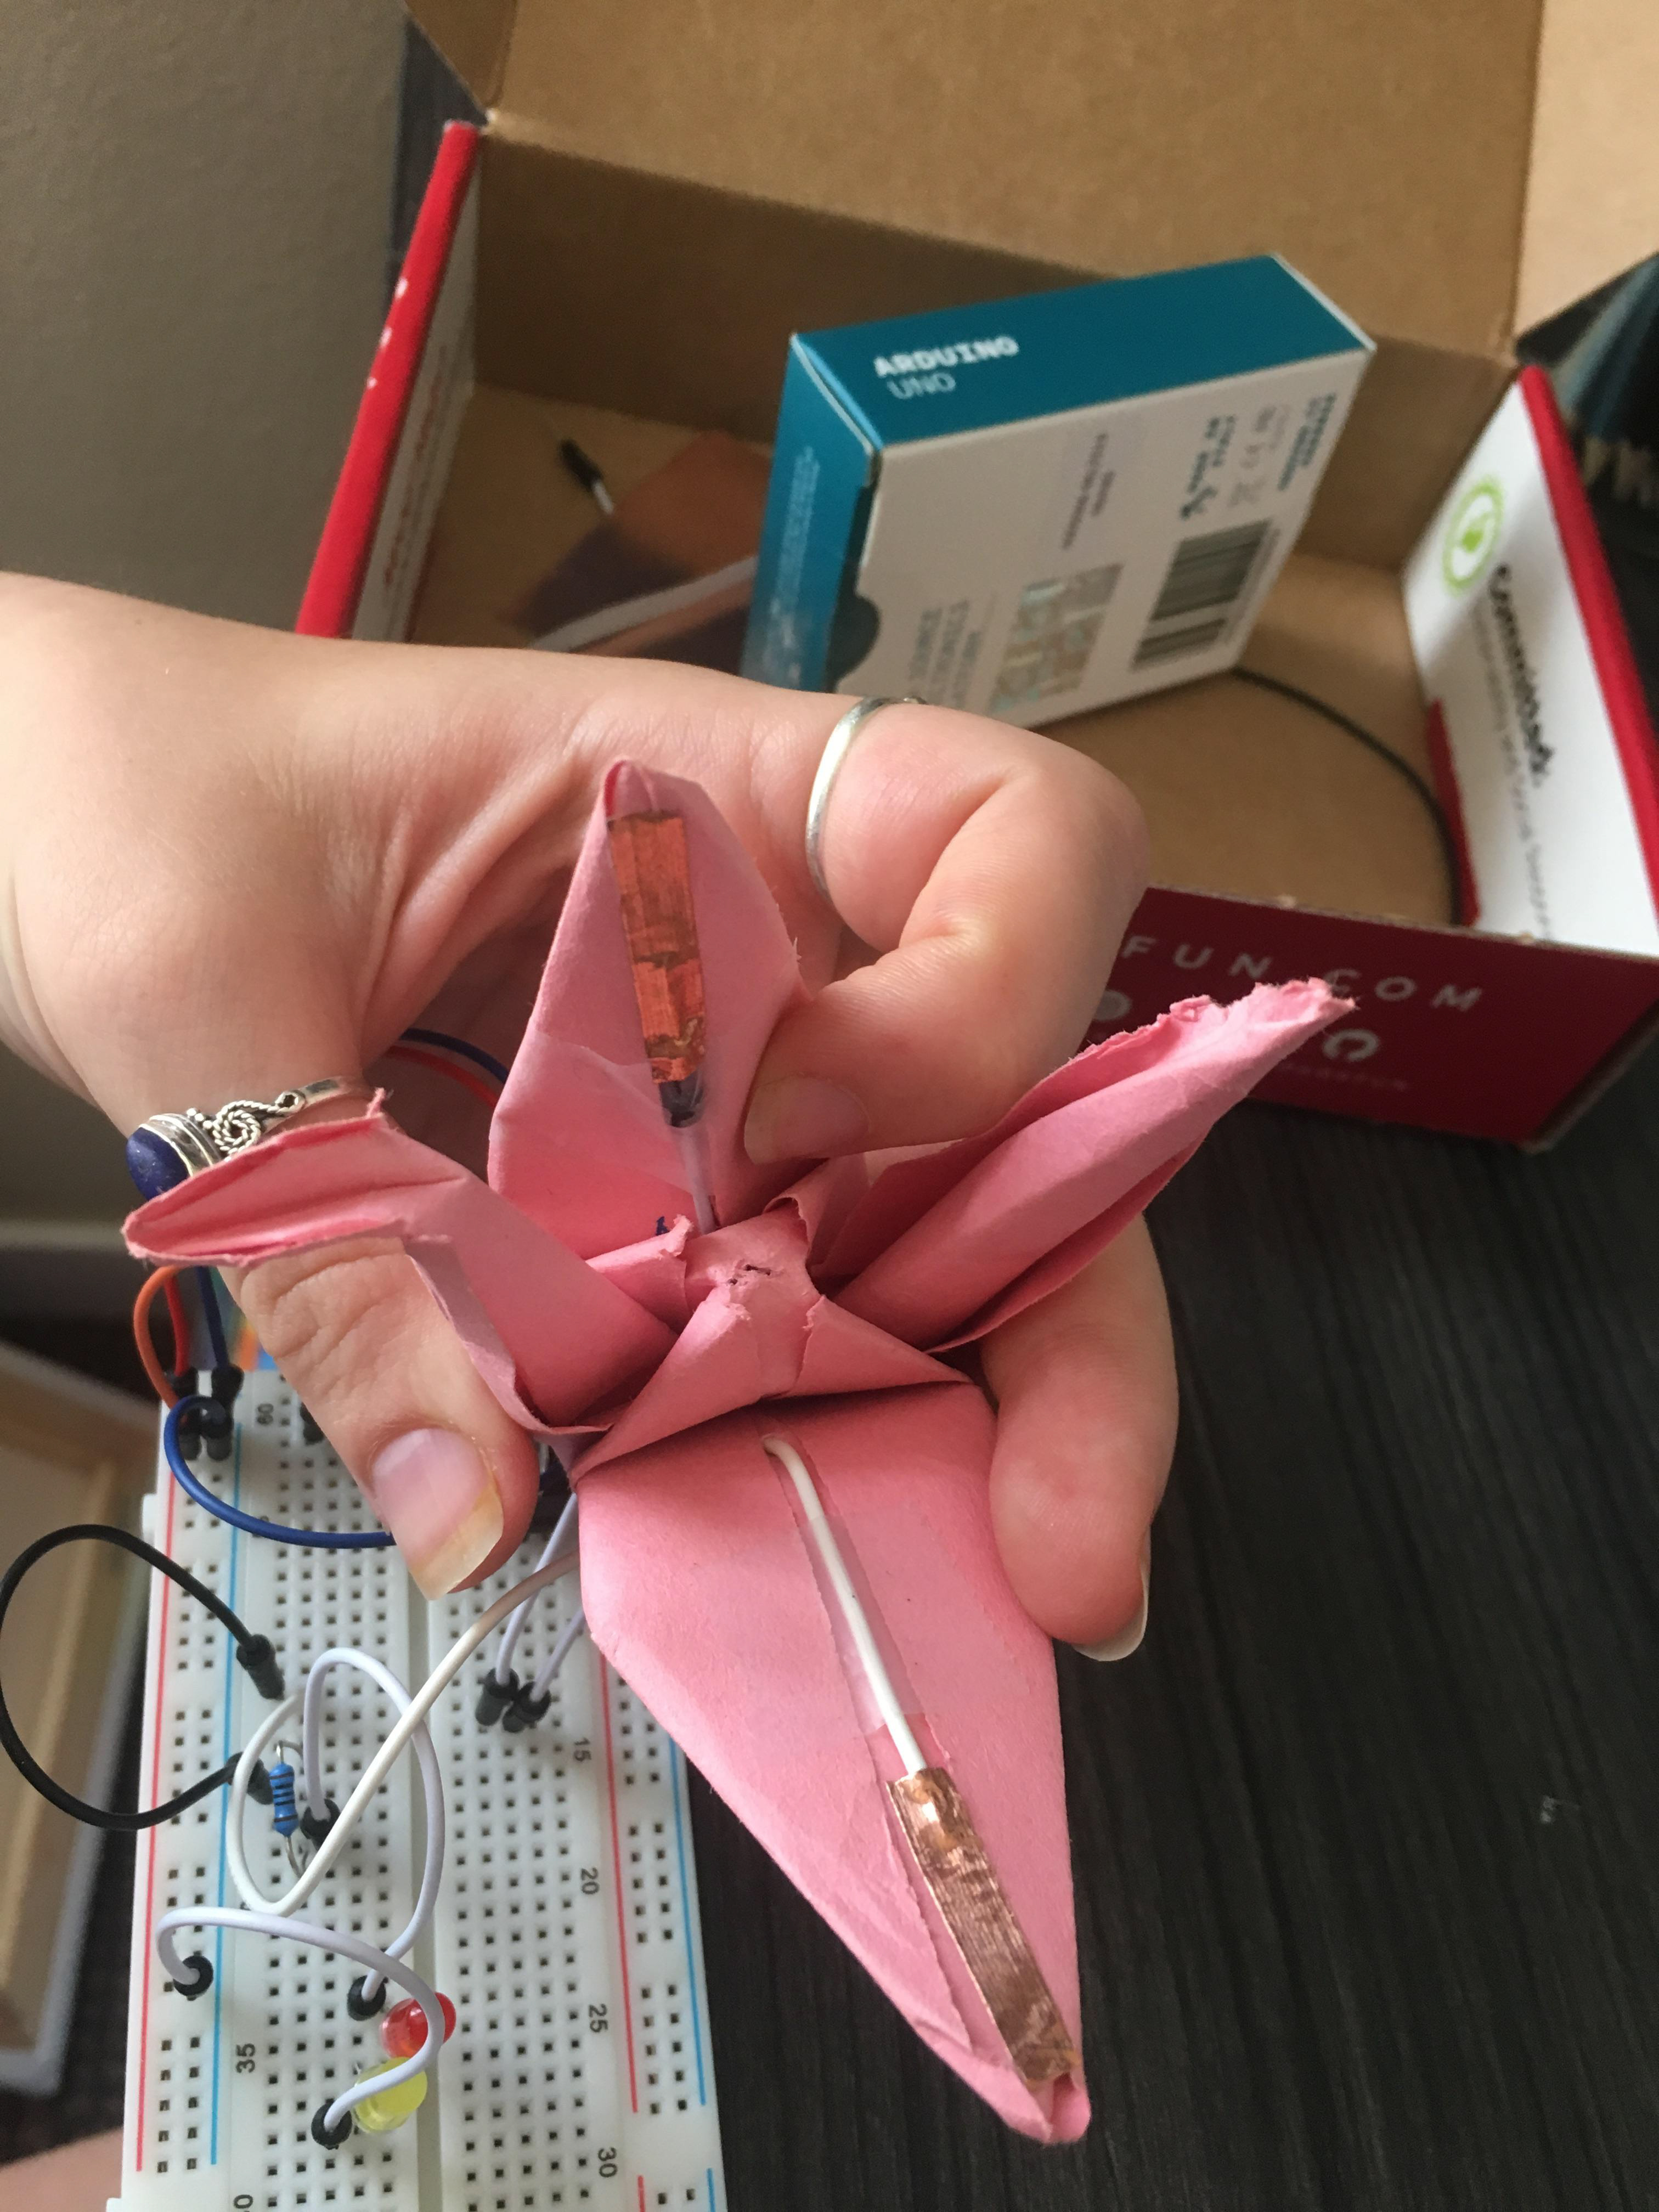
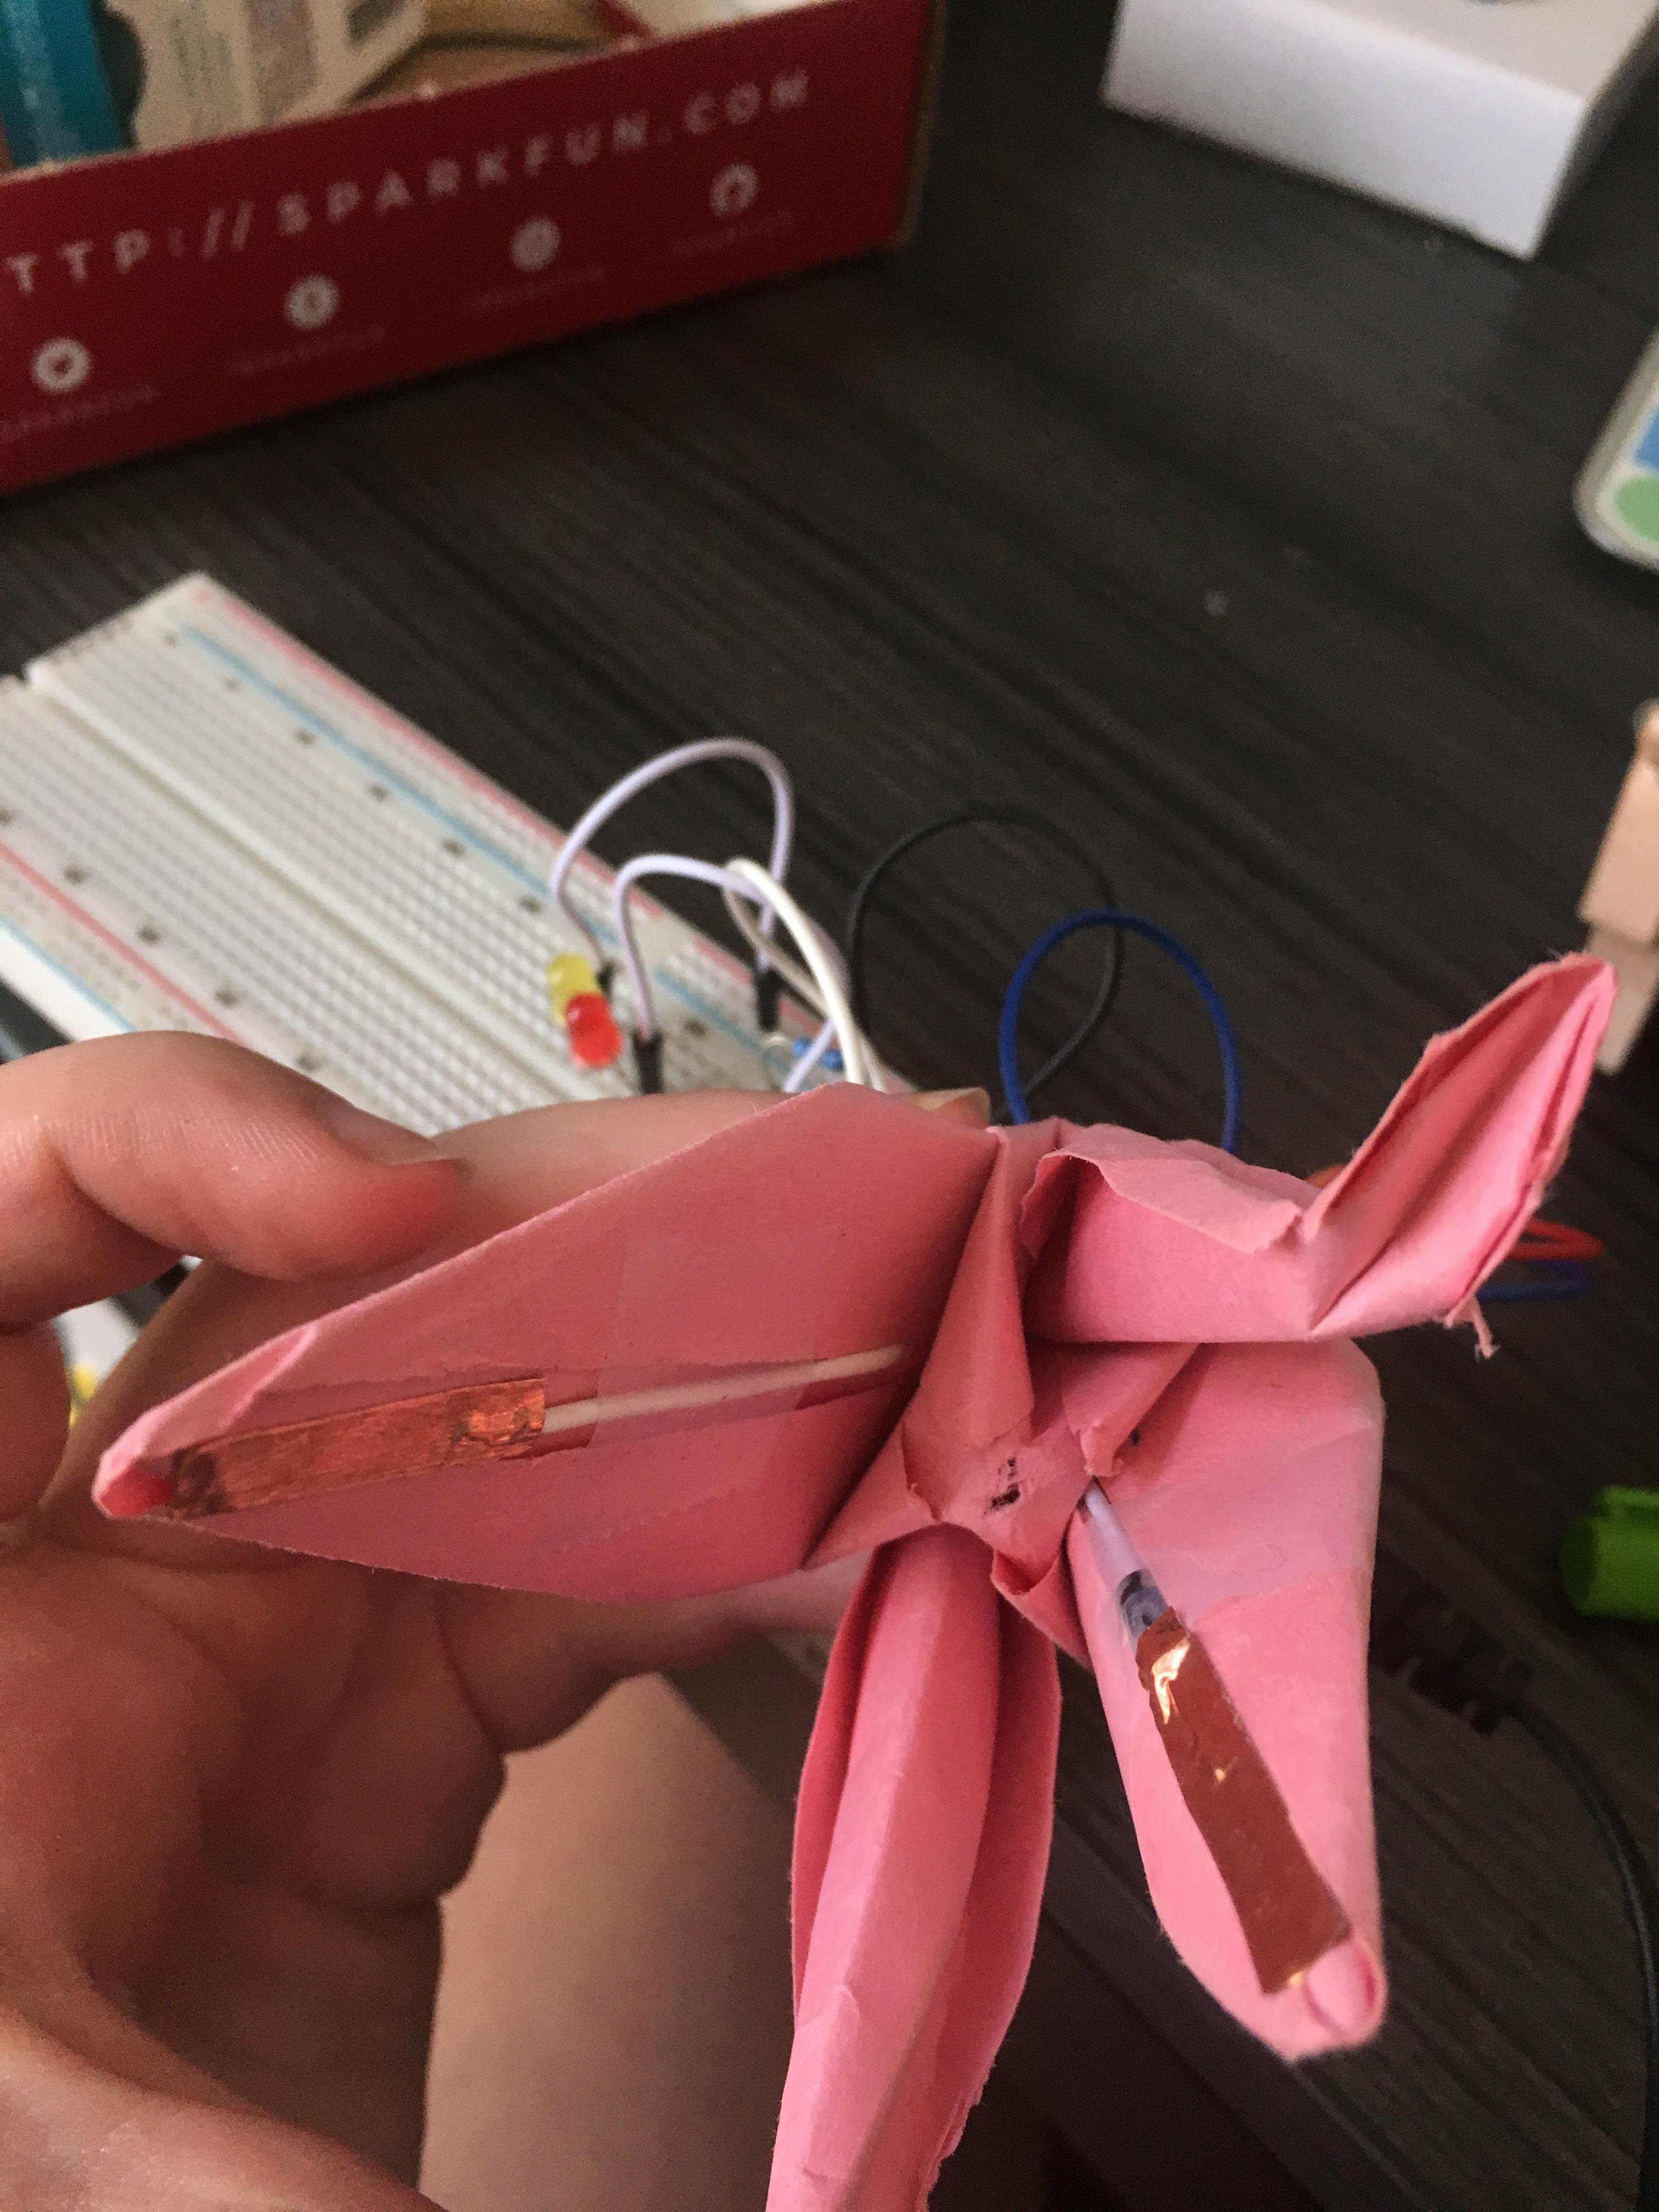
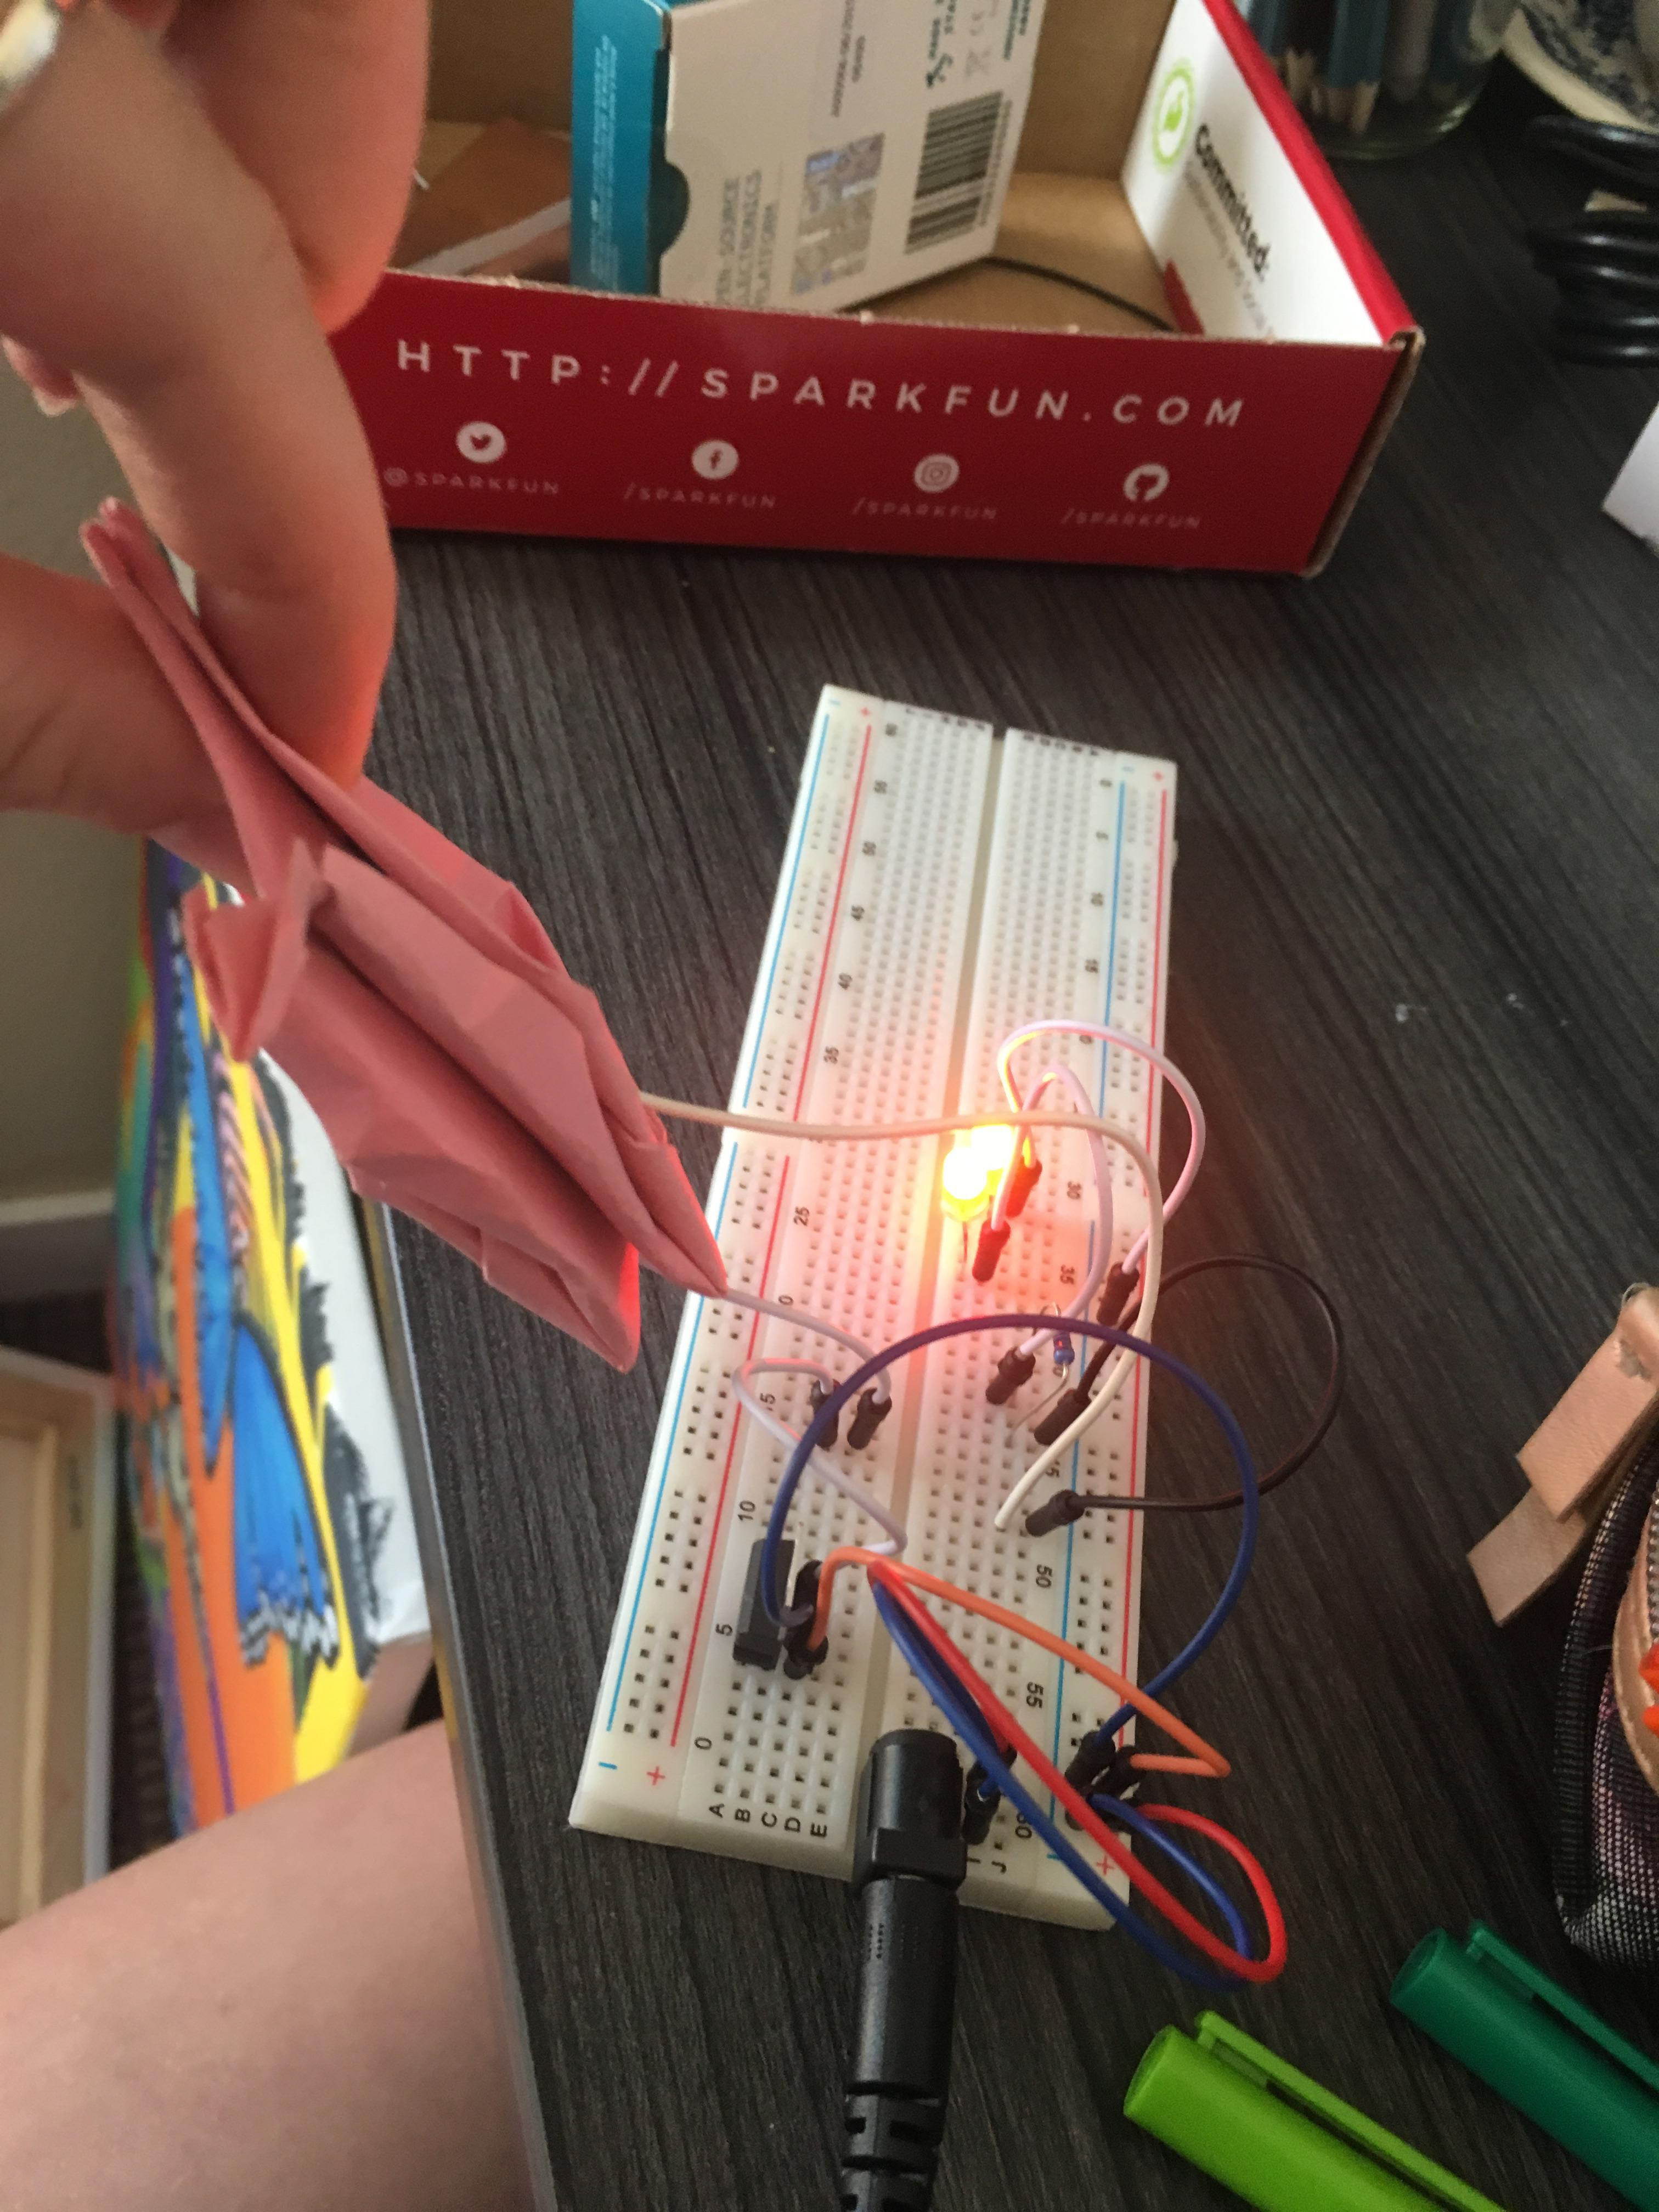
My crane is a bit messy, but I used construction paper instead of true origami paper, and most origami doesn't have wires stabbed through it. As a switch, I could have made it a bit more sturdy and reliable if I had more wire, but I was working with limited materials. In the future, I think this could be a very clean way to had a switch, if I spent a lot more time perfecting and cleaning up the details.
PART 3: Enclosure
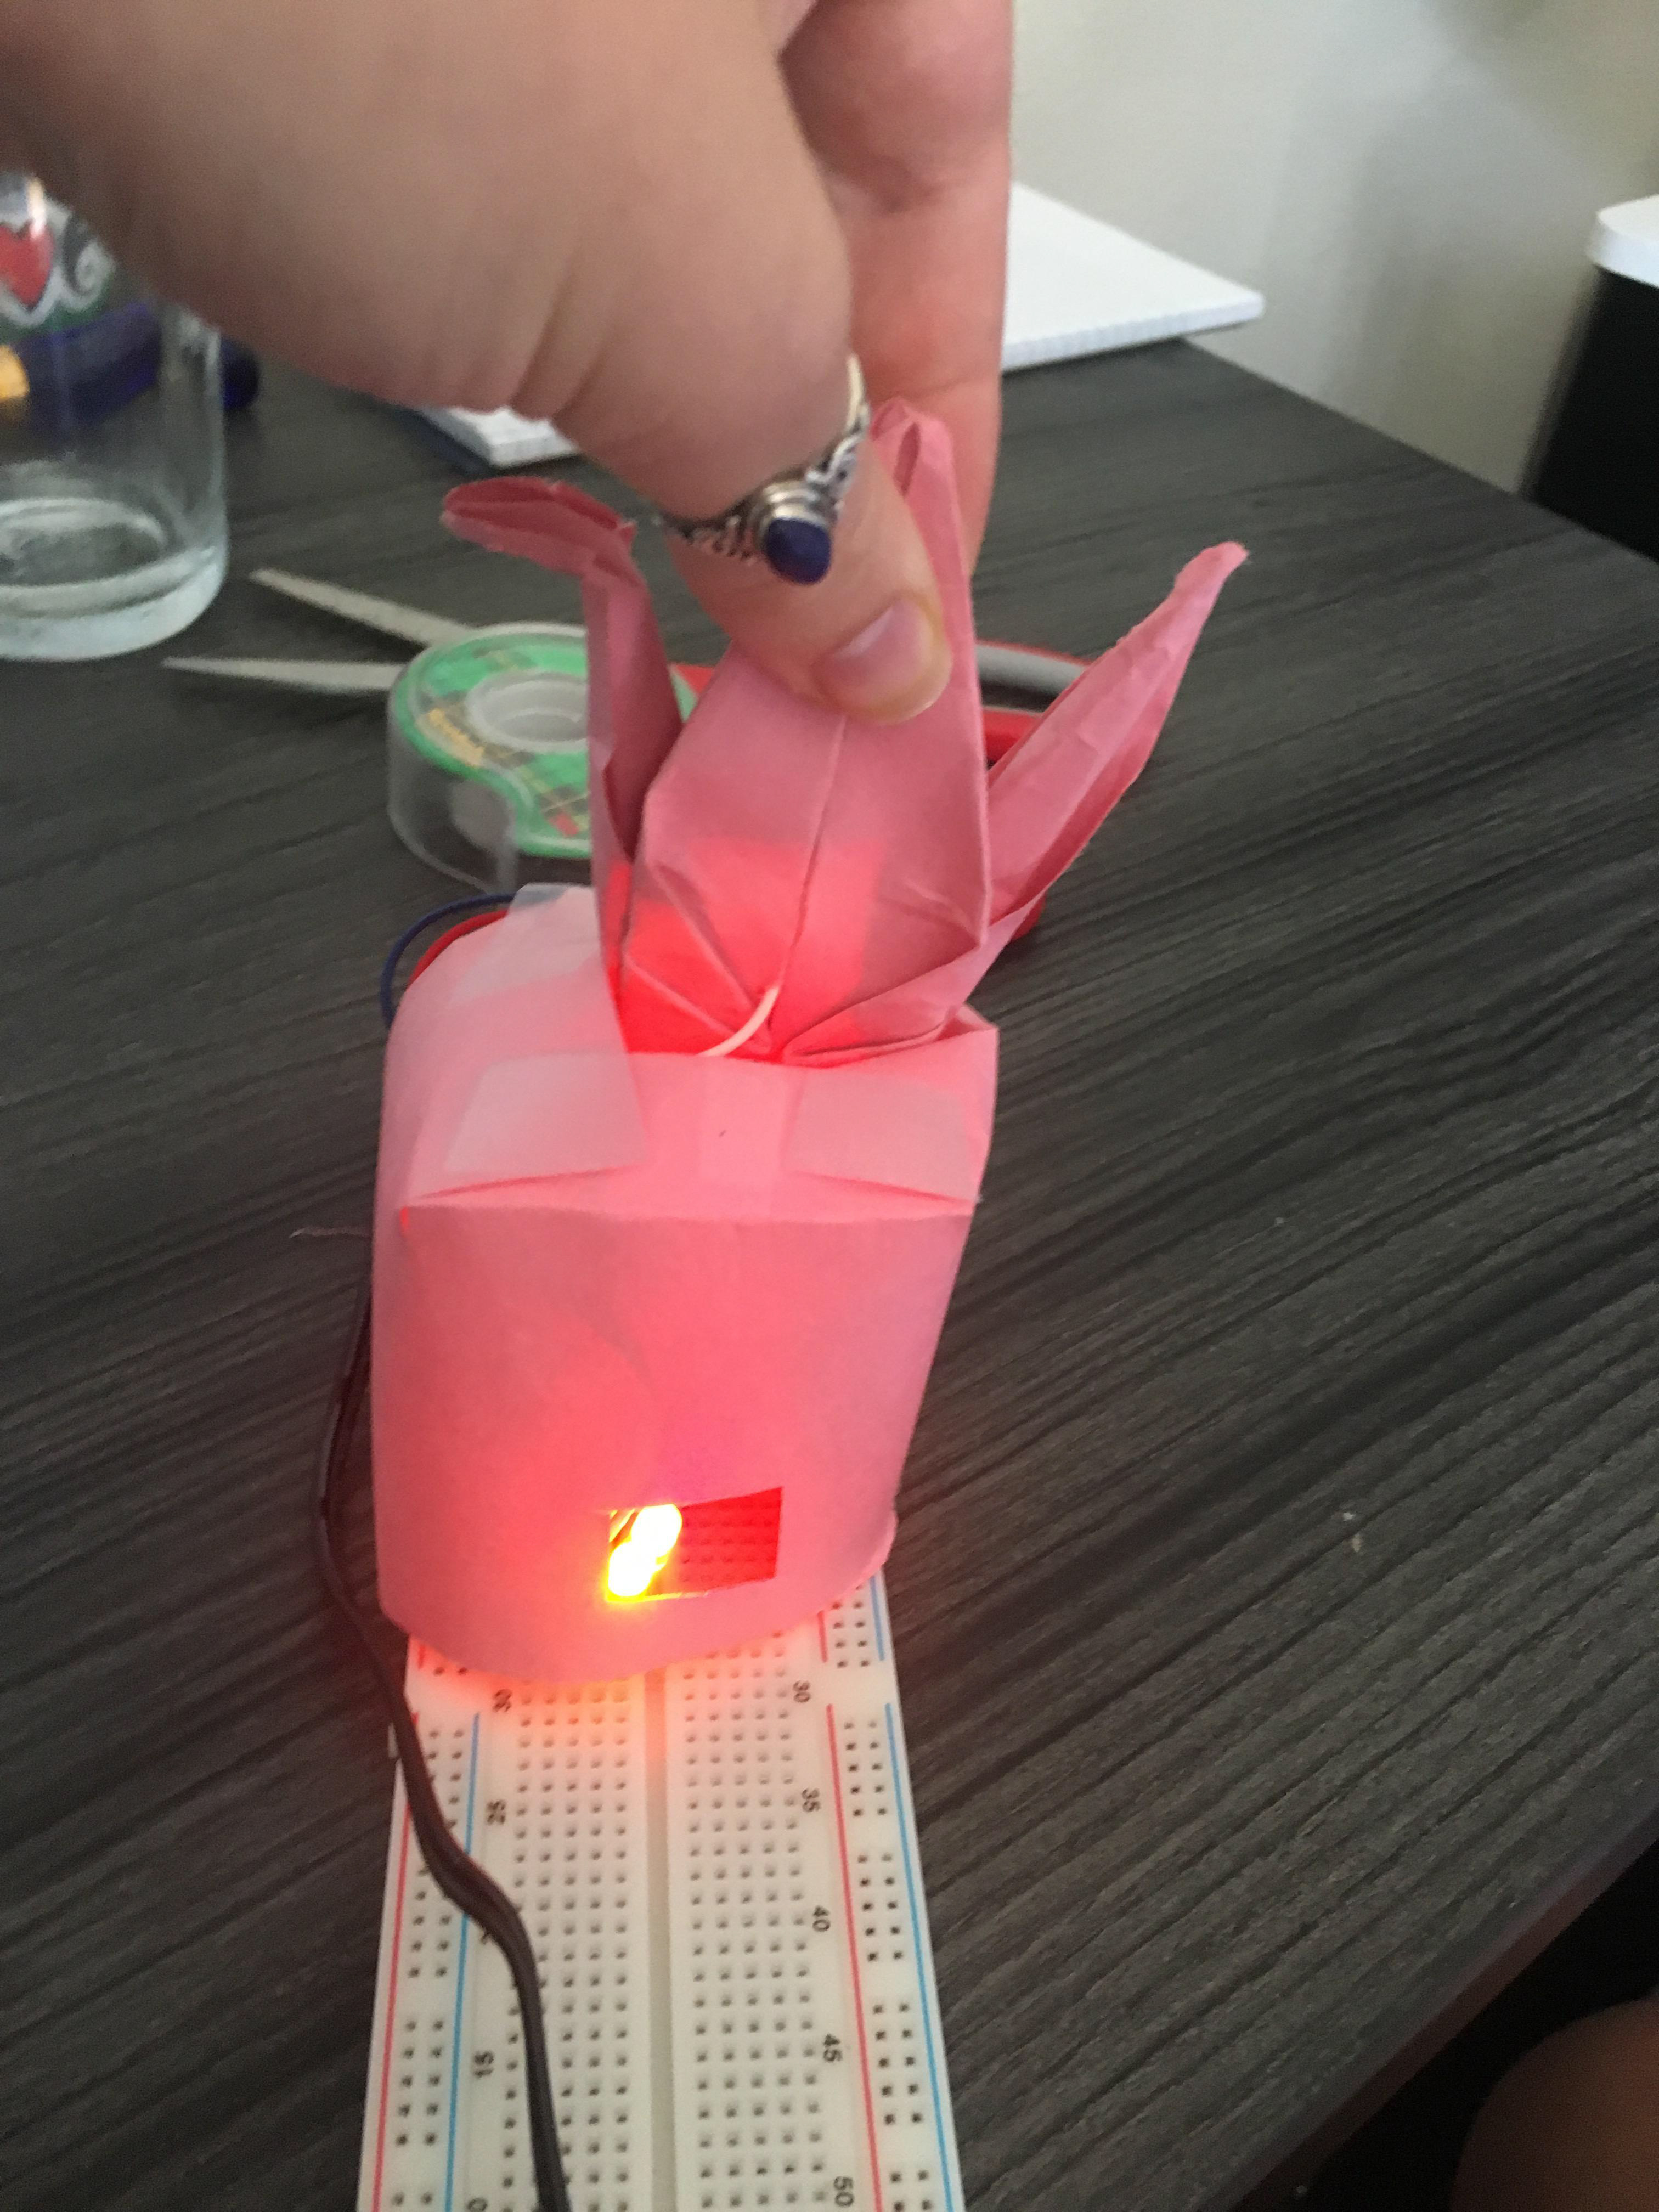
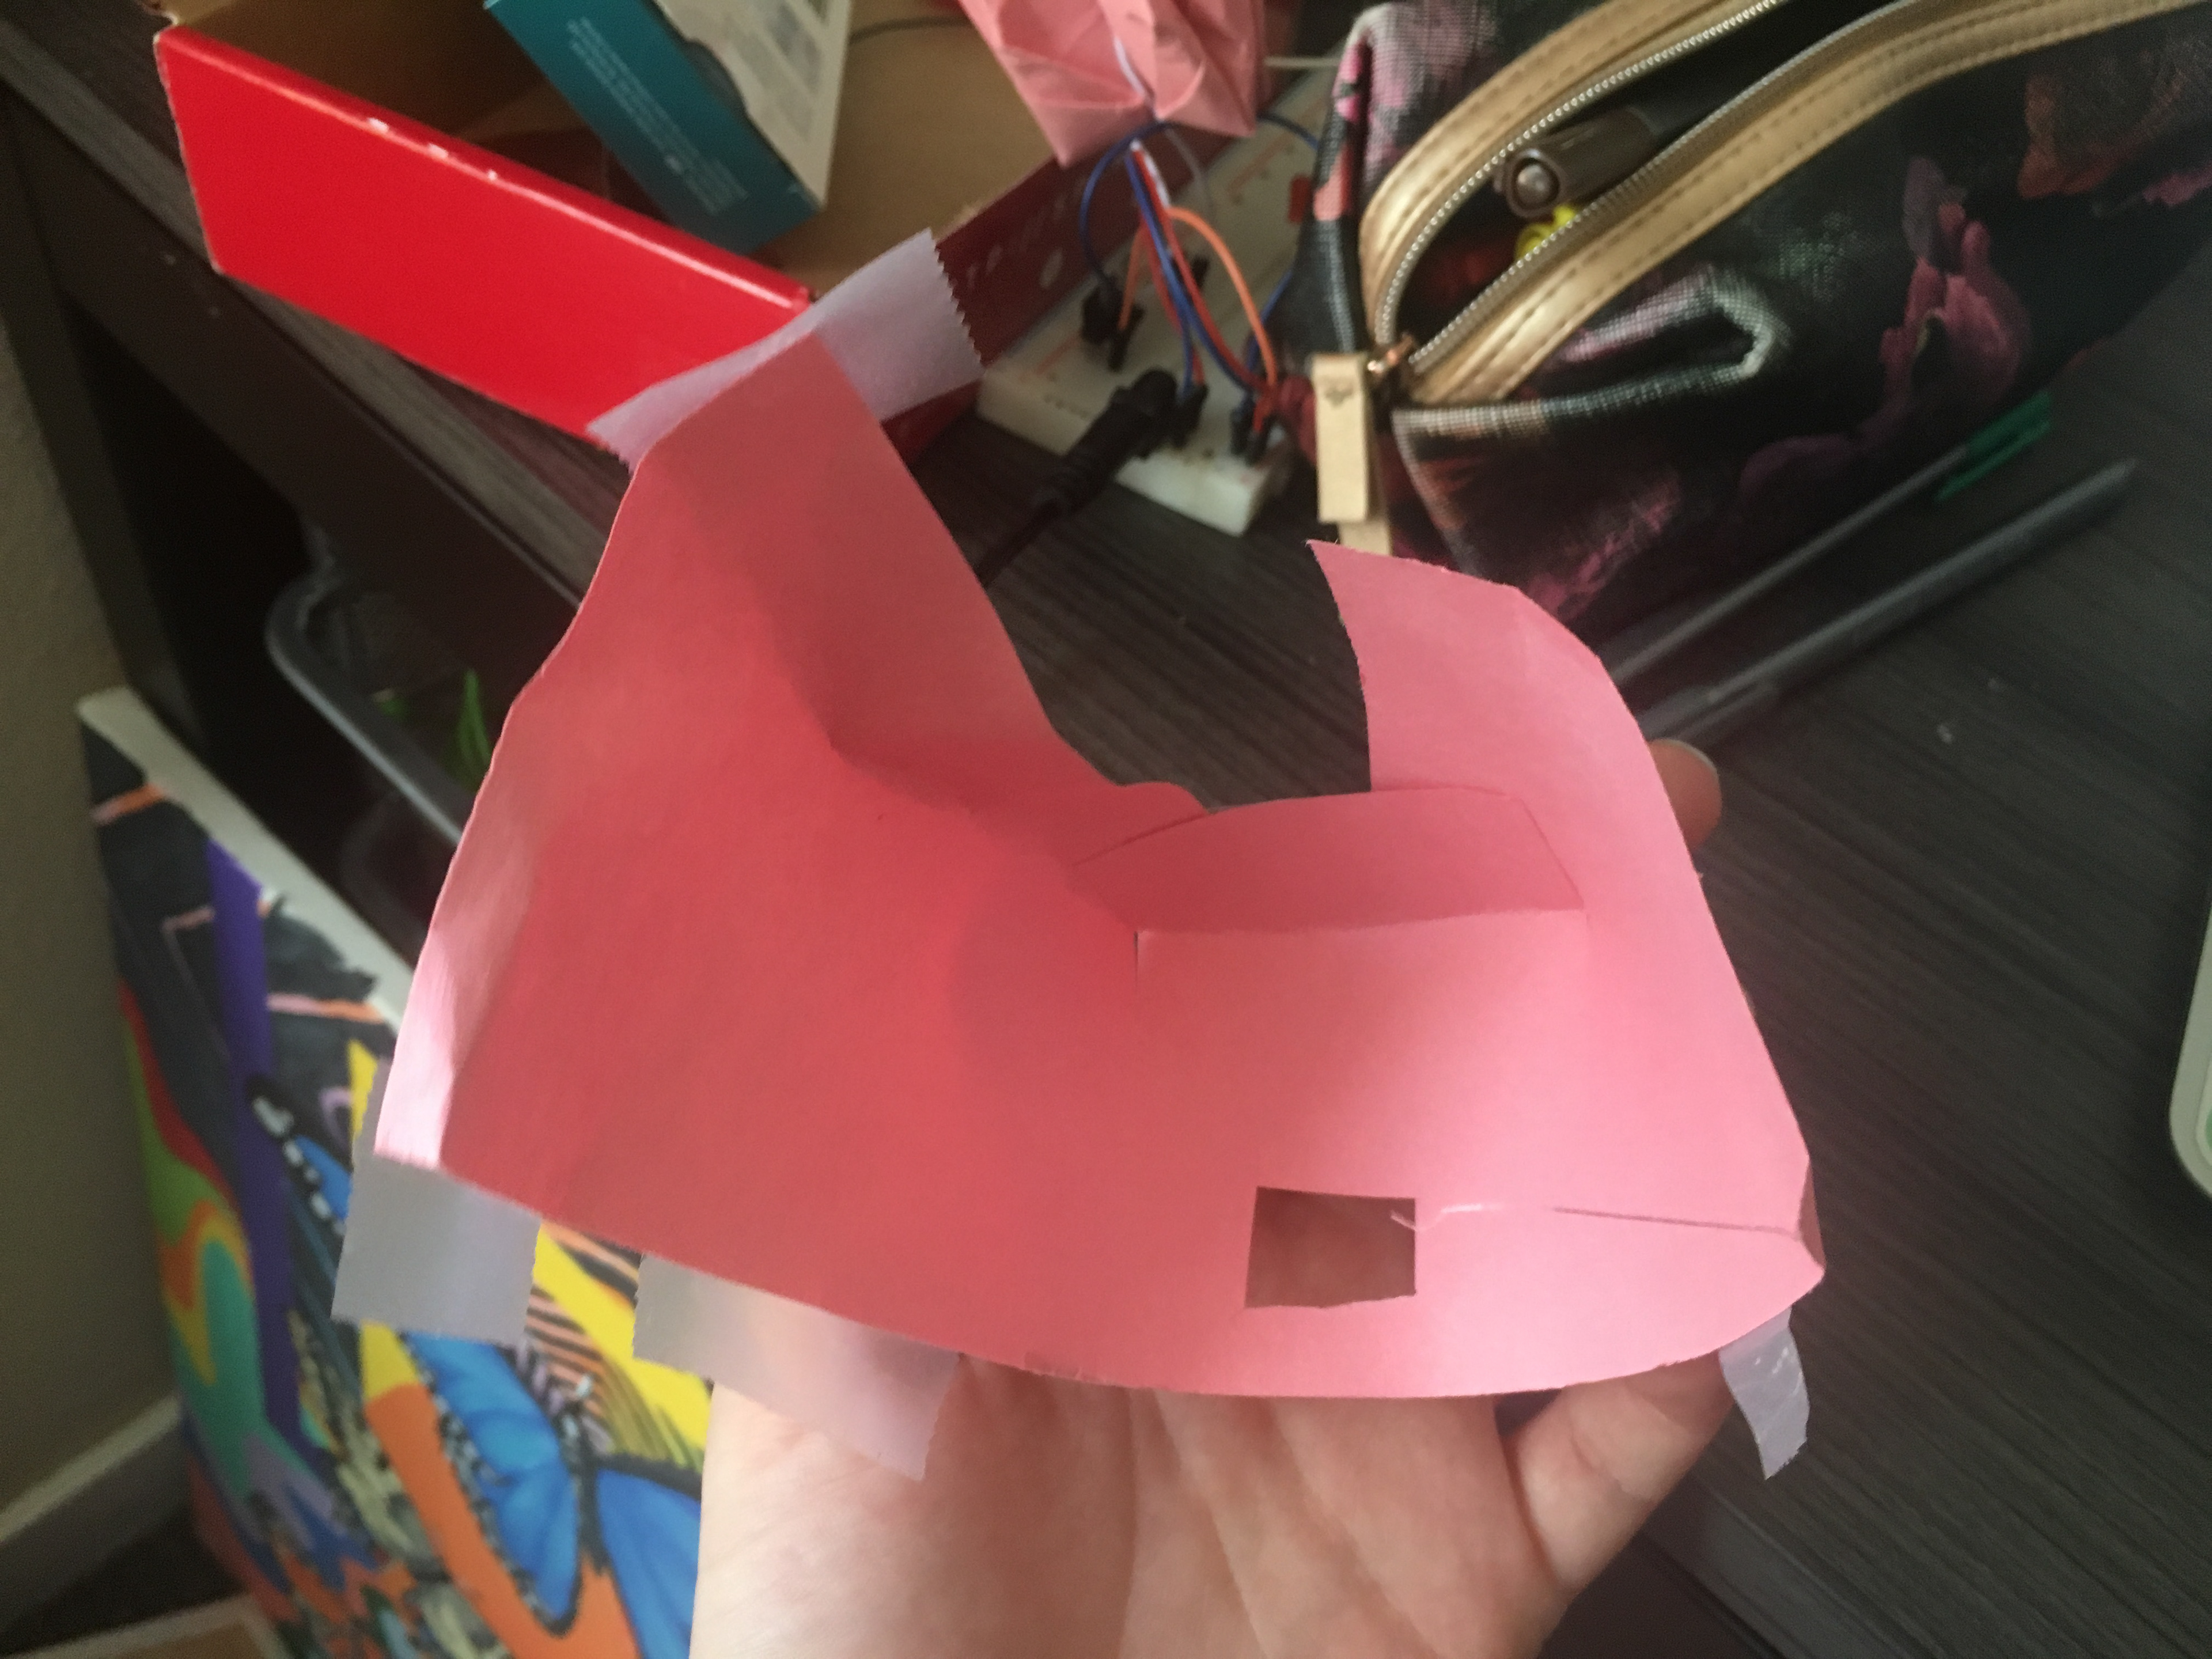
For the final part, we needed to create an enclosure that only showed the switch and the LEDs.
For mine, I created a little house to hide all the wires that also allowed my paper crane to sit on top. It's fairly simple, but I didn't want to distract away from the crane switch too much. I used the leftover paper from making the crane to make the house, so no material was wasted. I folder the paper around to hide the wires but allow the power input to come trough, and created a little window for the LEDs to peek out of. The crane's wires came out the top where the crane sat.