PART A
1. I created the shape using the polyline function, and at each step i specified the length I wanted the segment to be so that it would match the exact footprint.

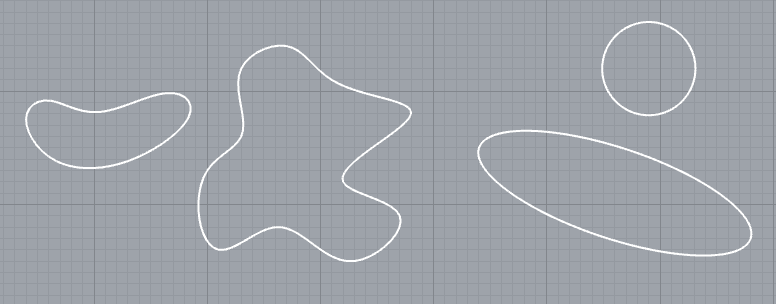
2. I used the Curves and InterpCurves functions to create two closed curves.
3. I used the Circle and Ellipse functions to create another two closed curves.
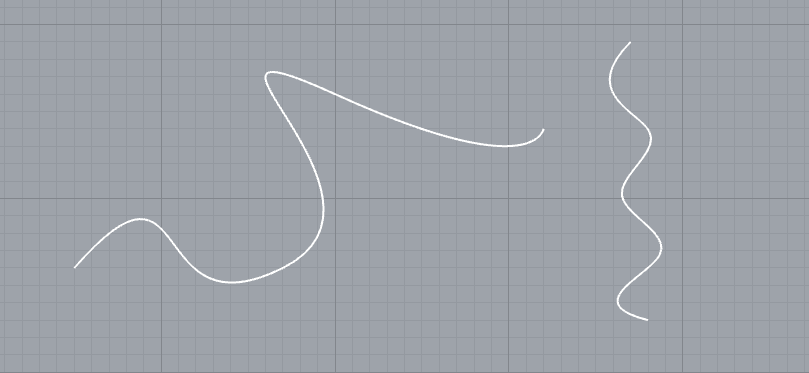
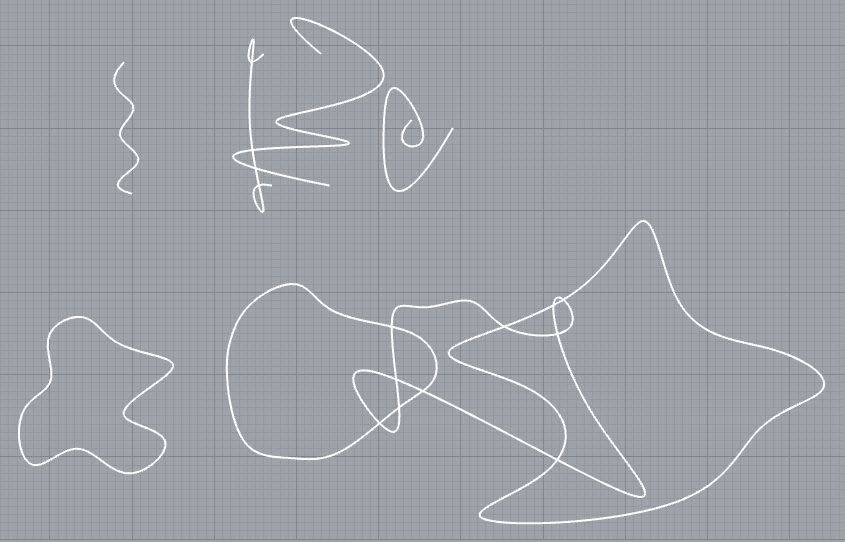
4. I created two open curves with the Curves and HandleCurves functions.
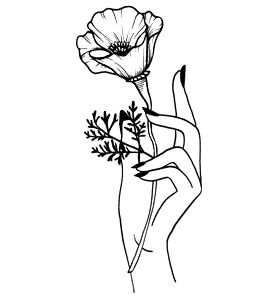
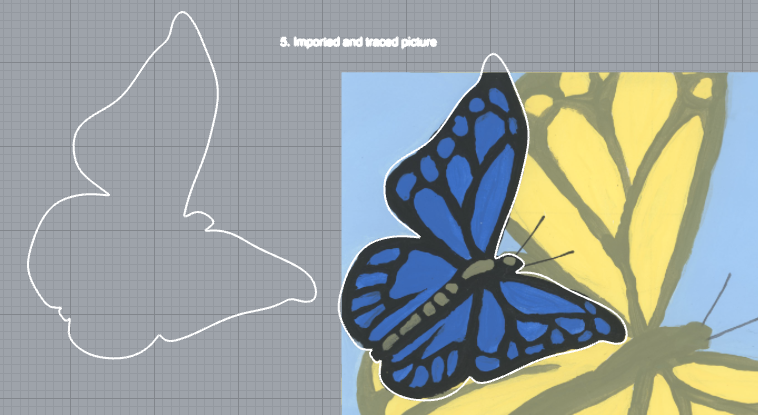
5. I imported a picture from my computer and traced the picture with the InterpCurves function.
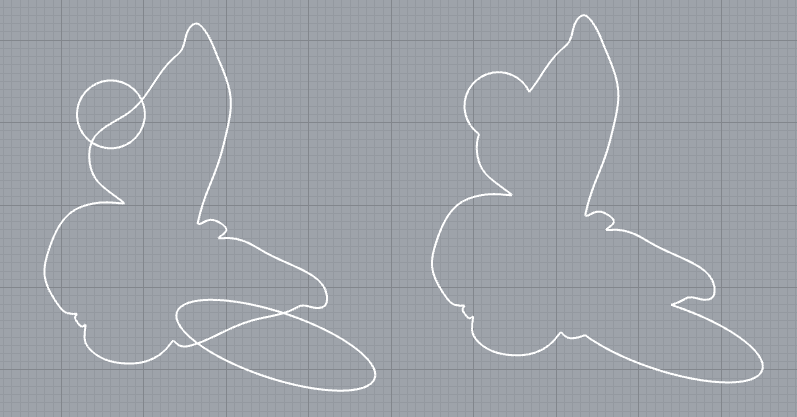
6. I picked one of my closed curves and one open curve and made three copies of each
7. I used the points to alter each of those copies into new shapes.
8. I took 3 of my closed curves and layered them over each other.
9. I used split, trim, and join to form a new closed curve from the three shapes.
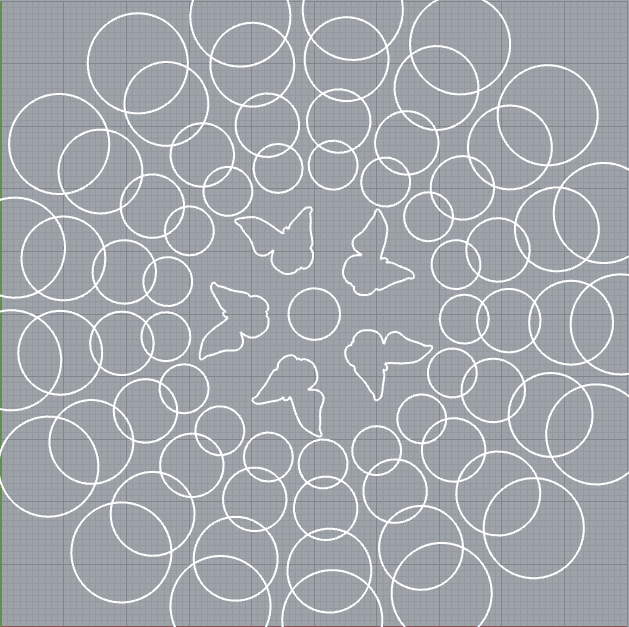
10. I used the Polar Array transformation to create a fun mandala pattern.
11. I then organized all the curves and added text to make my steps clear.

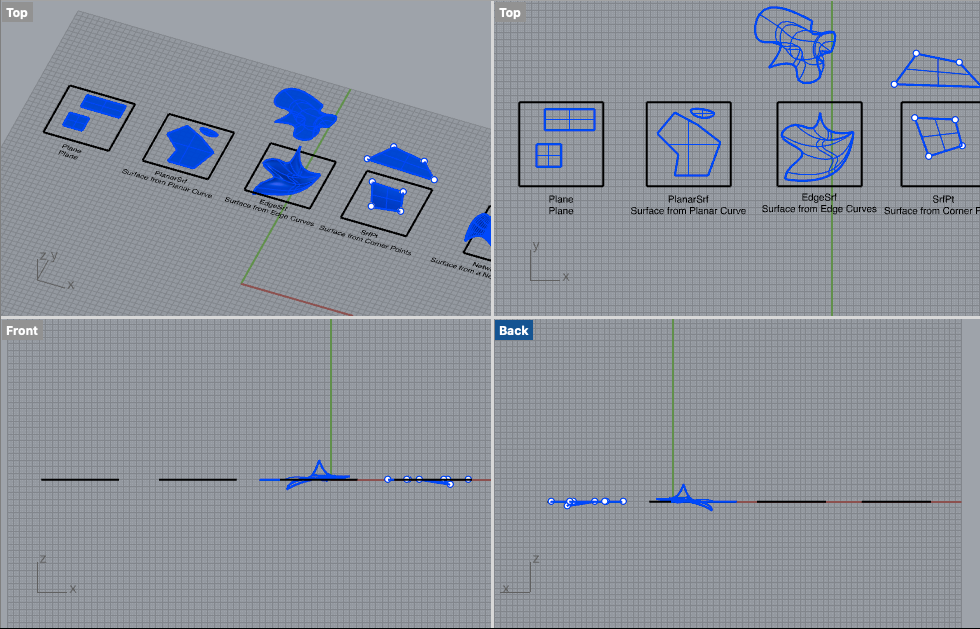
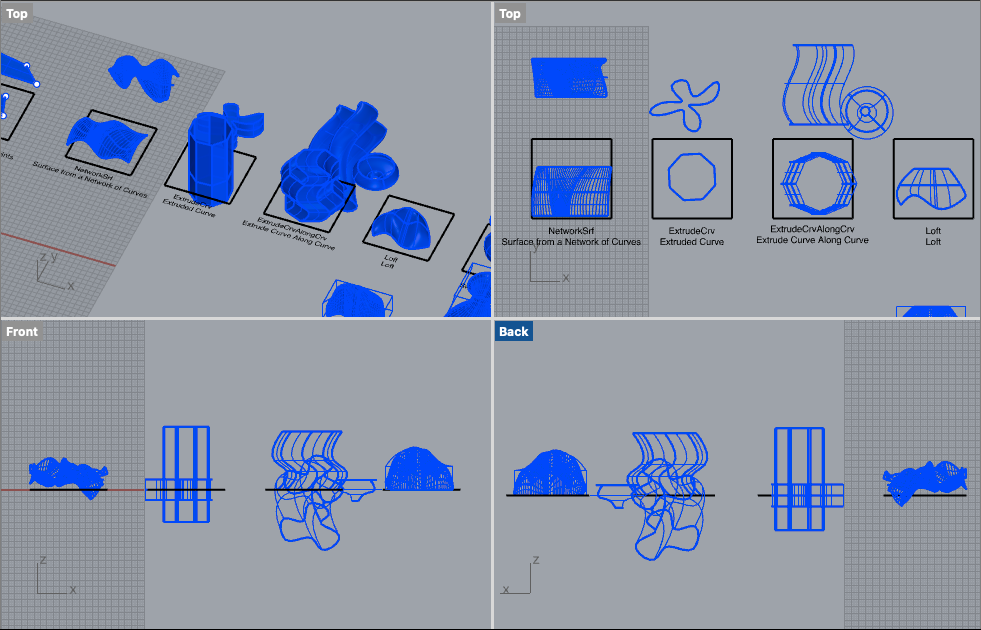
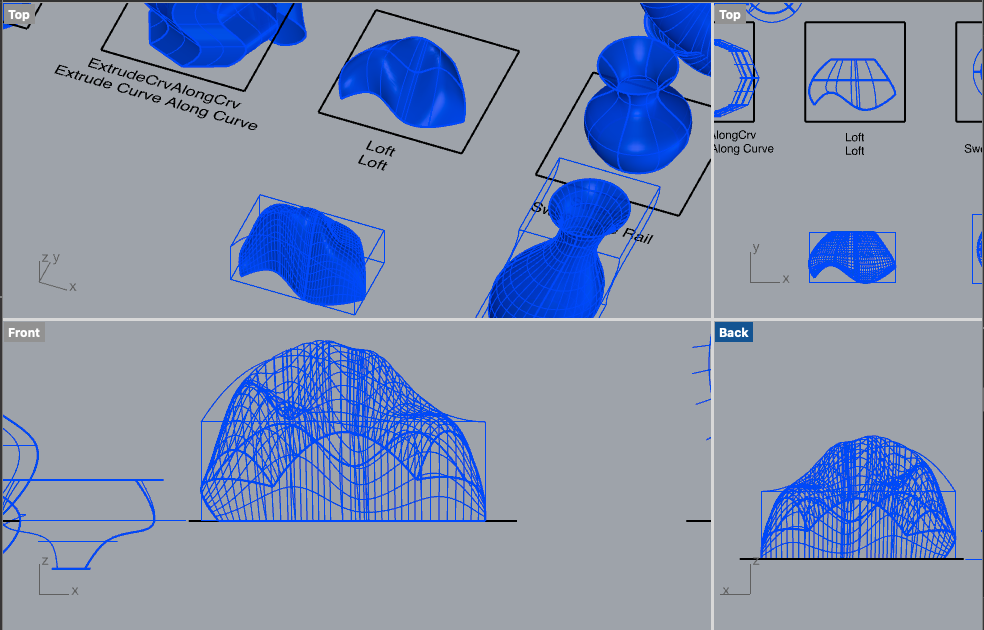
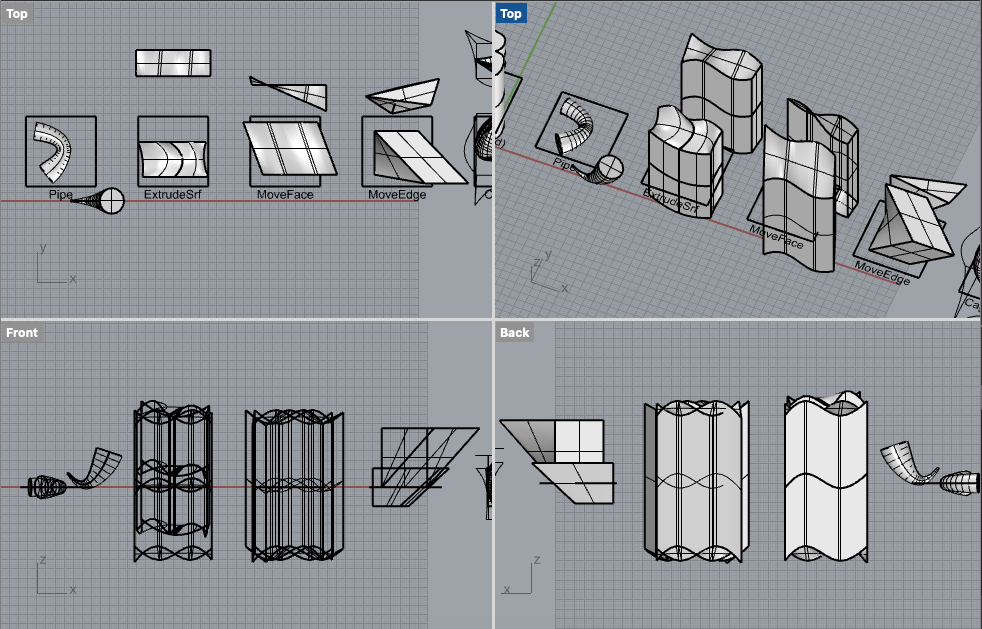
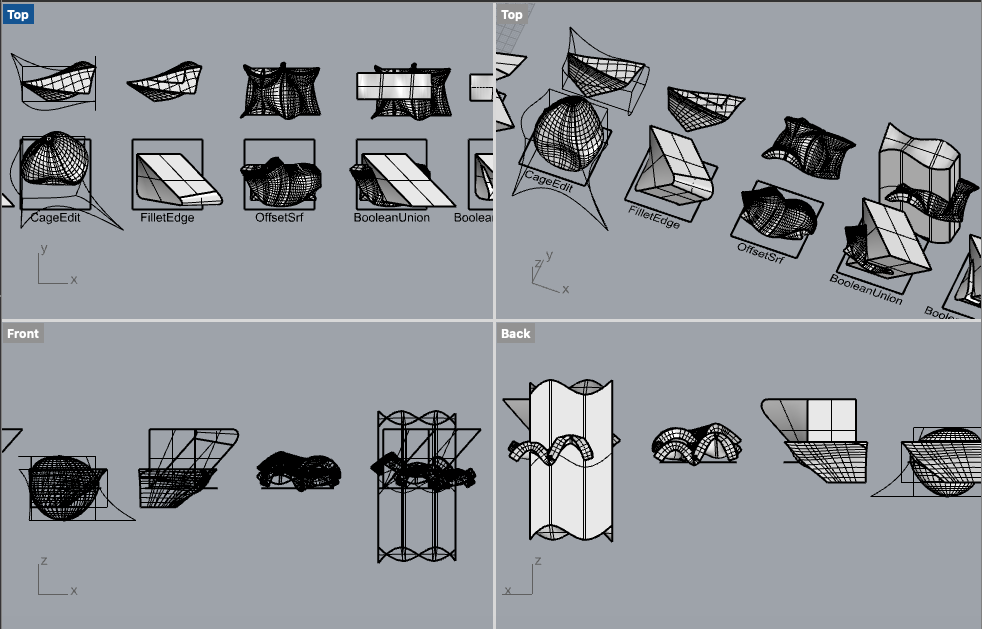
PART B: SURFACES
For this part, we had to make 2 surfaces using each of the 12 commands. For each of the surfaces, my first attempt was usually pretty similar to the example given in lecture. For my second attempt at each command, I tried to get a little more creative with the shapes. I felt very comfortable with the commands up until Network Surface, because I got very lost then. The other commands seemed pretty straightforward. I think I found Loft the easiest and most effective of all of them.
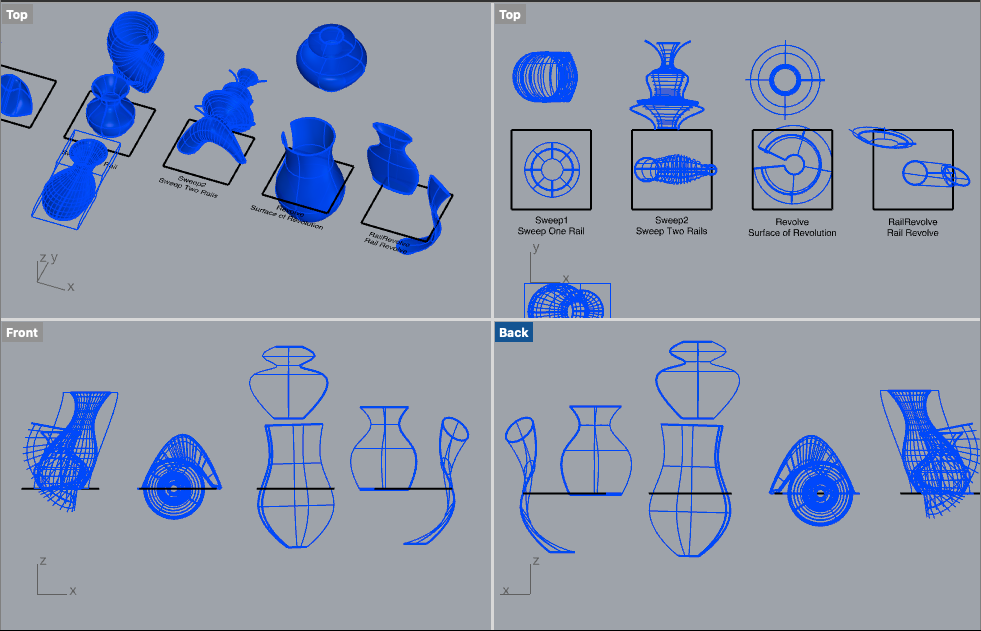
the surfaces I chose to sketch were the curved surface I made with loft, and a vase shaped surface I made with sweep 1. I sketched out some of the different views, and then some modifications. Then, I used cage edit to try to model the modifications I drew.


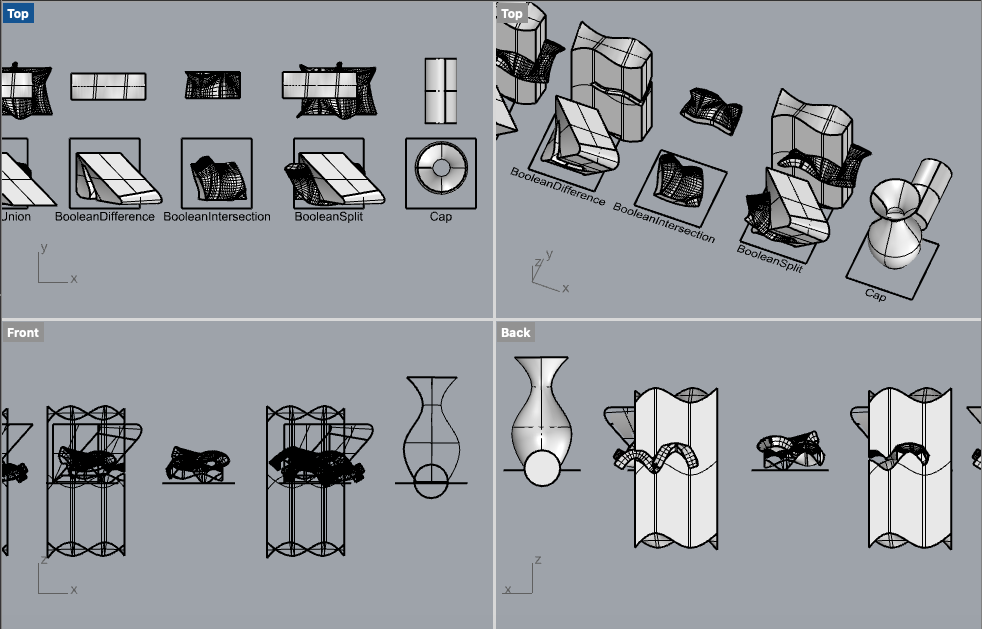
PART C: SOLIDS
This part was similar to the one we had for surfaces. For each command, we had to create 2 solids. For my first solid, I followed and modeled similar to what was shown in lecture. For the second iteration, I tried to do something a little different than what was shown to practice other skills. I felt pretty good with most of these commands, especially after having already done surfaces the week prior. The only ones I felt a bit confused on were FilletEdge and Offset Surface. I spent a bit more time practicing these commands so I felt ok with them.

PART D
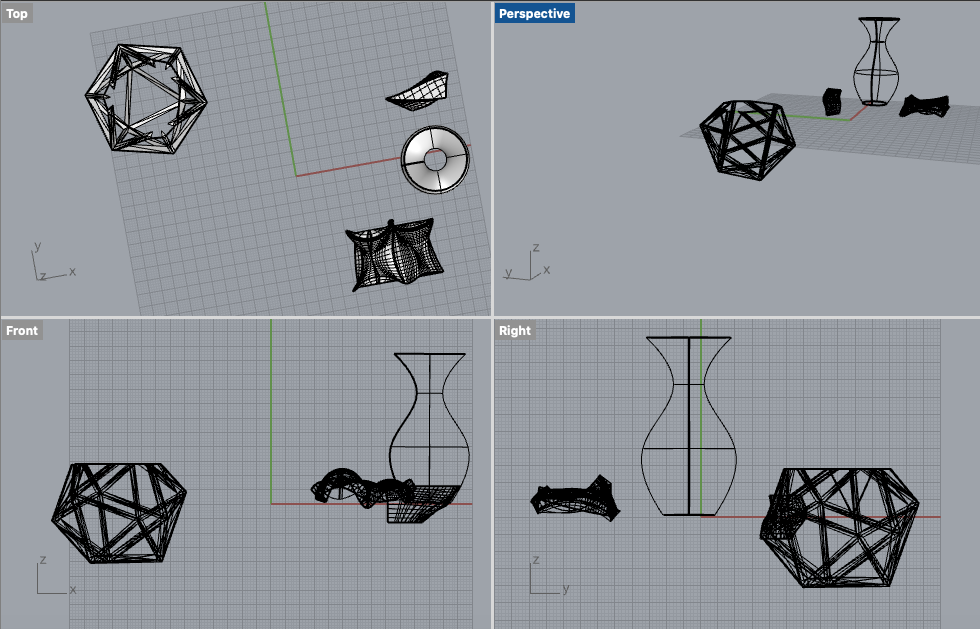
I took 3 of the solid shapes from part C of the lab and put them in their own file to scale them to a more reasonable size. I then tested the components to make sure that they were actually solid and able to print.


I wanted to make something that I would actually enjoy looking at, so I decided to try printing the Odesza logo in 3D (regular icosahedron).
If this shape were to be a part of a modular system, I think that it would fit well with other regular icosahedrons to build a strong but lightweight structure. As its own design, I think it could be used almost like a basket, if there was more of an open top to put things in. I also think it can just exist on its own, as a compelling piece of geometric artwork, or as an element in fashion or jewelry. As a larger structure, I think a shape like this could be incorporated as some kind of a planter or flower bed, with vines growing around it or greenhouse panels in between to create a modern garden setting. For my redesign, I went with the basket idea, so I used Boolean Difference to cut the top of my shape off.
Note: I actually 3-D printed before reading this section of the lab, so I messed up a little bit. I was in a rush to print, so I used a pattern from Thingverse, not realizing we were supposed to use a shape from the lab. I'm not about plagiarism, so here is the file I used: https://www.thingiverse.com/thing:3490522. To make up for this, I did practice exporting my own Rhino files and making sure everything was watertight, as well as modifying the original shape.