For my final, I want to take advantage of material that I already have to fill a current need of mine. I want to create alternative planters, very different than typical pots. I have a lot of recycled scrap material, as well as some old broken planters I want to fix up.
My first idea was to create planters by reinventing recycled materials. My family goes through a lot of plastic, so I could use some of those containers in new ways to create long-lasting planters.
My next idea is to use creative fabrication to fix up broken pots and planters we have, I found some old, large, ceramic shards, and I want to rebuild them into pots that look nothing like the originals.
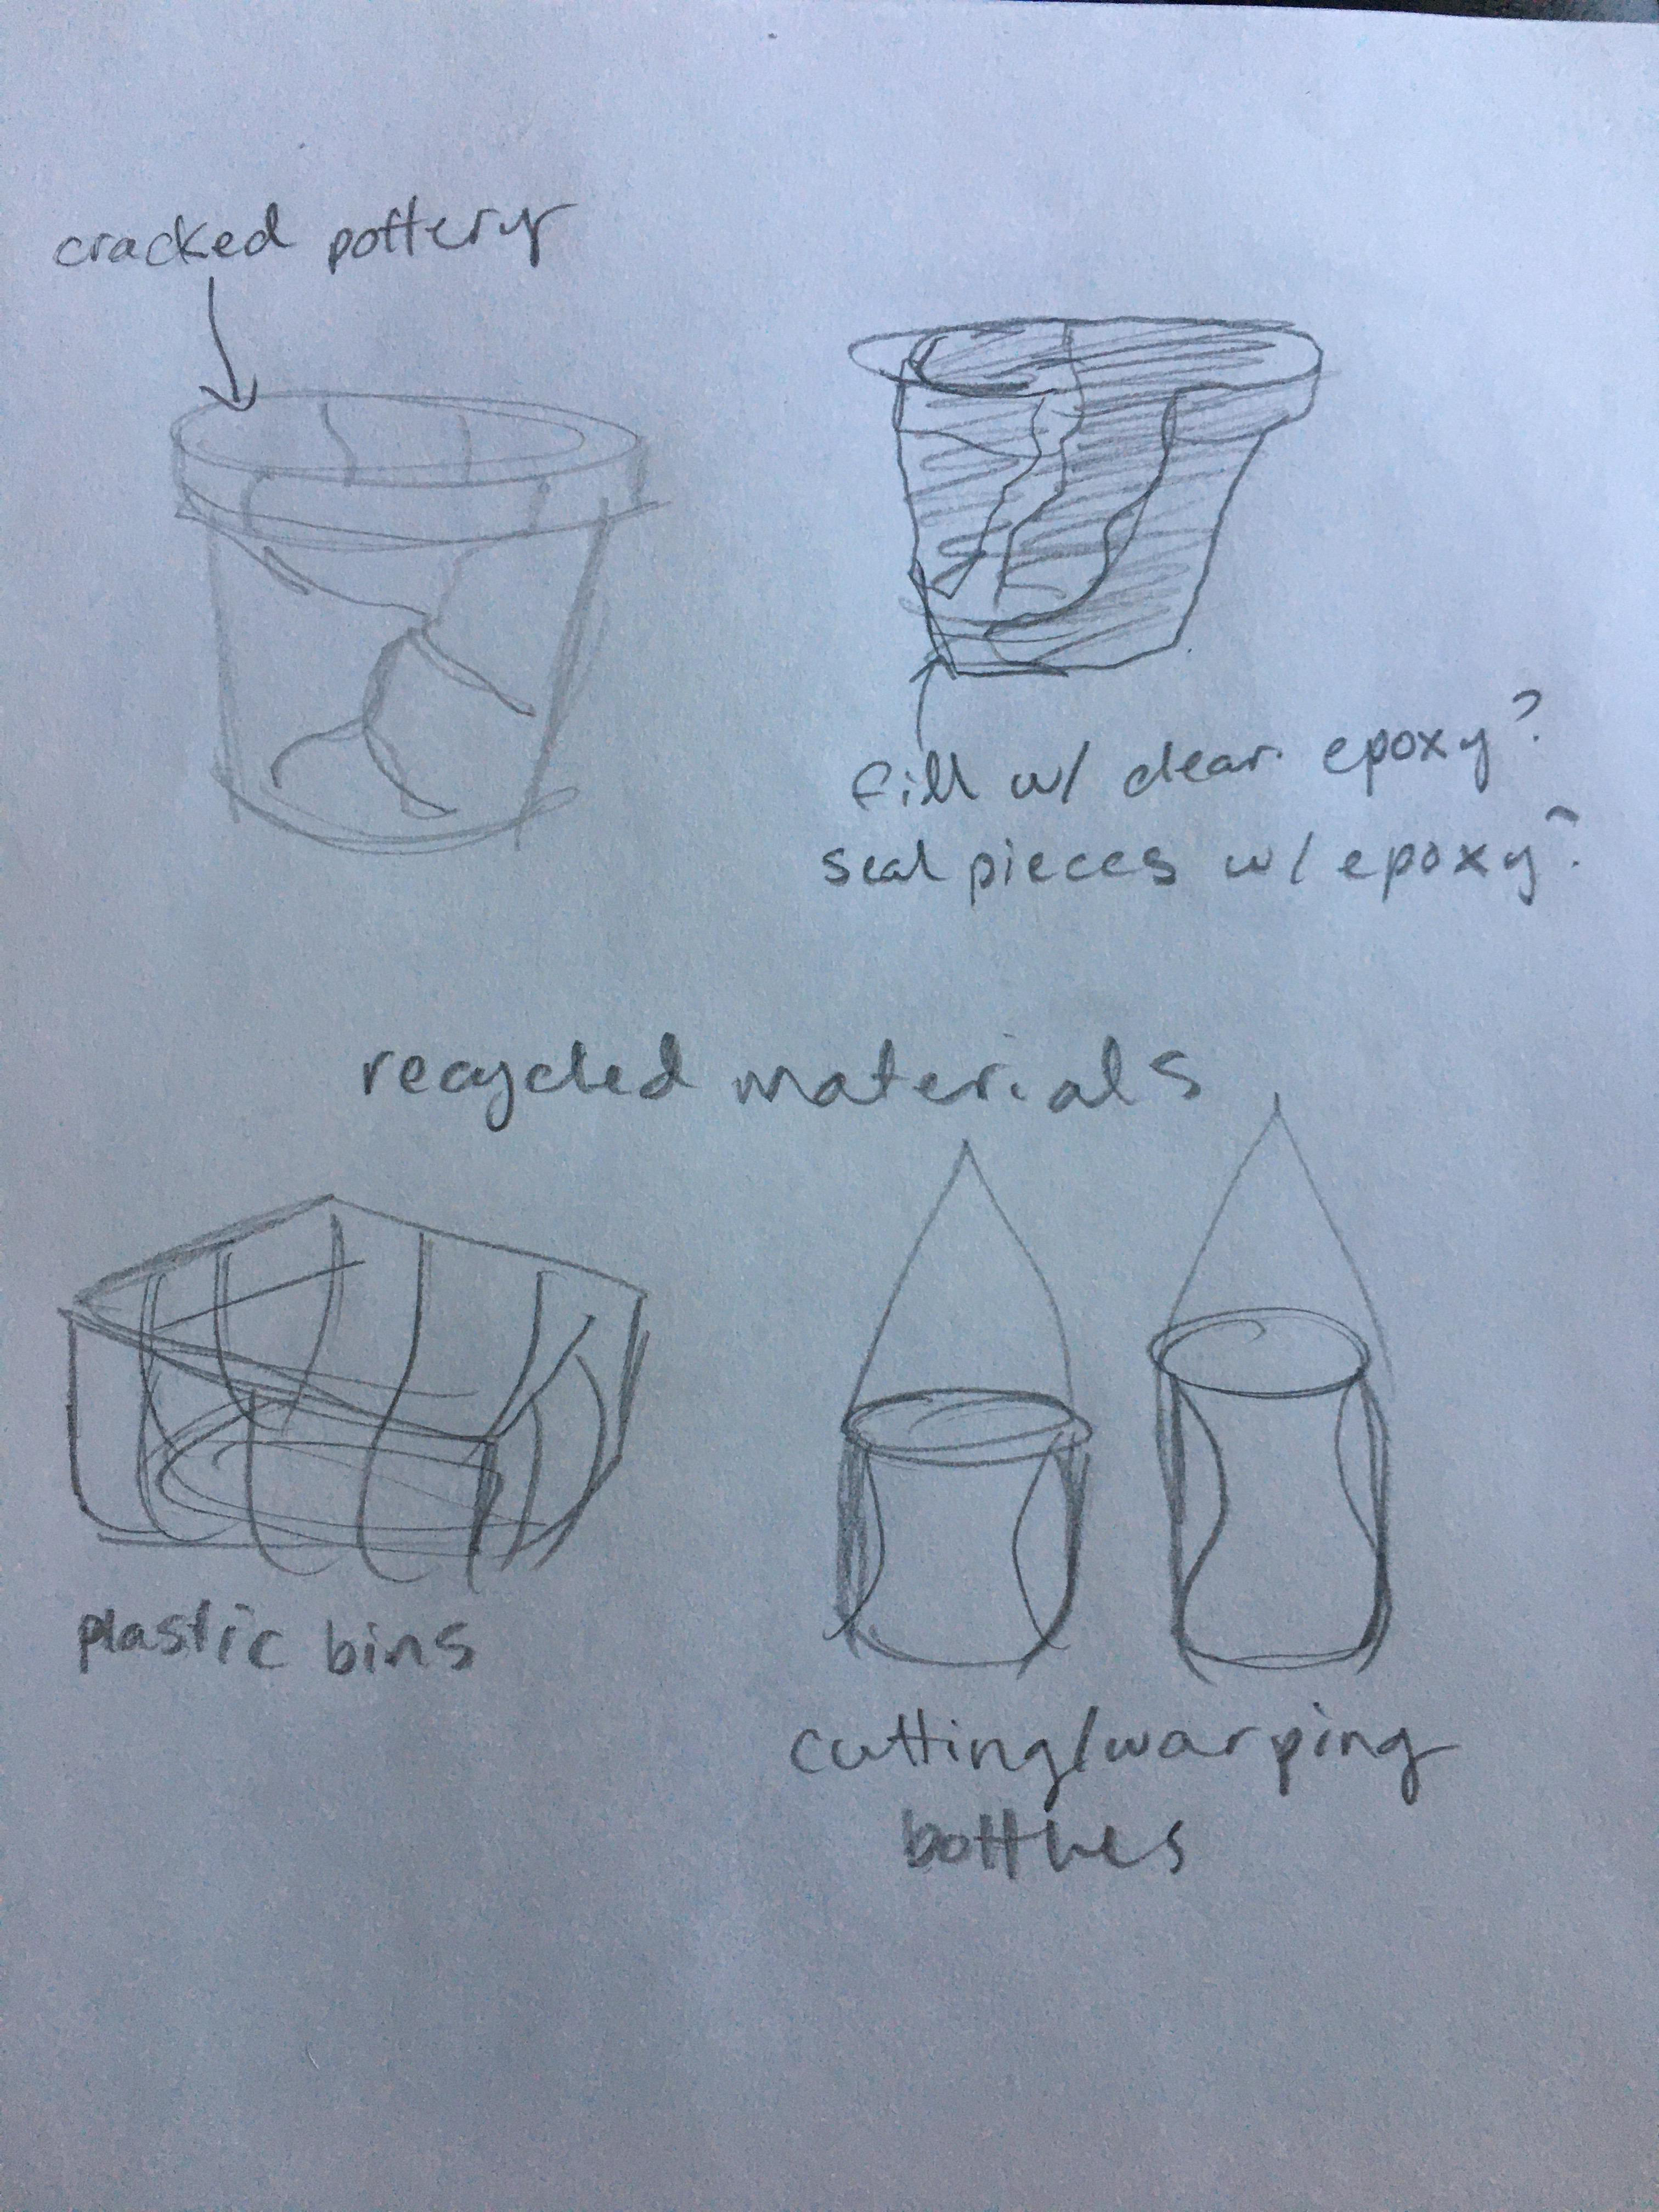
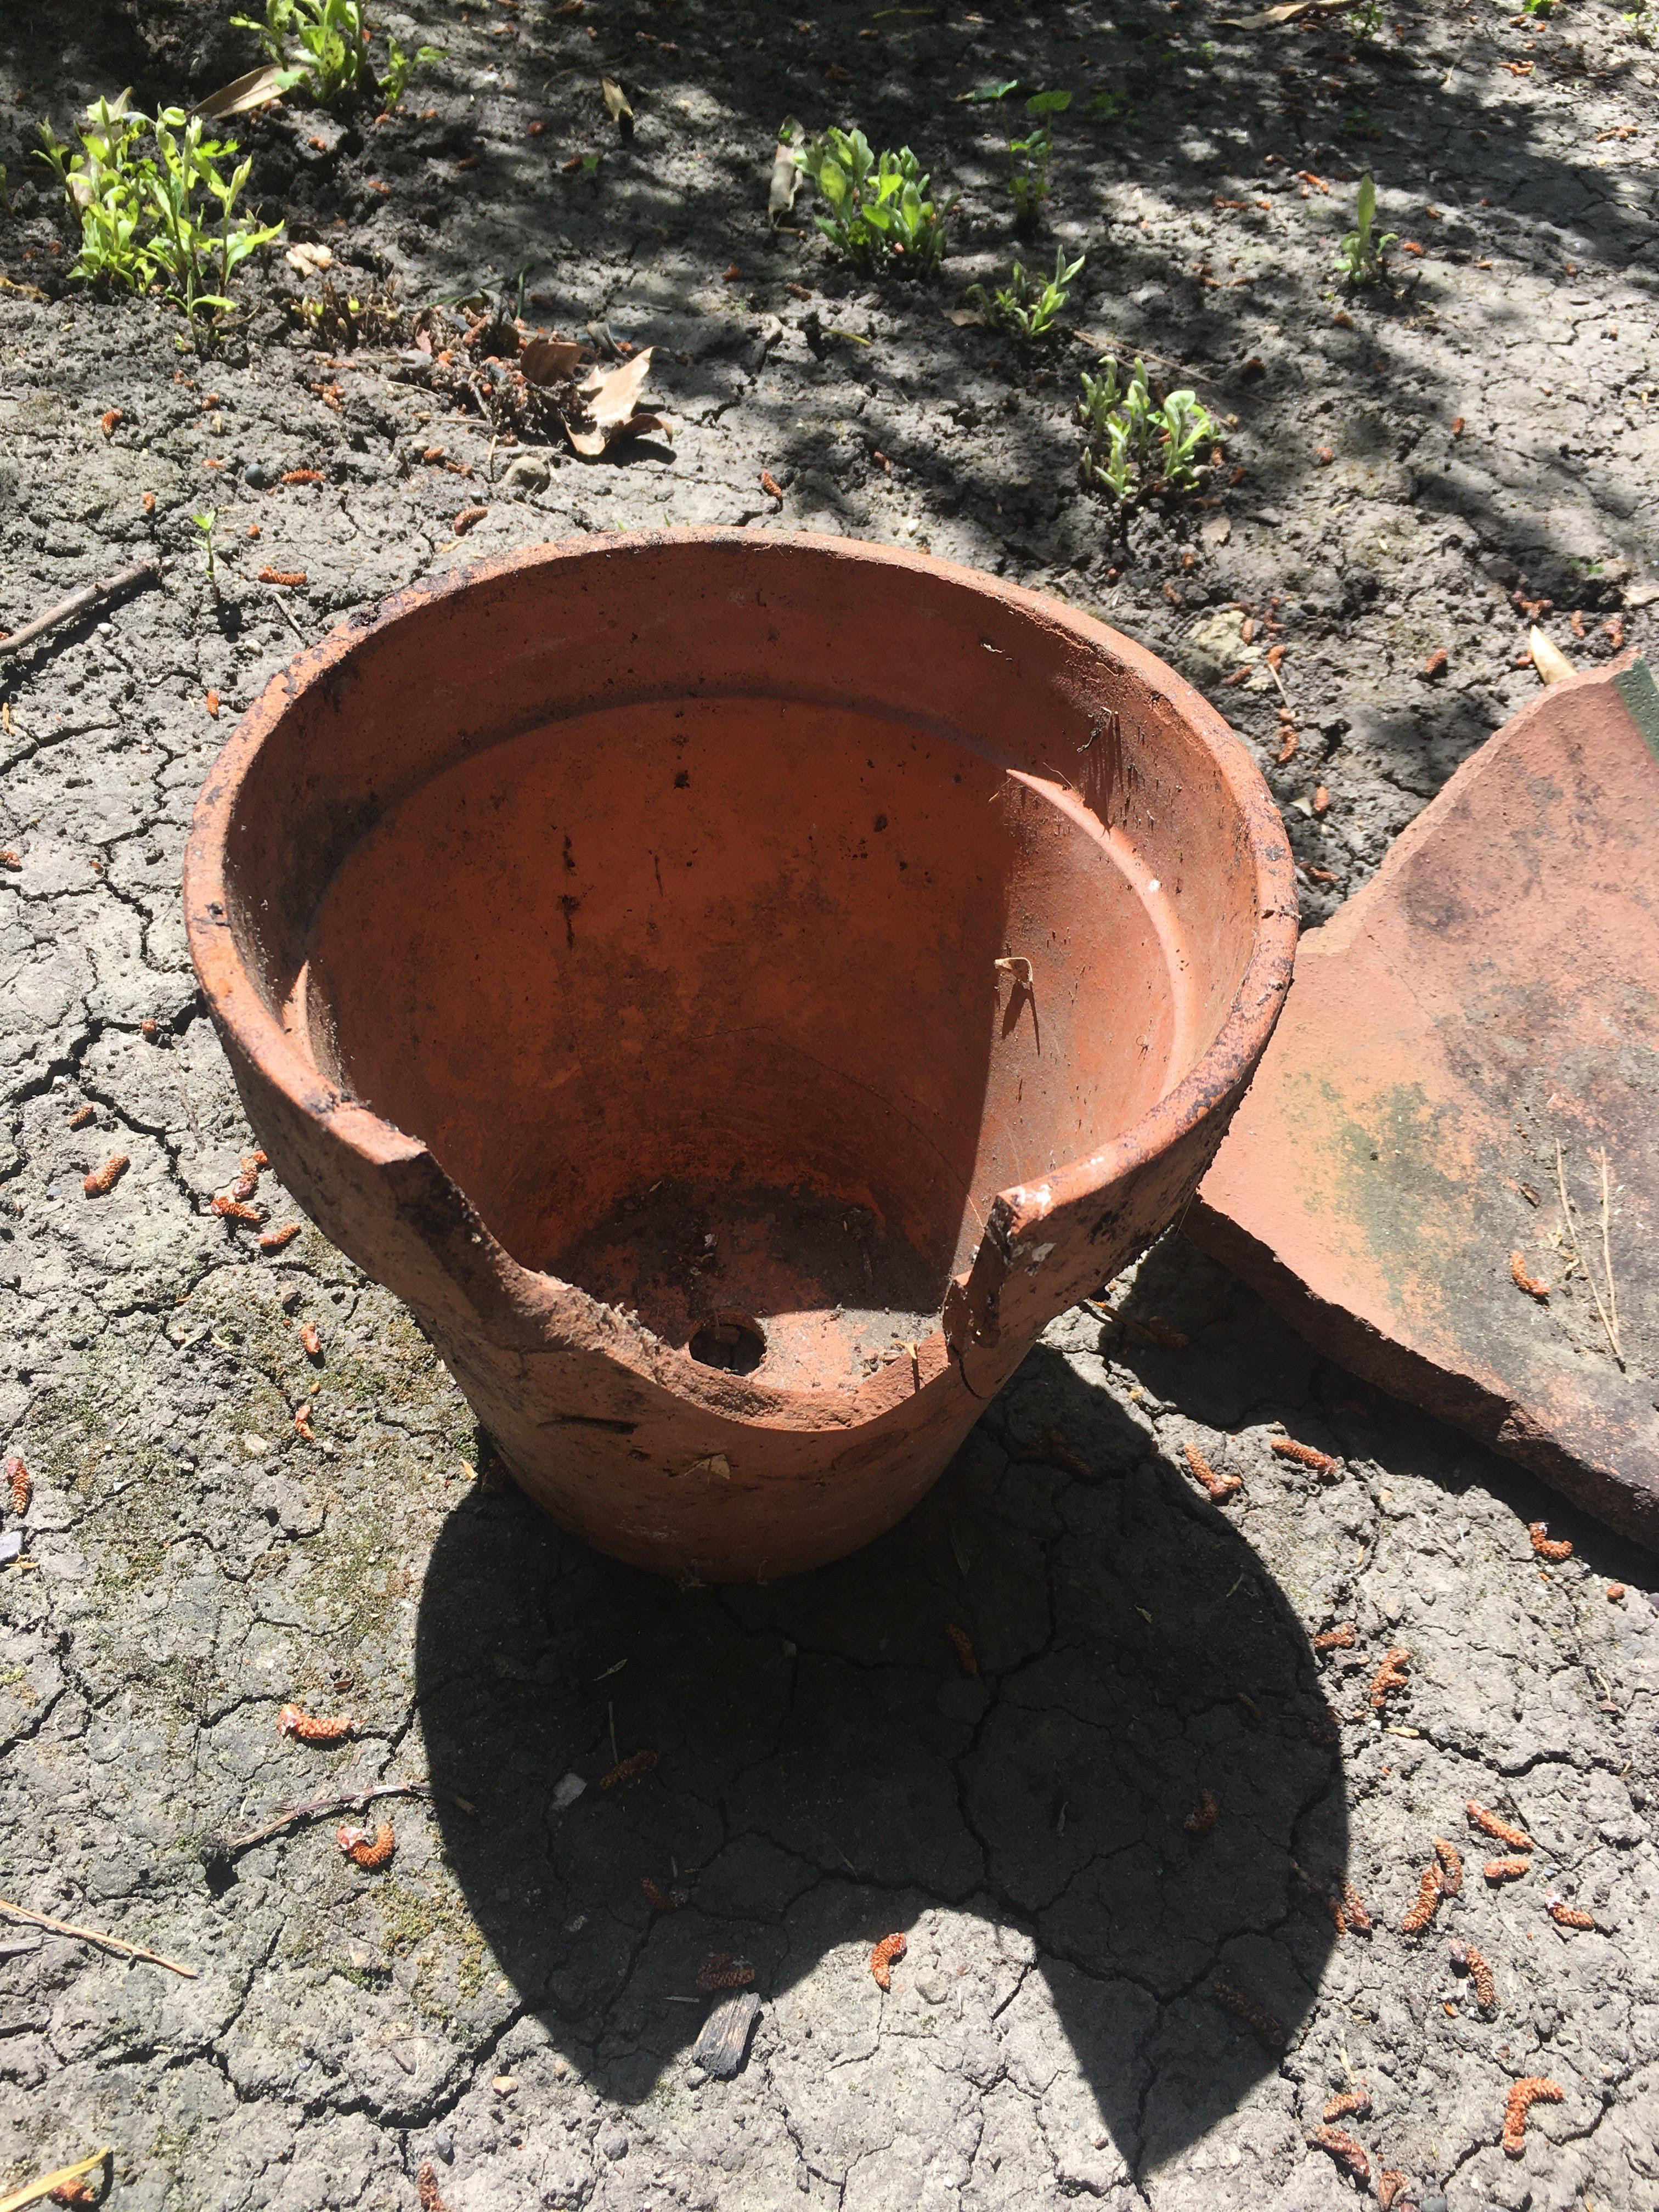
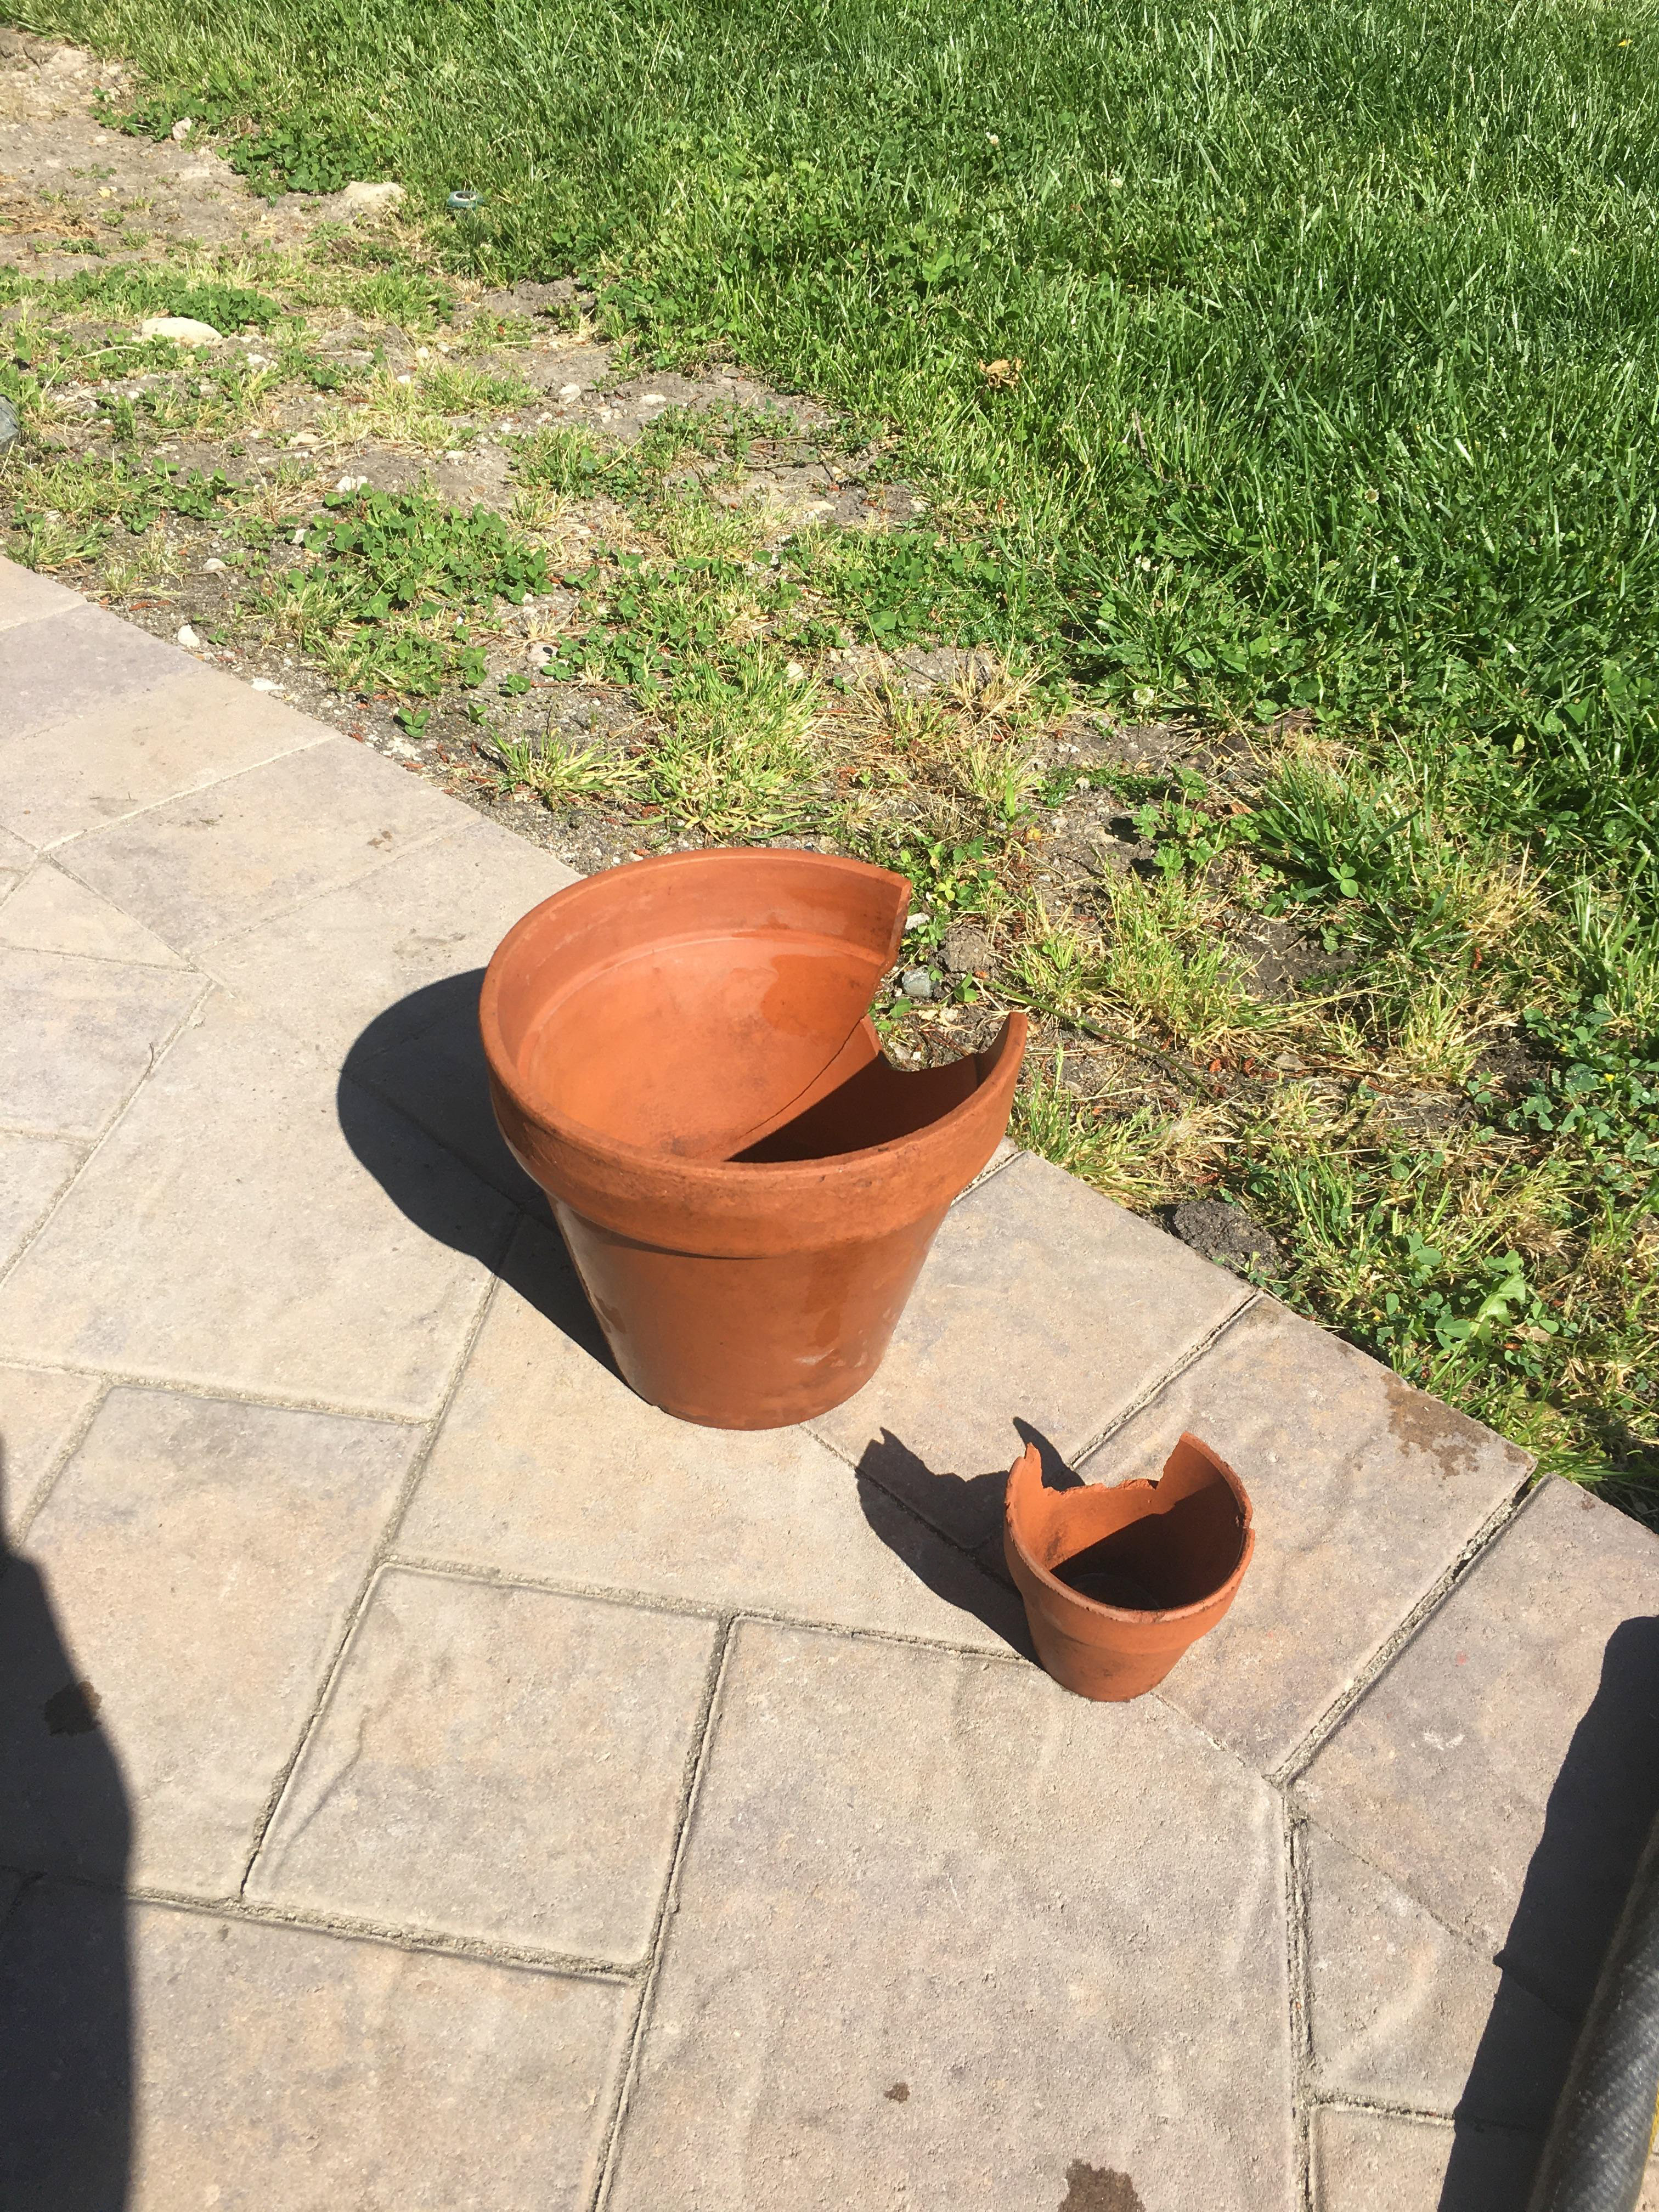
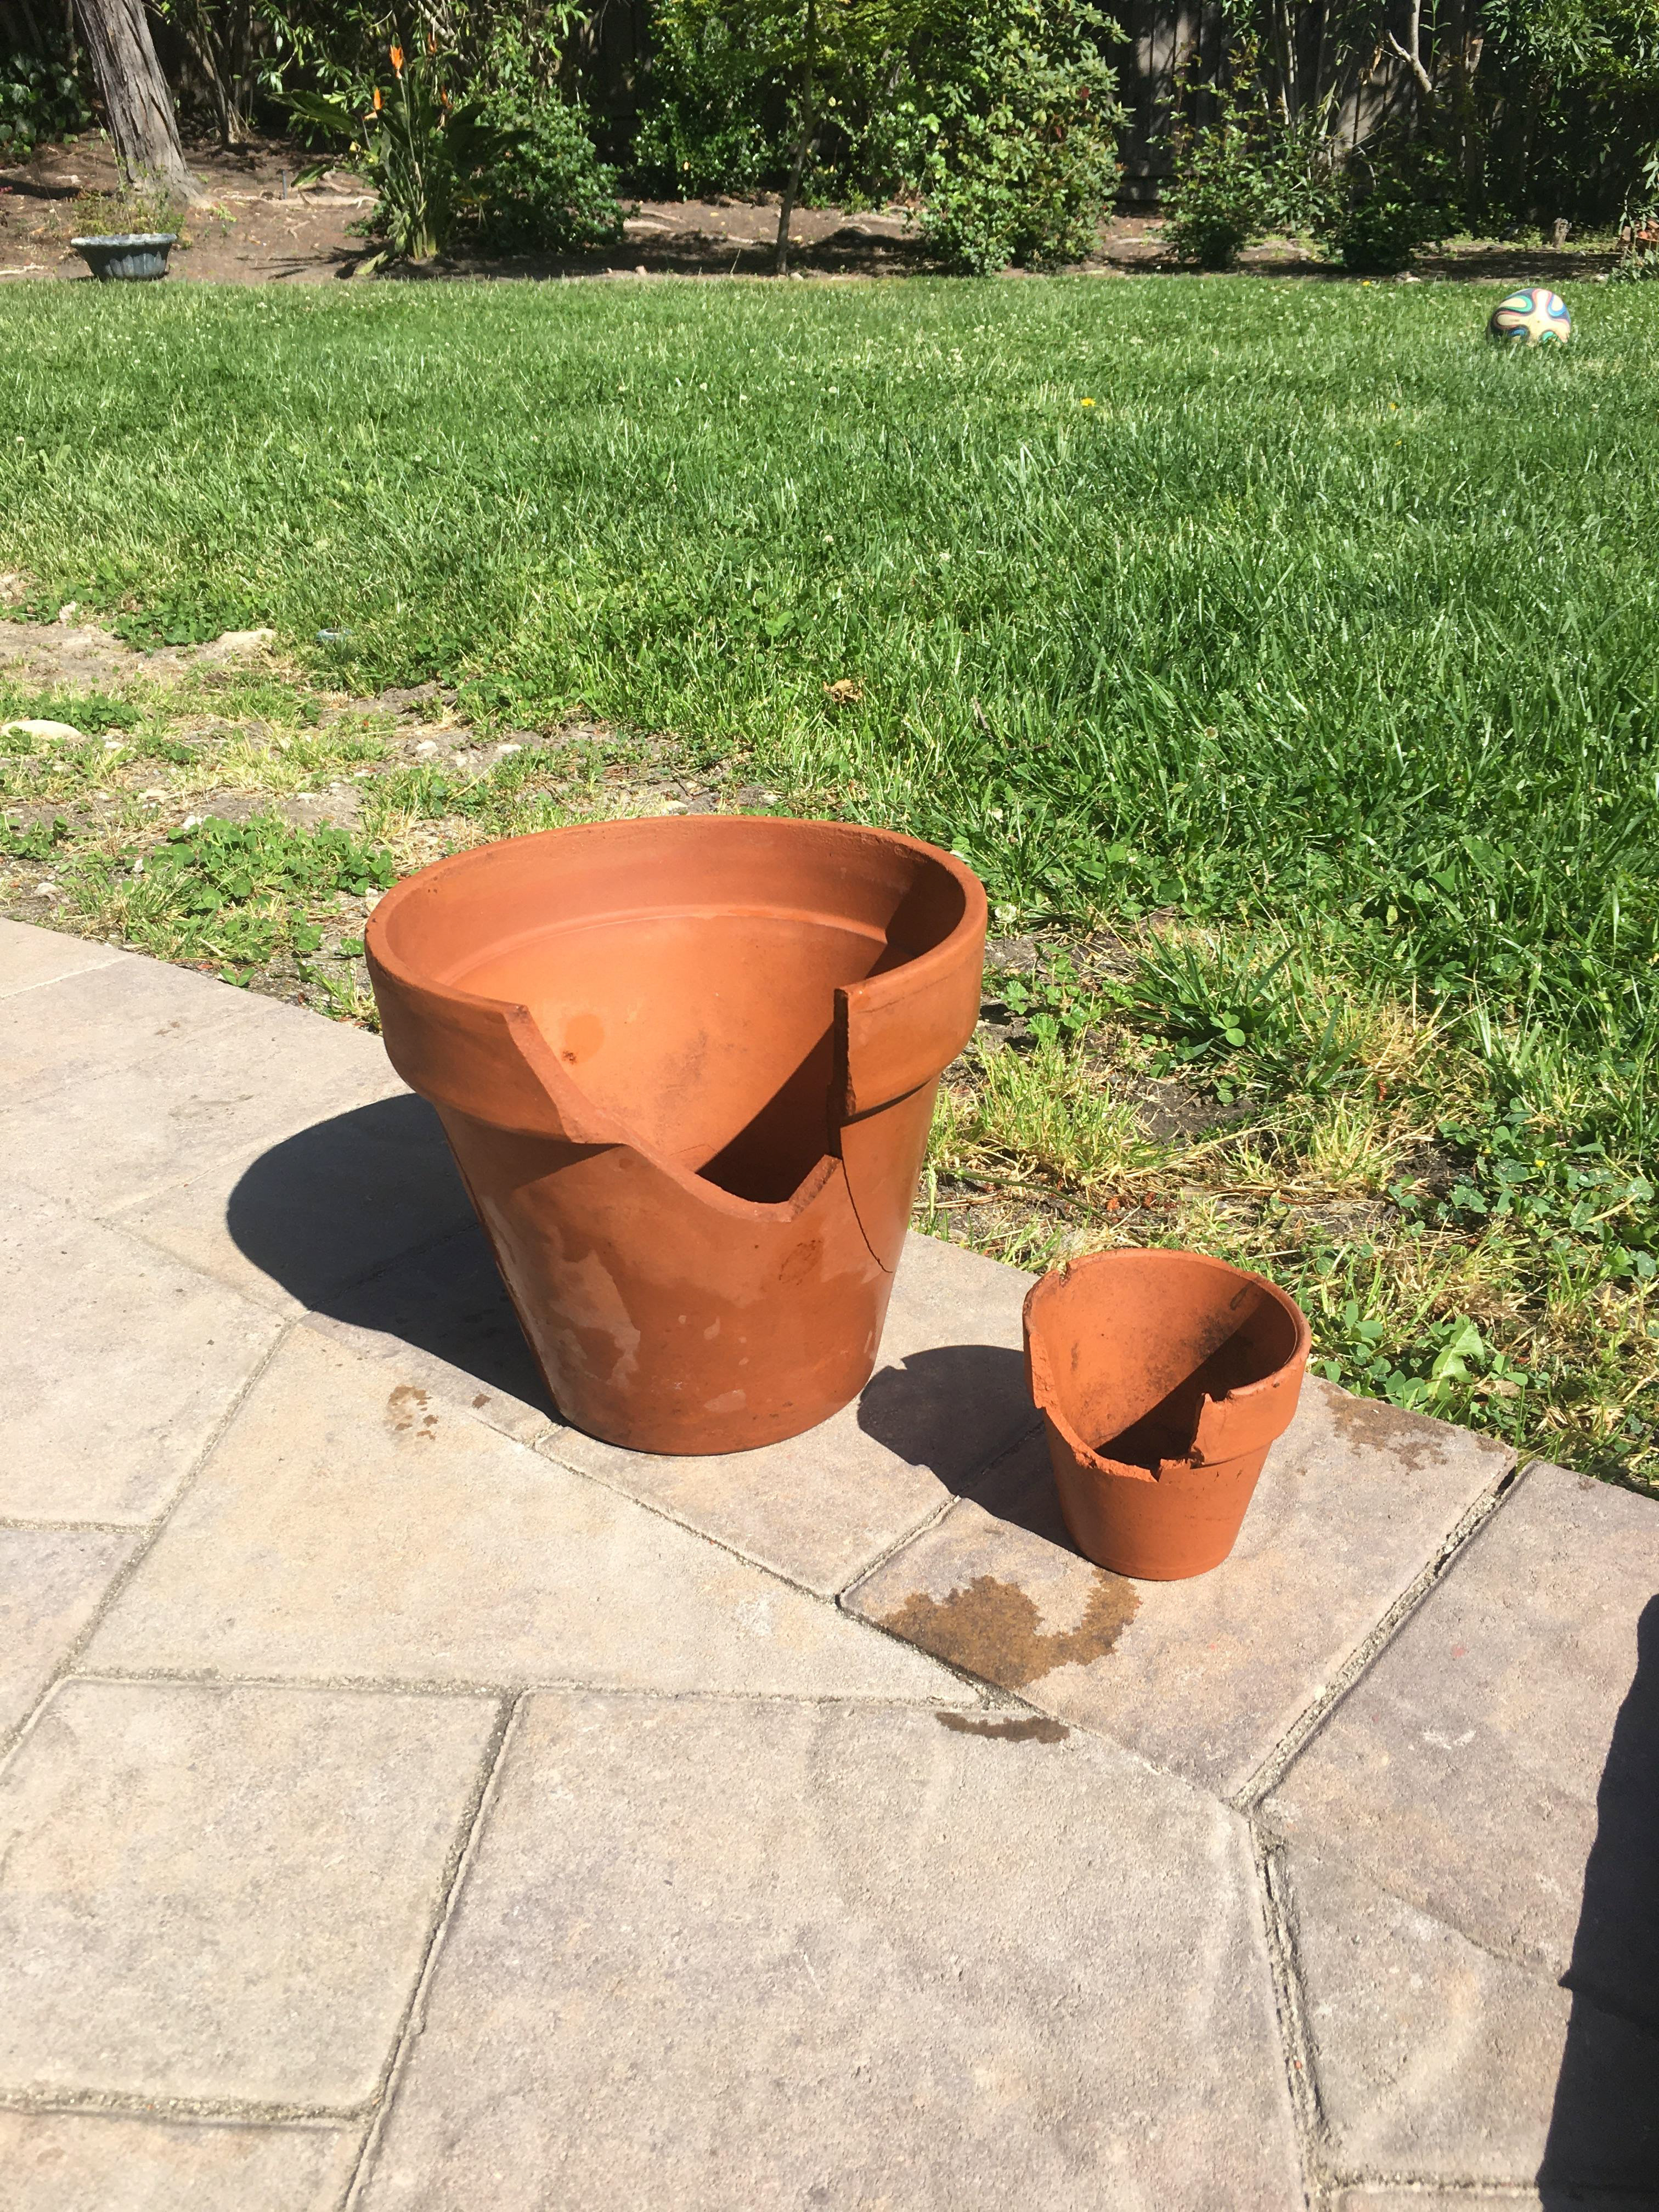
I found some broken pots in my backyard that I decided I wanted to work with. One was a medium size pot that had a large chunk broken on one side, the others were shards of a very large pot that are big and heavy. I decided that the main part of my project would use the medium size pot because it is a lot more manageable to work with. My plan is to fill in the cracked part with clear epoxy, or possibly colored transparent epoxy. I may incorporate the shards in some way as part of my sculpture, but I'm not sure as of now.

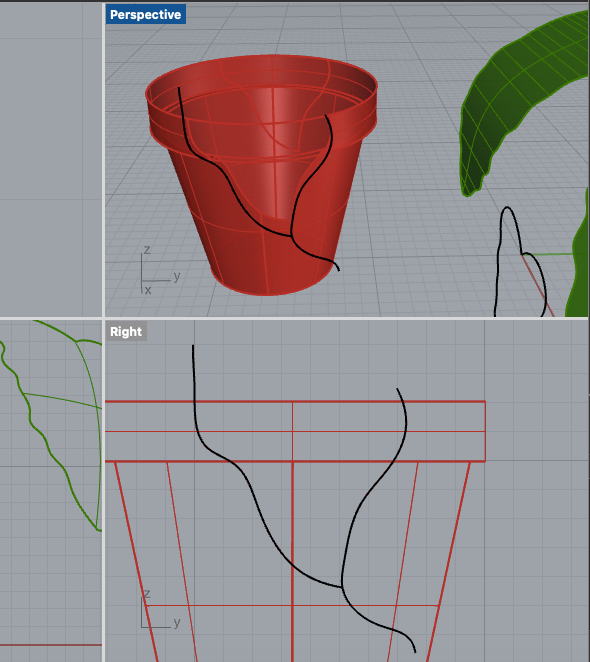
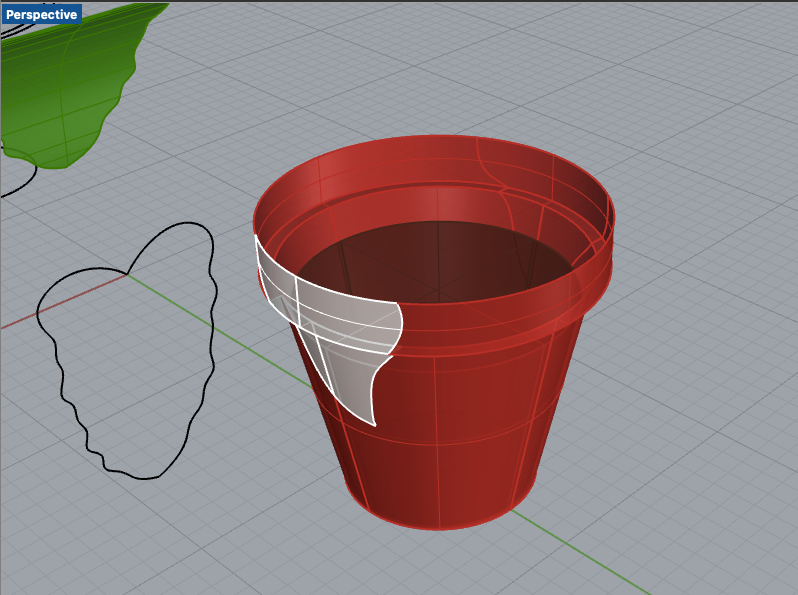
To model the pot, I first did a basic model of a pot. I created concentric circles that outlines the main part of the pot, the bottom and the rim. Then, I lofted the curved into a bottom piece and rim piece, and capped both. I exploded both and removed the unneeded parts to make it an open pot. Then, I joined the whole thing together to make a surface. To make the crack, I outlined the shape of the crack in front of the pot surface. Then, I split the pot according to the curve for the crack, and rejoined where needed.
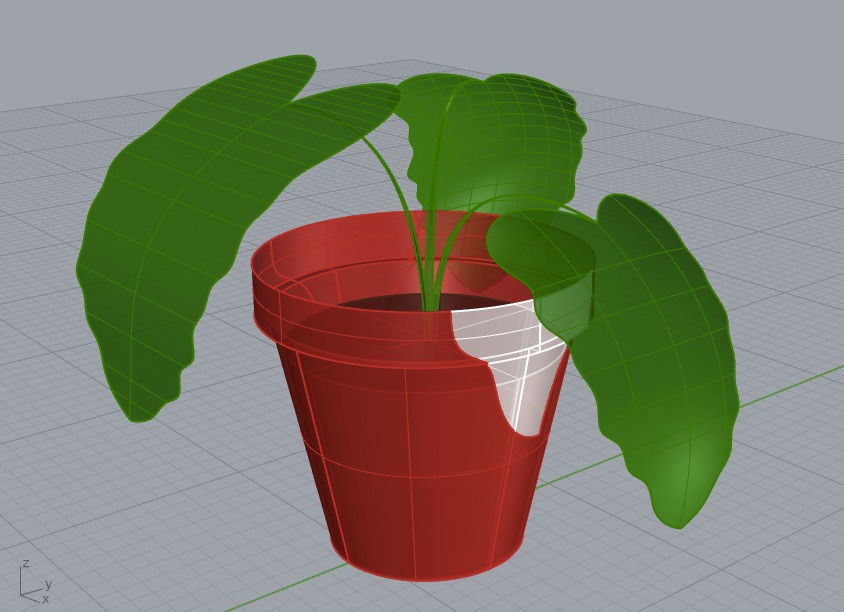
Next, I made a plant and dirt to fill in the pot. I created the leaves of the plant by outlining curves, converting into a surface, and cage editing the surface into different leaves using a rectangle. I created the dirt by using the circles I used to create the pot and lofting a new surface, and then slicing and scaling down so it would fit inside the pot. Then, I created long stem-shaped surfaces that I put in the middle of the dirt and cage edited and transformed until I had a plant I liked. Then, I attached the leaves to the stems.

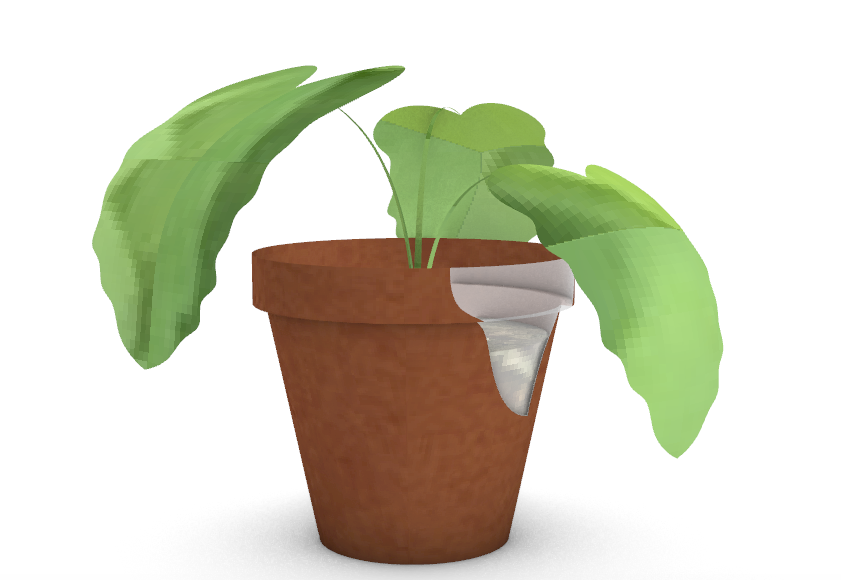
Once I had the final shape of the pot, I rendered it to look a little more realistic. I used terracotta for the pot, plastic for the section I'm going to fill with epoxy, and mulch for the dirt. Rhino didn't have a great option for leaves, so I used a bush texture option instead.

To start fabricating, I first needed to clean off the pottery. By this time, I had also dropped and cracked another smaller pot so I decided to add that to the project as well. I washed them down with a hose, then scrubbed off the dirt on the outside and around the areas I would cast the epoxy. I let these dry thoroughly in the sun before proceeding.
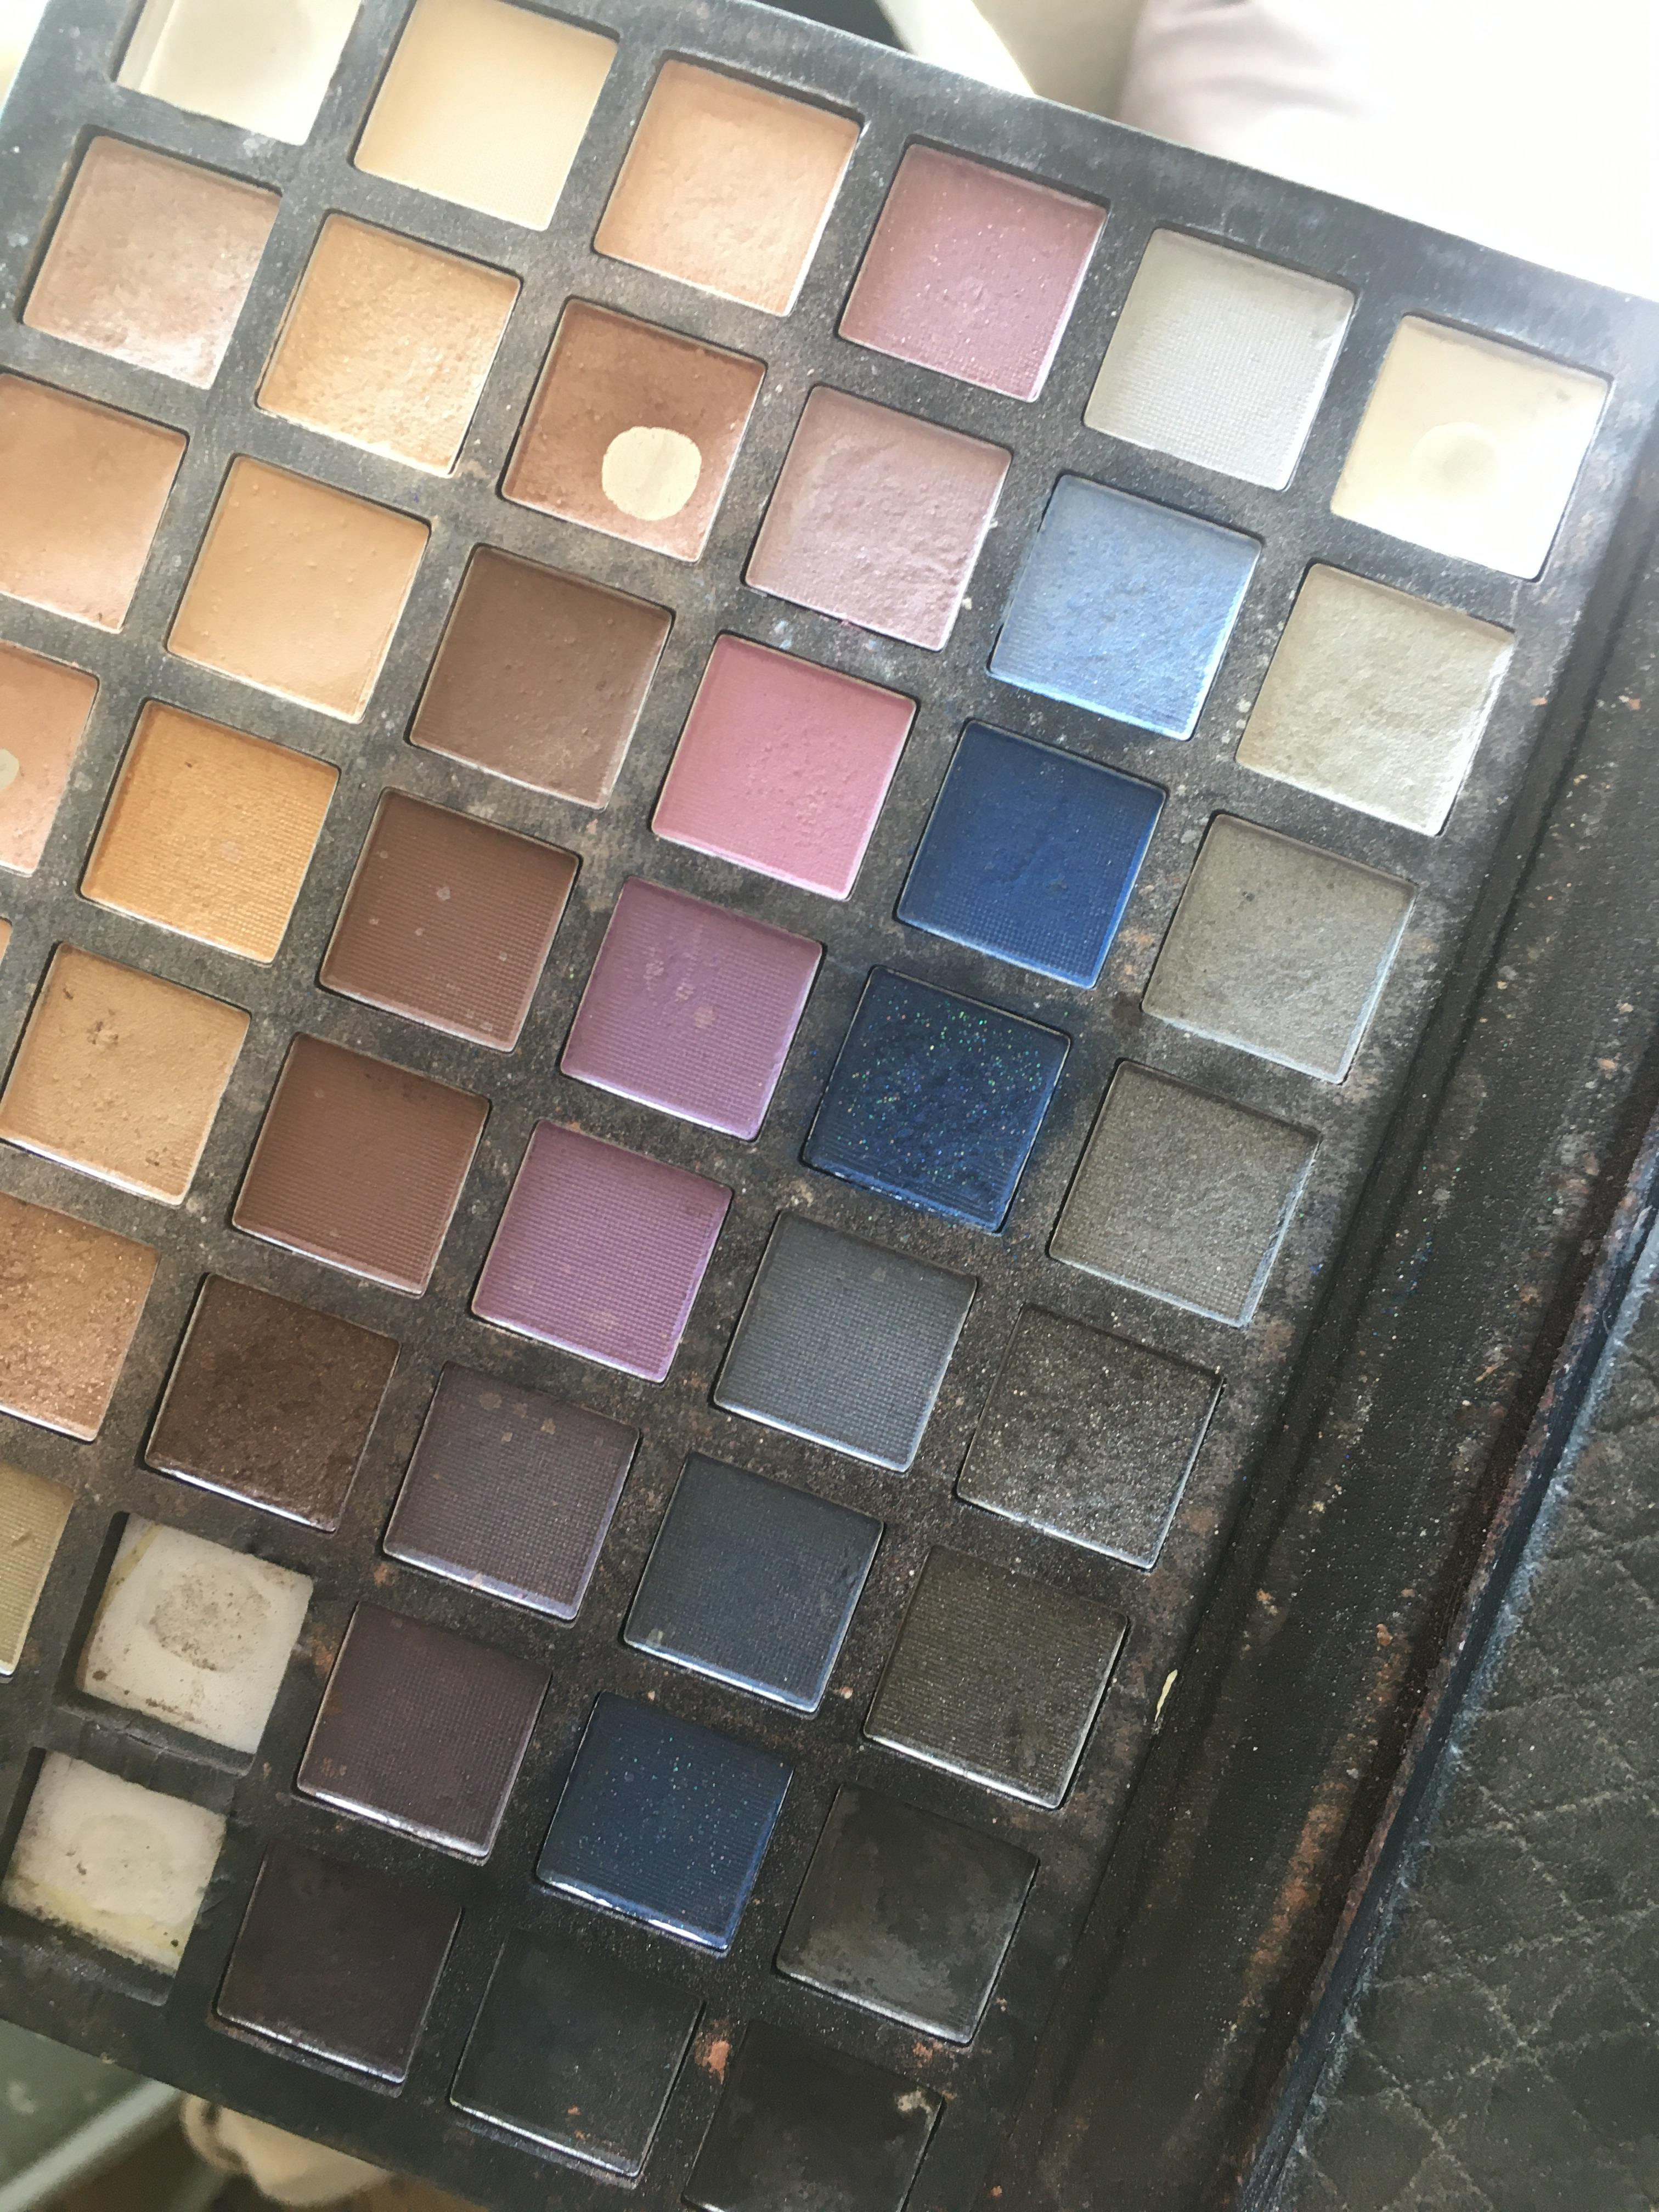
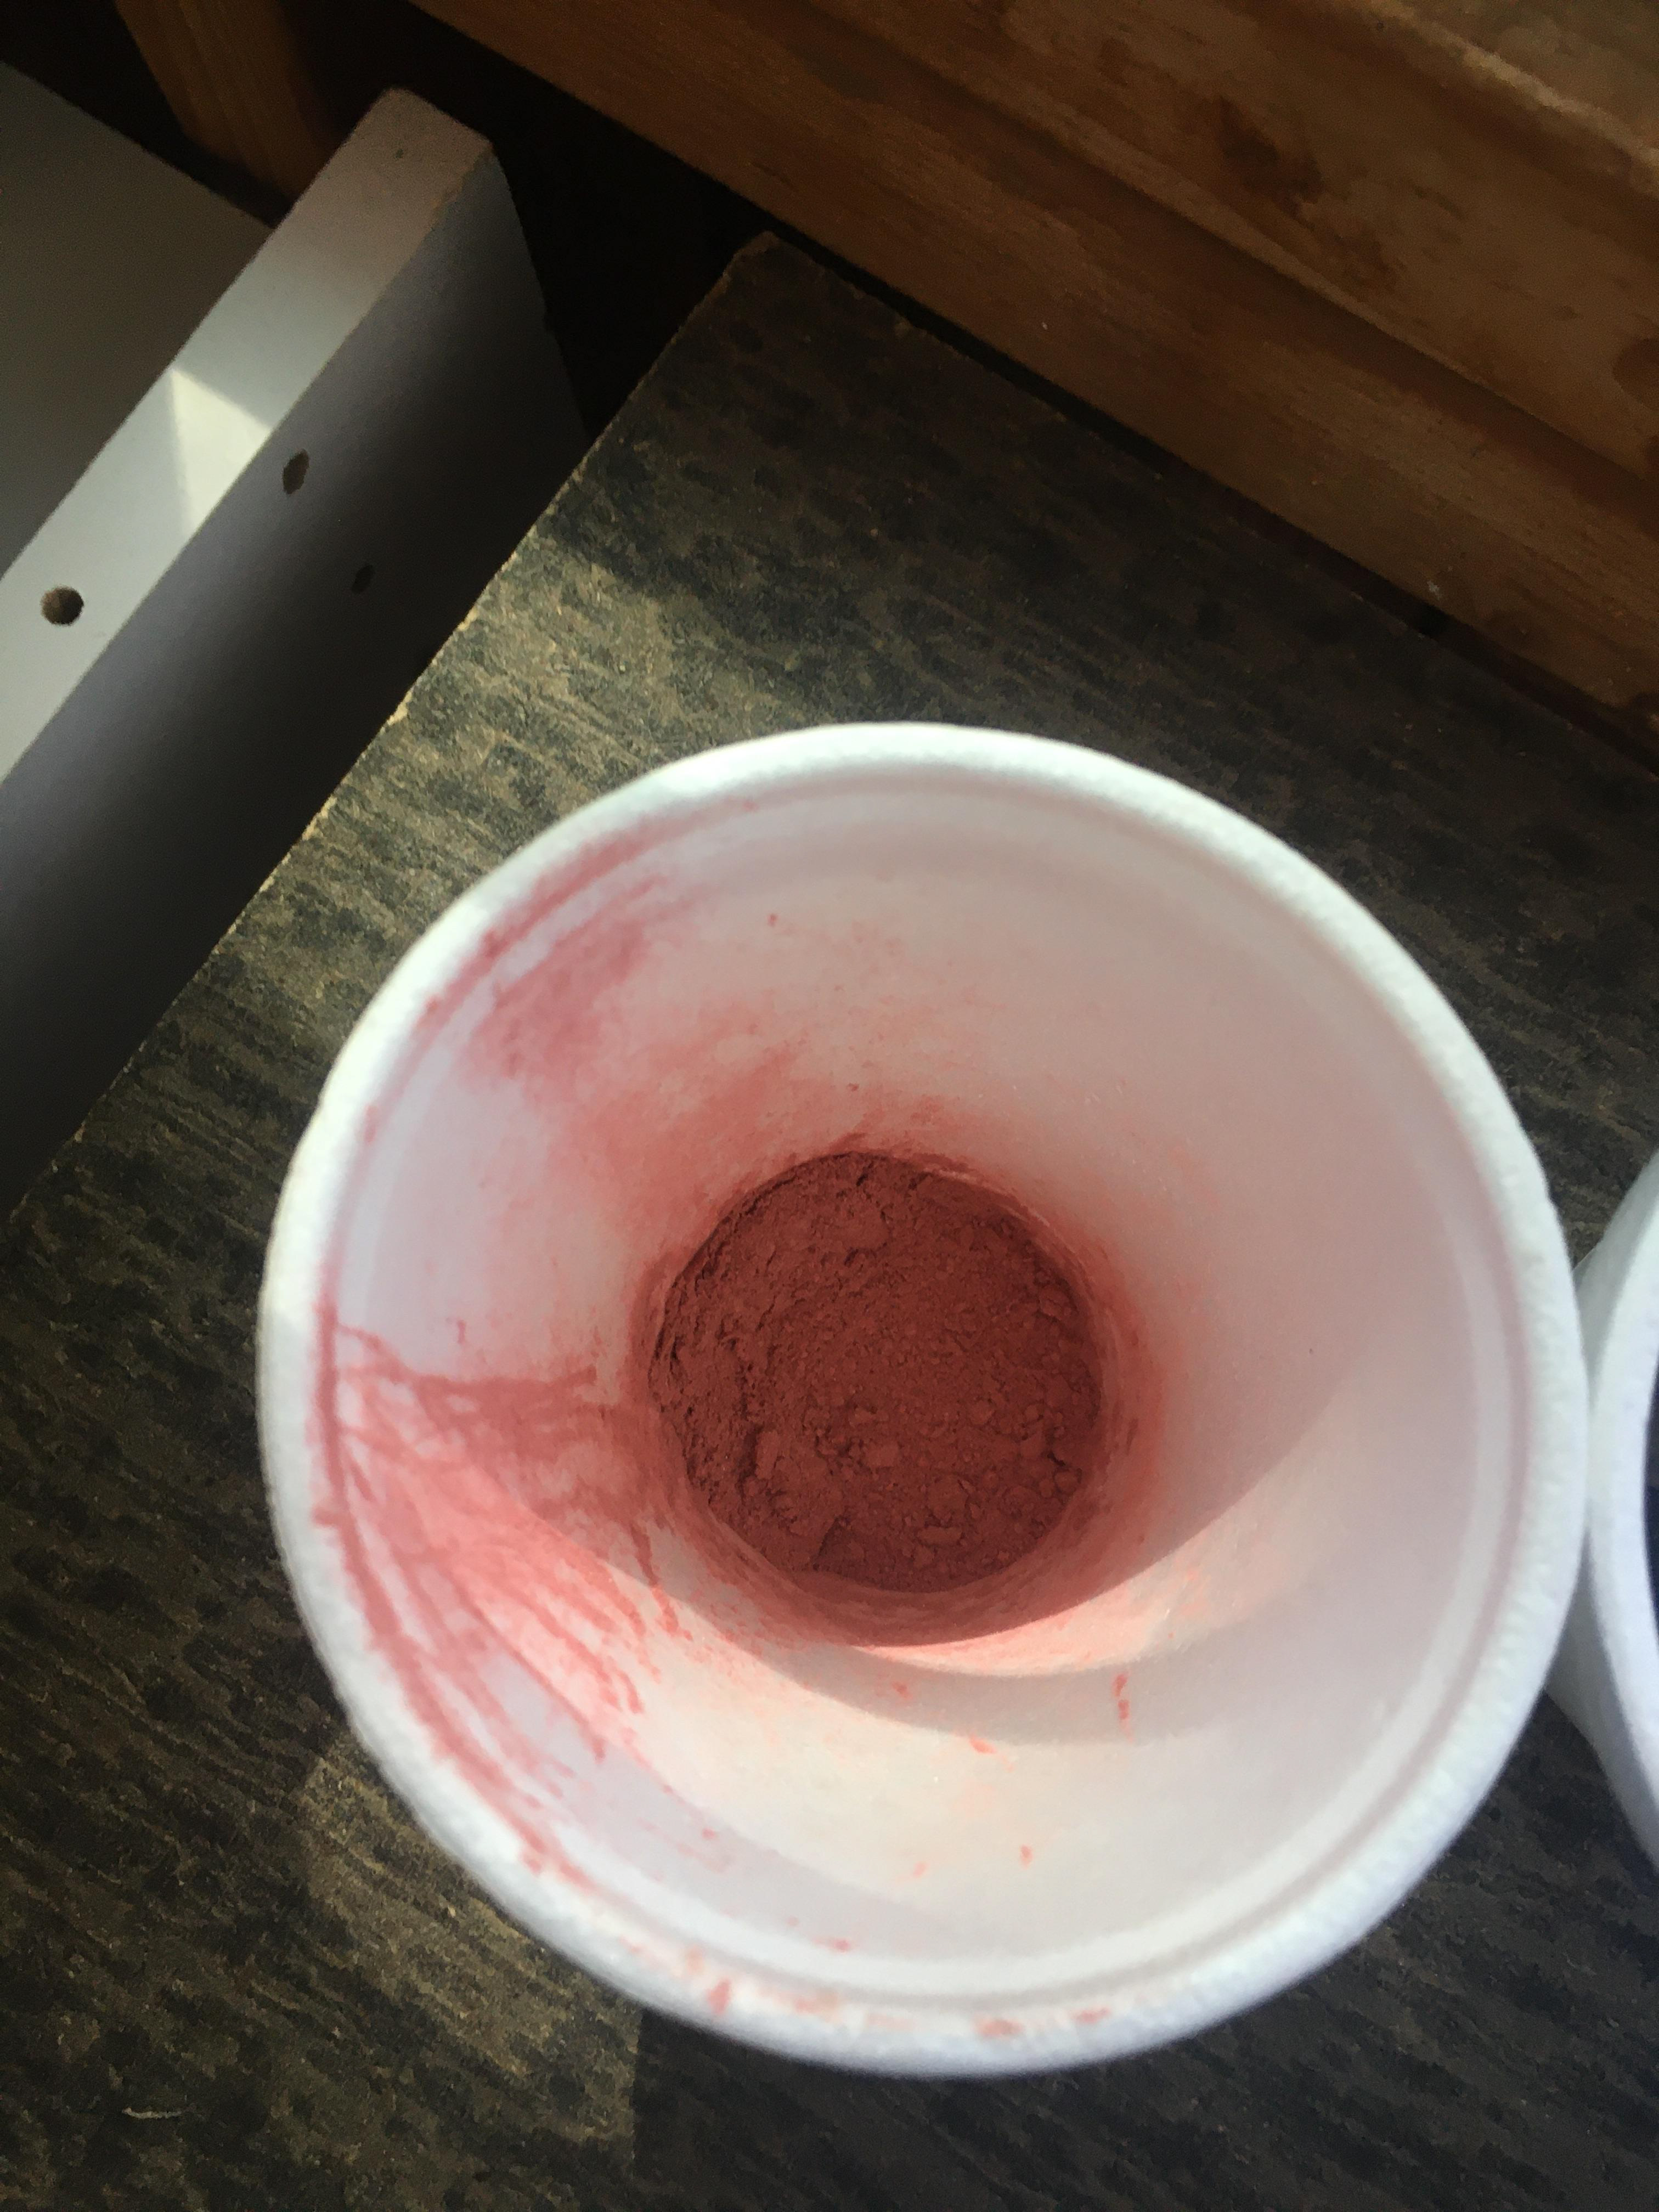
I wanted to color the epoxy so that it would stand out from the rest of the pottery. I didn't have any resin dye or mica powder, so I had to get creative. I also crushed up some old eyeshadow palettes to swirl in as mica powder to add shine and depth to the epoxy. I chose warm pink, blush and golden tones for this to match the warm reddish-orange of the terra cotta pots.
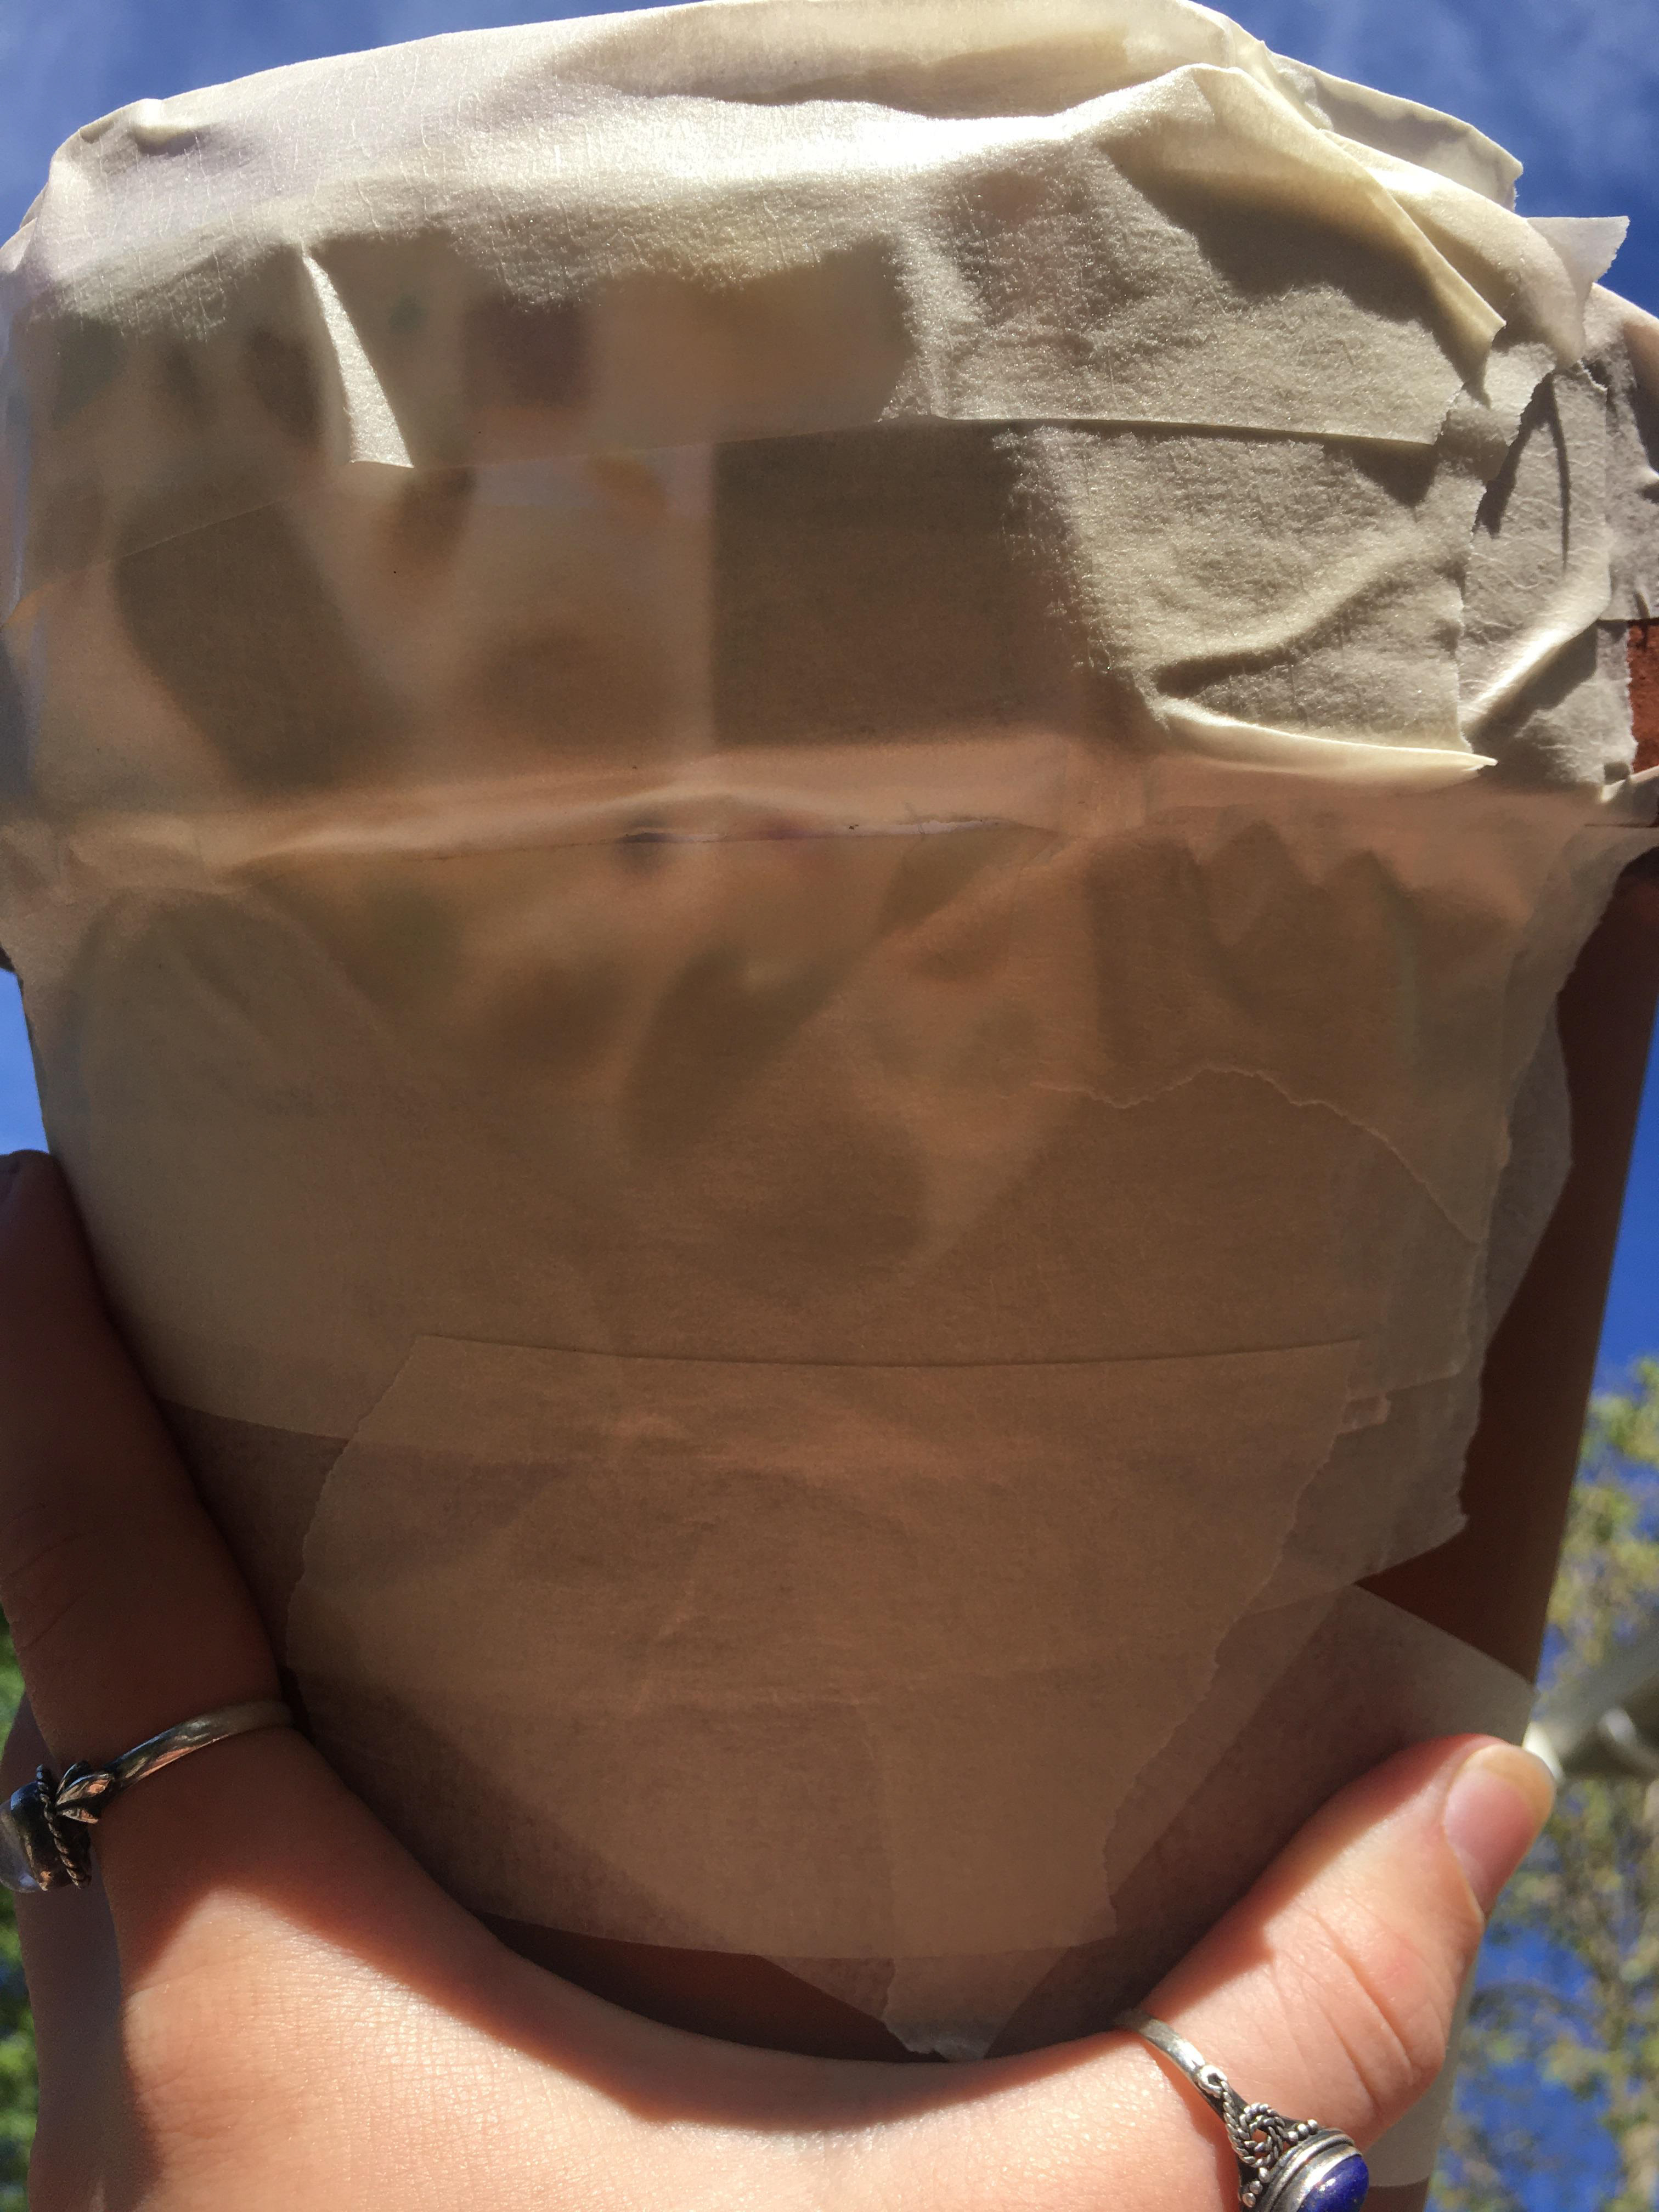
To make the molds for the epoxy, I used layers of masking tape on the outside to approximate the shape of the missing chunks. My plan was to then pour the epoxy on top of the tap while the pot was resting on its side so gravity would form the rest of the shape.
While I was working on the tape mold, I had an idea. I have lots of odds and ends around my house, so I decided to make a mosaic in my missing chunks that would sit in the epoxy. I planned out exactly how I would lay this out just by sticking these pieces to the tape.
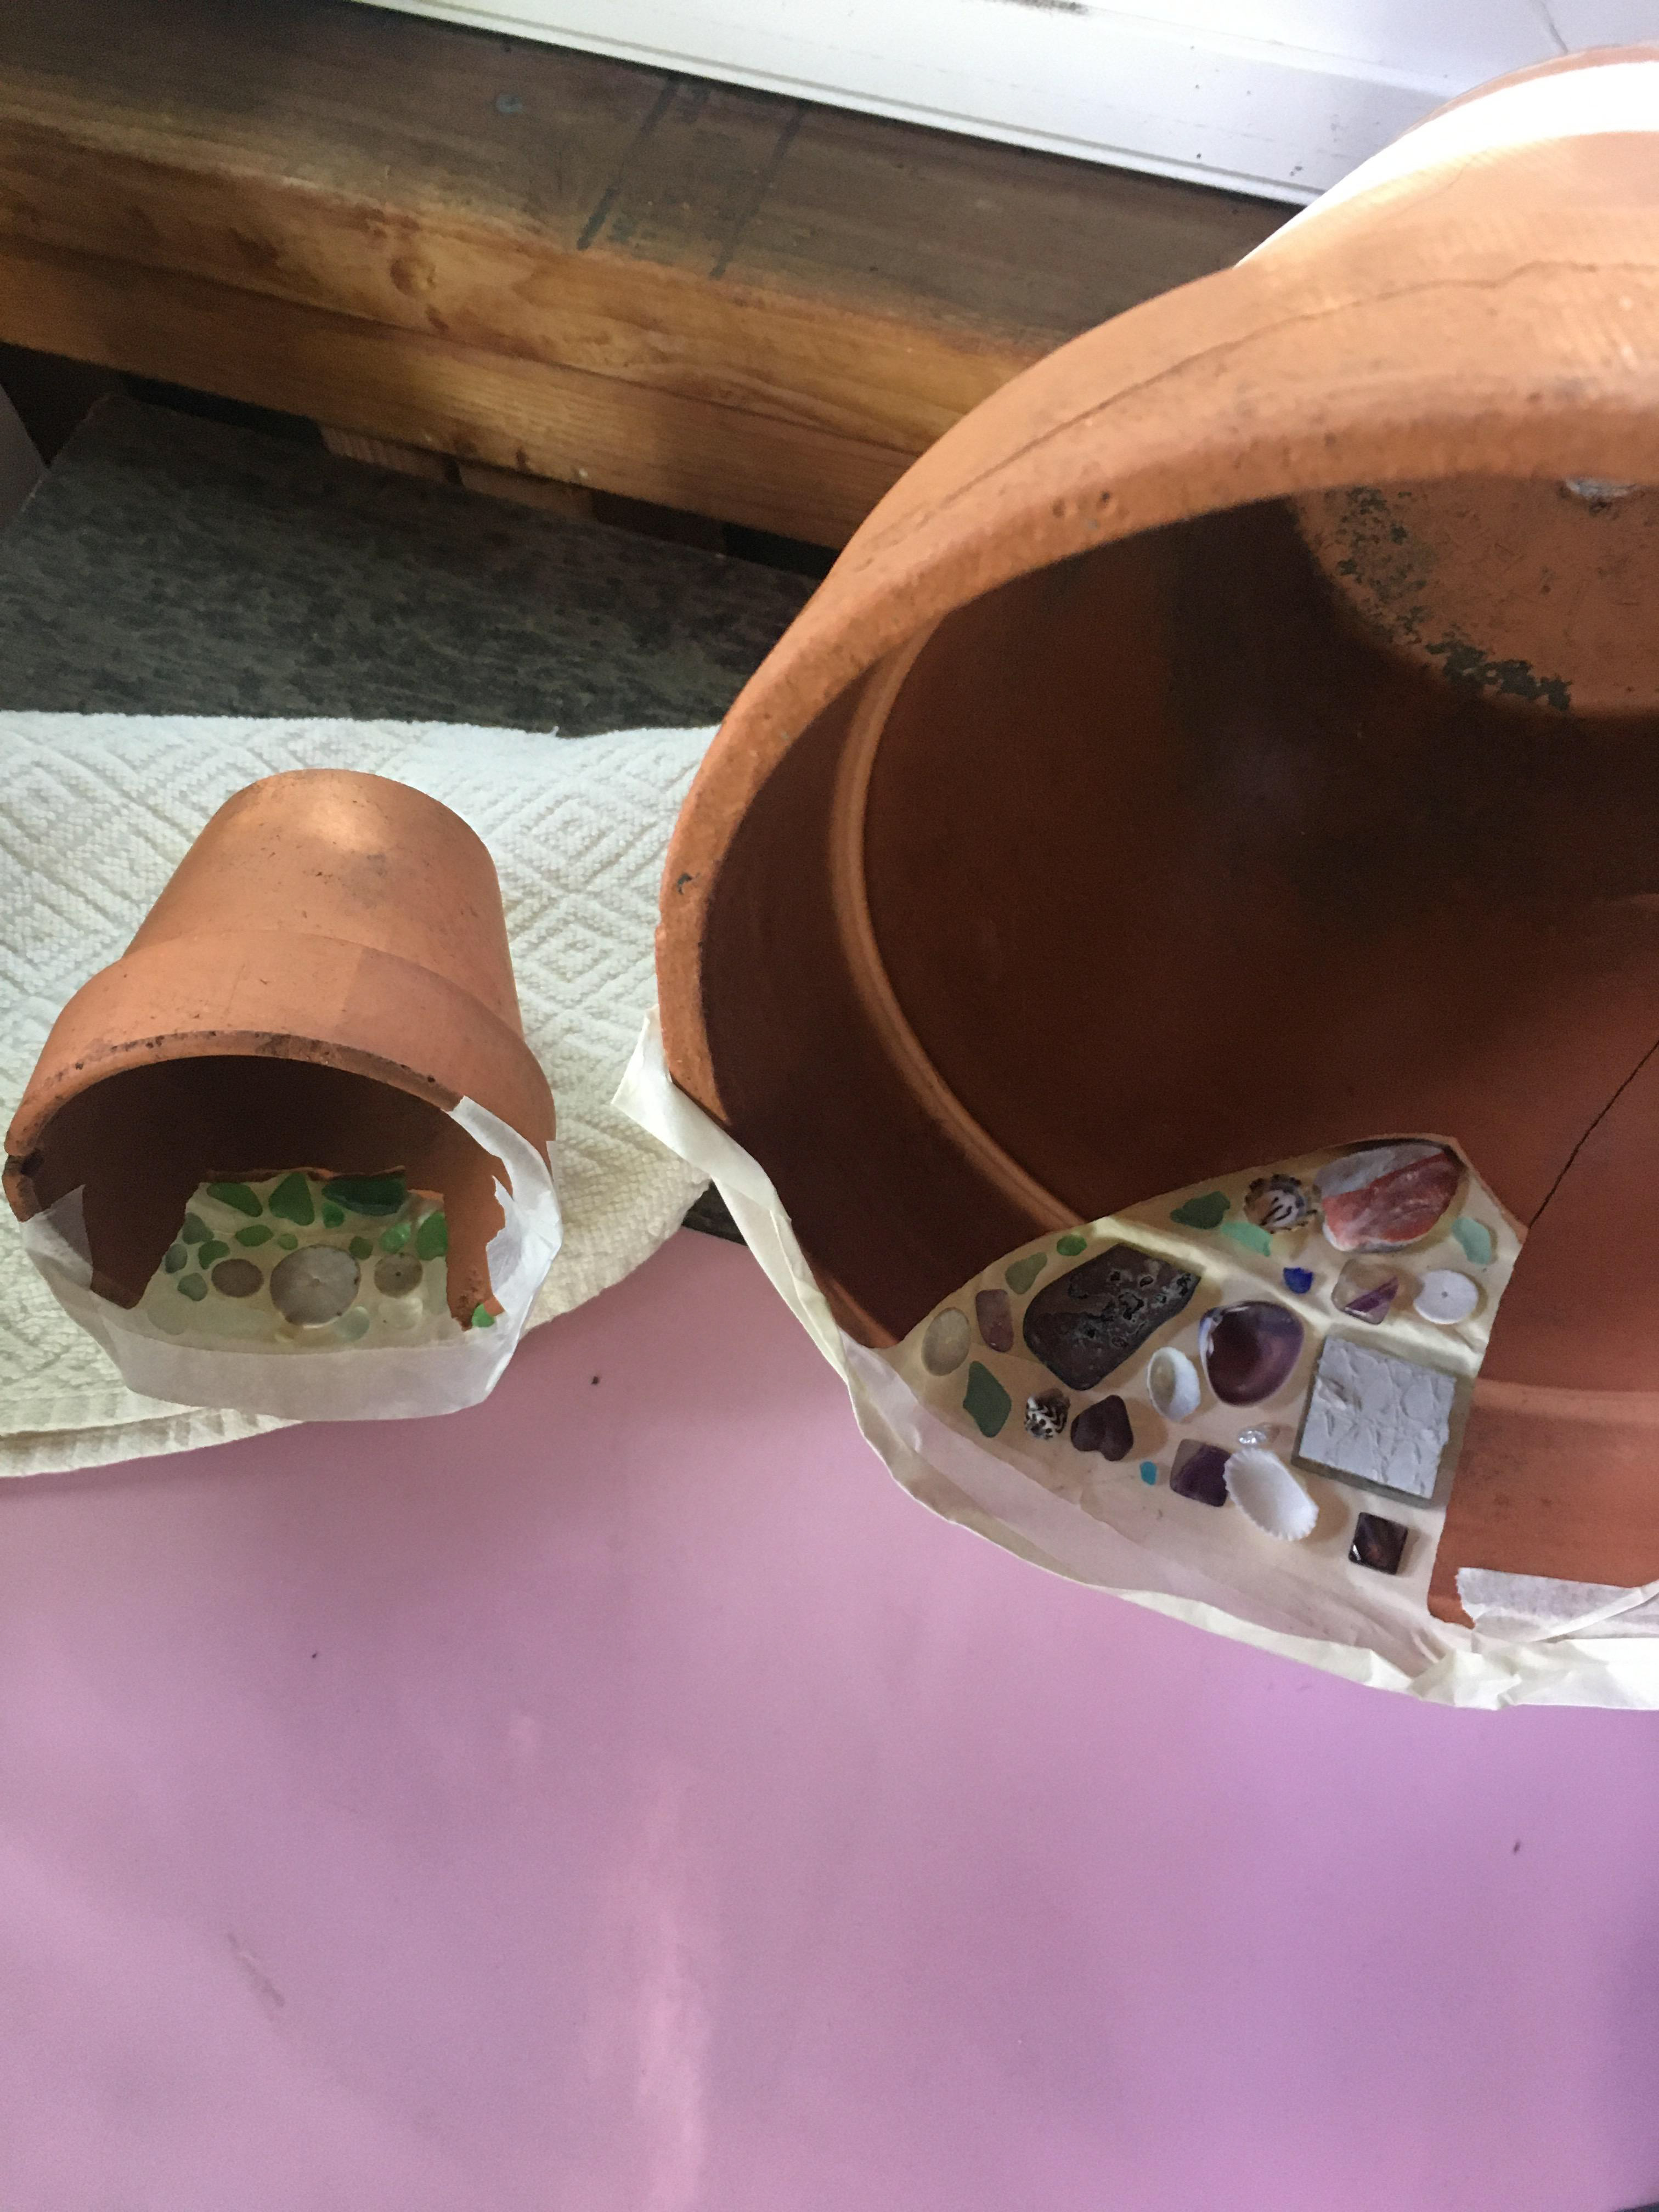
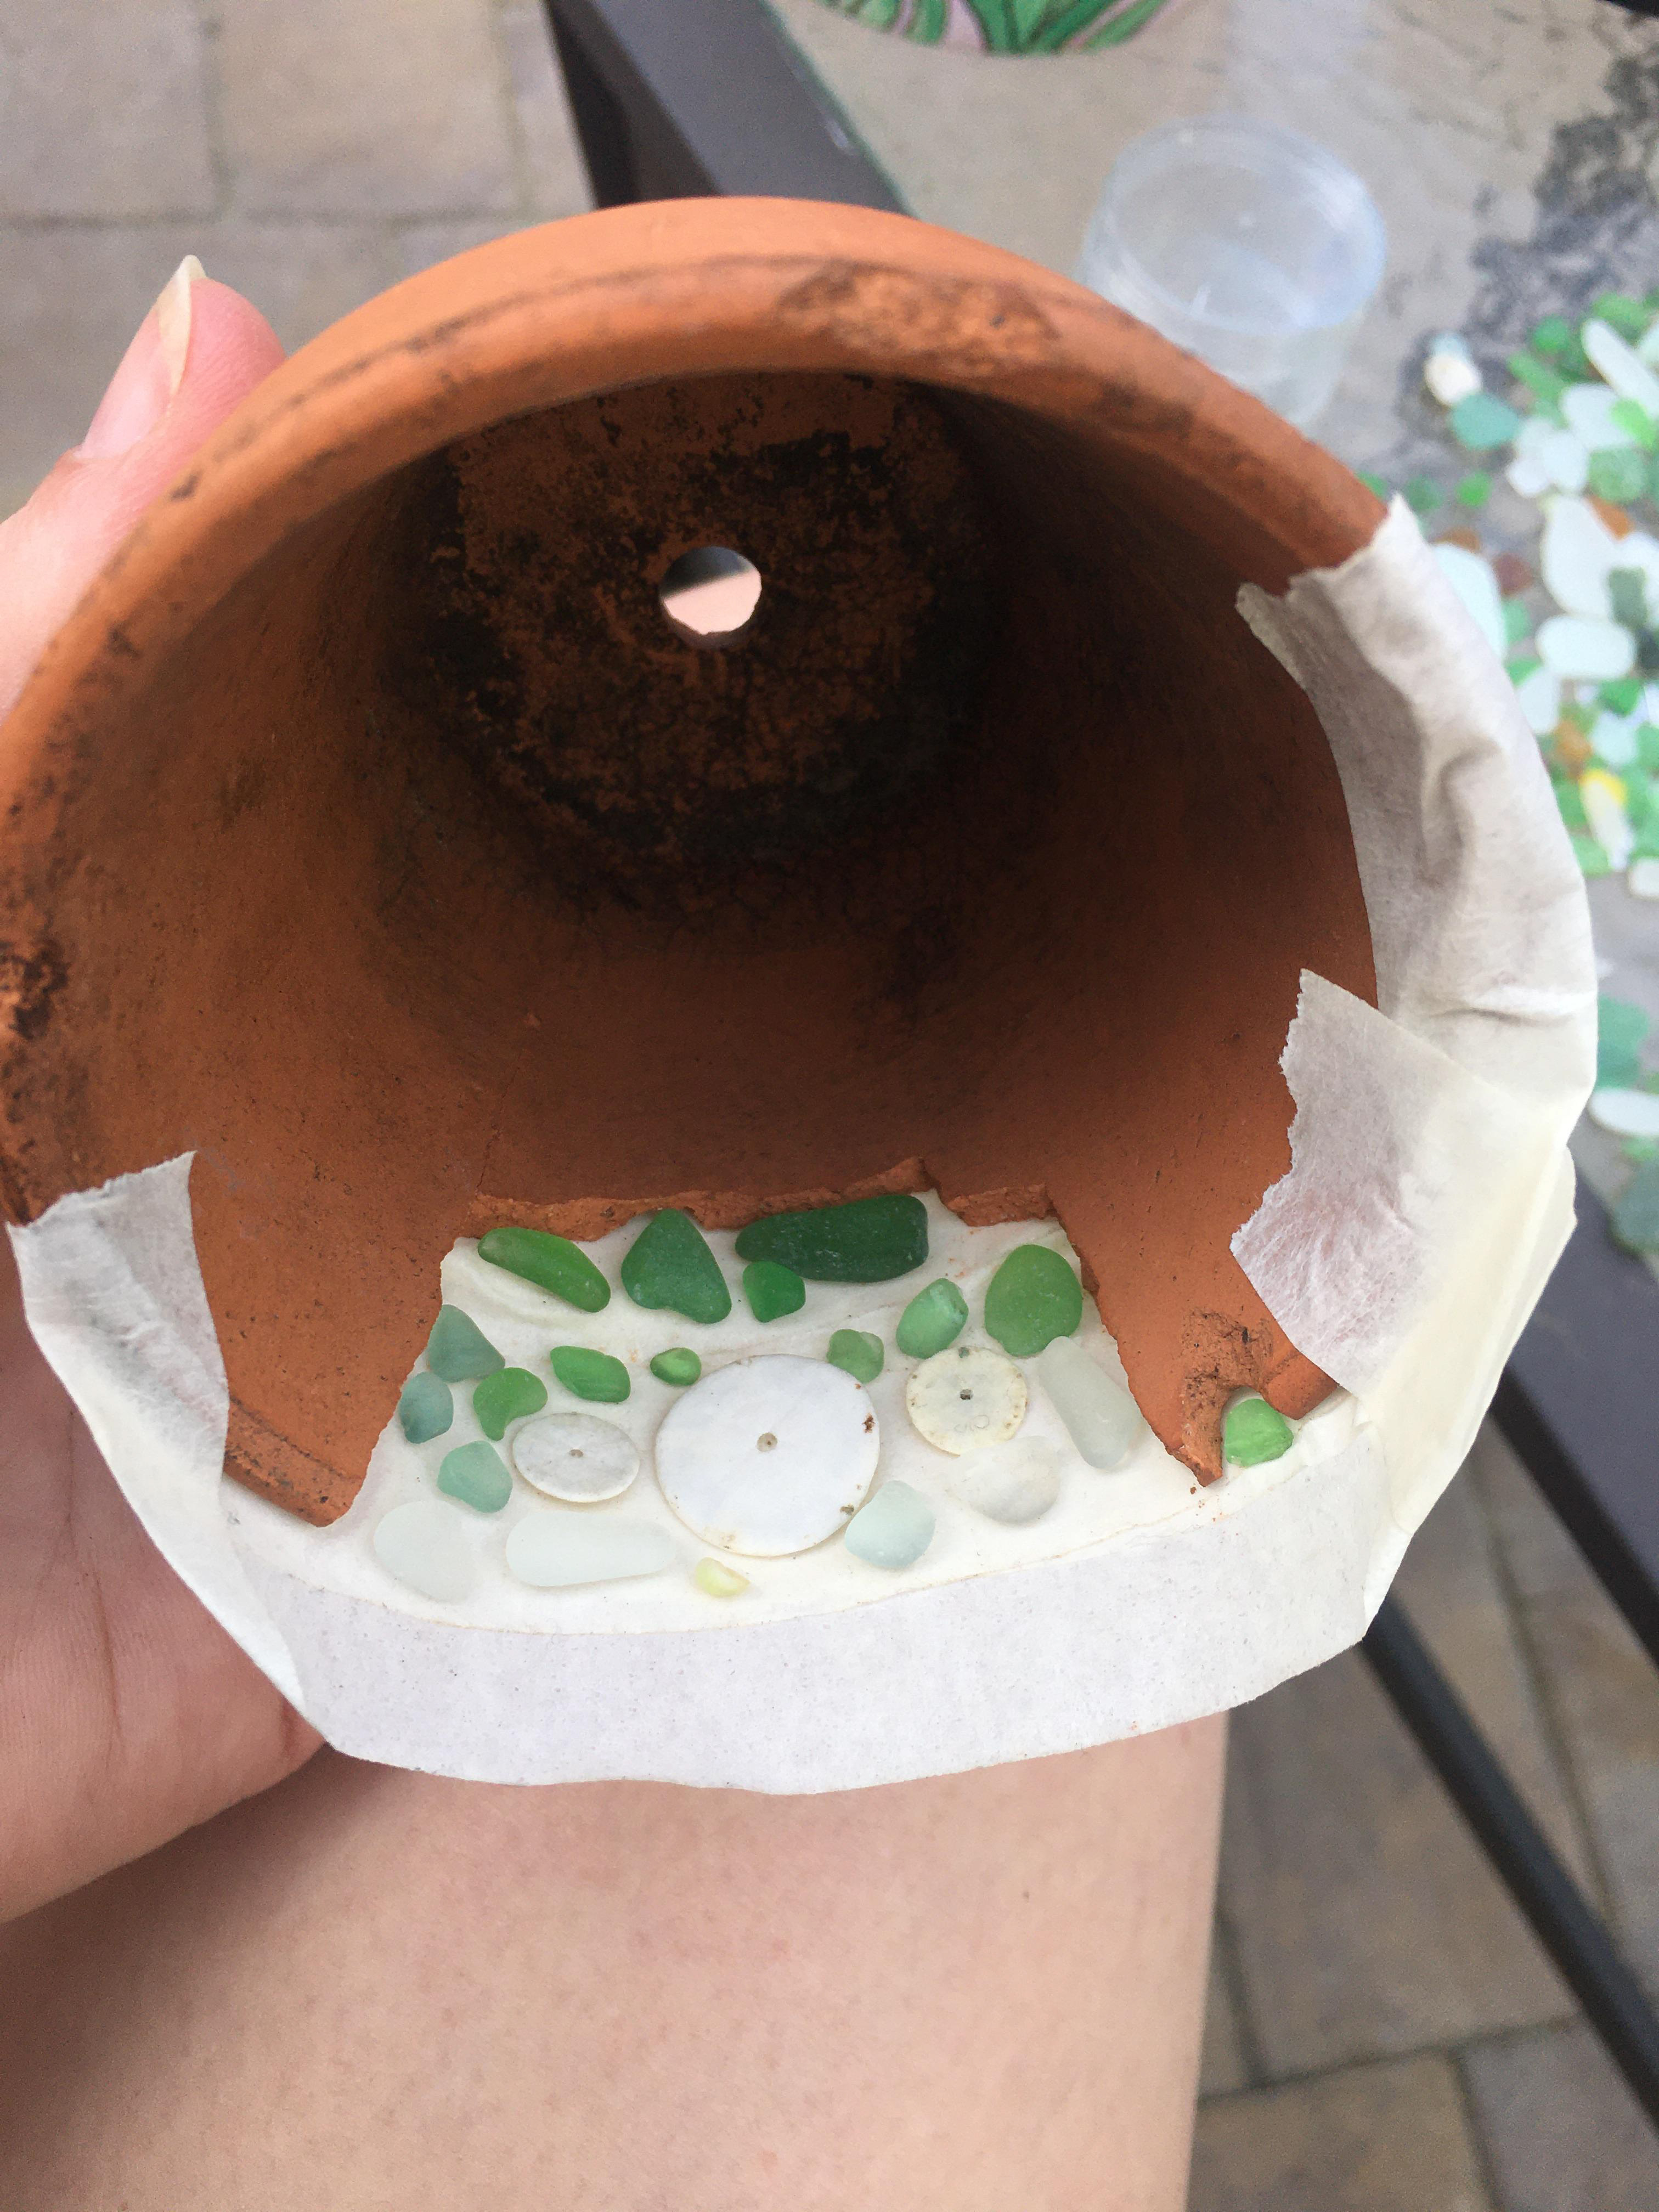
First, I put a thin clear layer of epoxy down to stick the objects onto. I also hope that this will create a protective outer layer for the mosaic pieces. I let that sit and harden for a few hours, then I poured more epoxy over to add structure. I also added the mica powder from the crushed makeup on this top layer, so it would show behind the pieces. This step was a huge mess, I got epoxy all over my hands (even with gloves, i was still bad) and it got in my hair. Really fun.
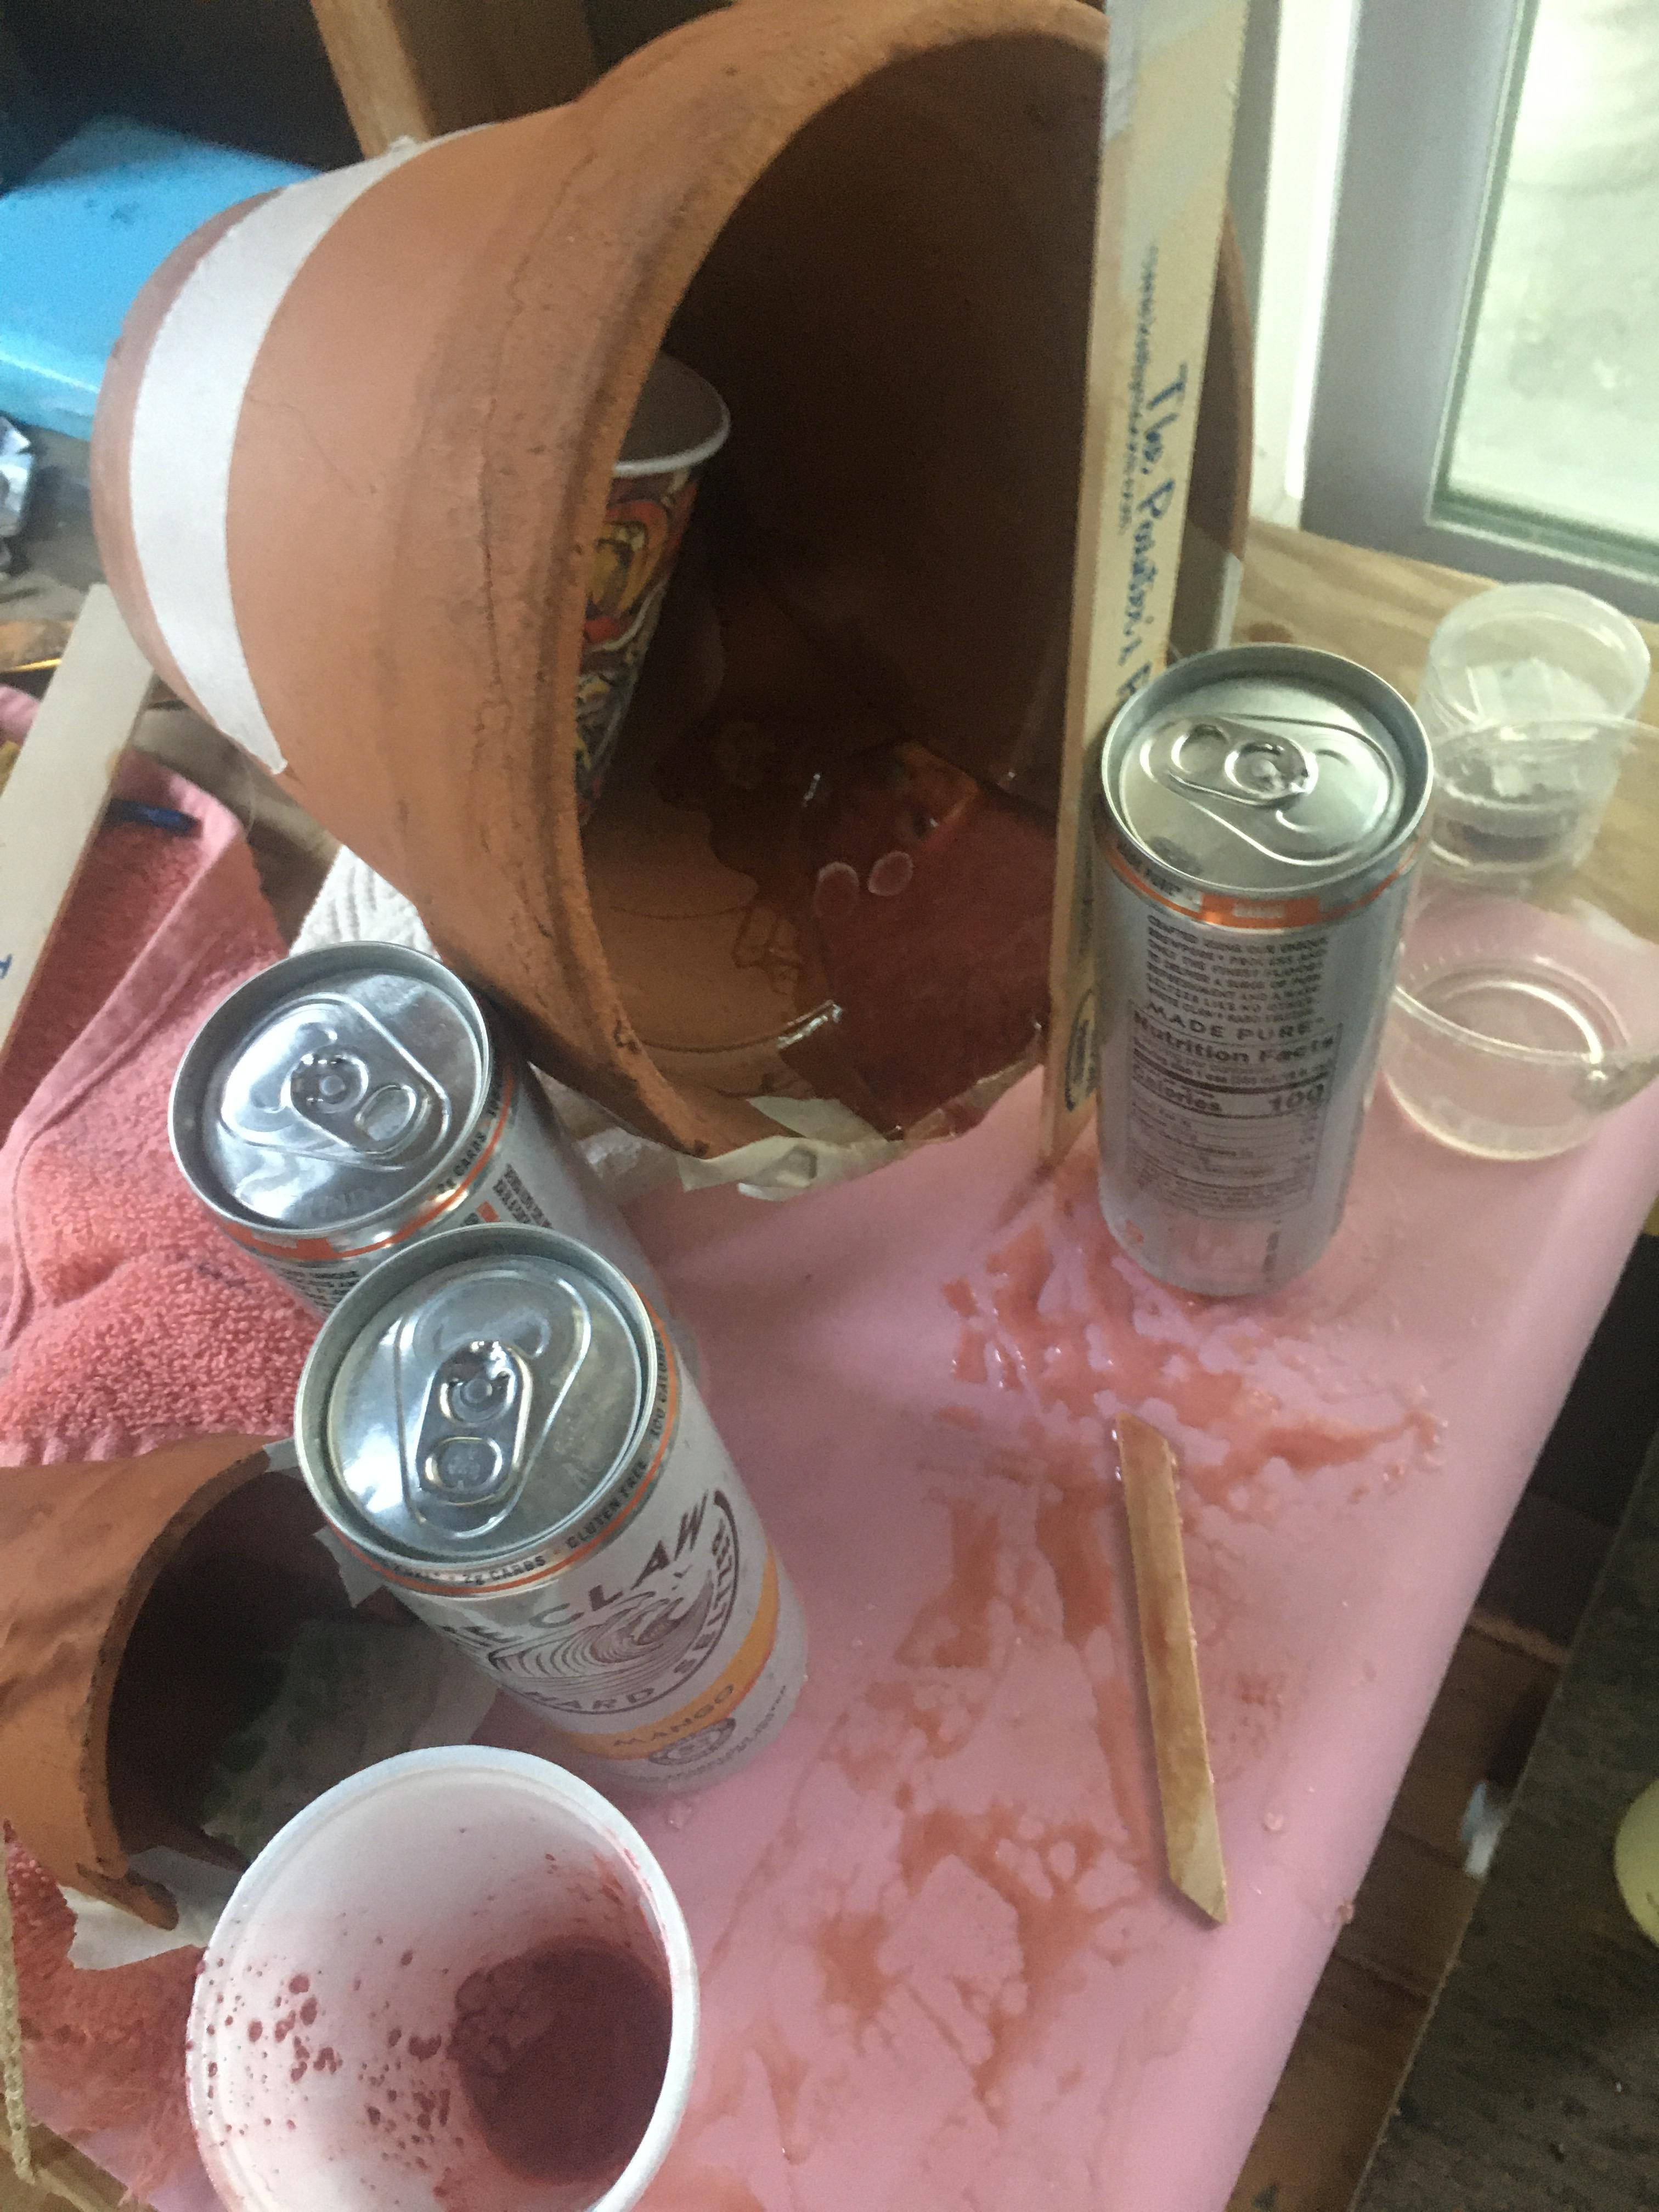

The white claws are being used as tall weights to hold up epoxy covered things
After drying overnight, the epoxy had set enough for me to move the pots, but I will be letting it cure for a few more days before removing the tape.

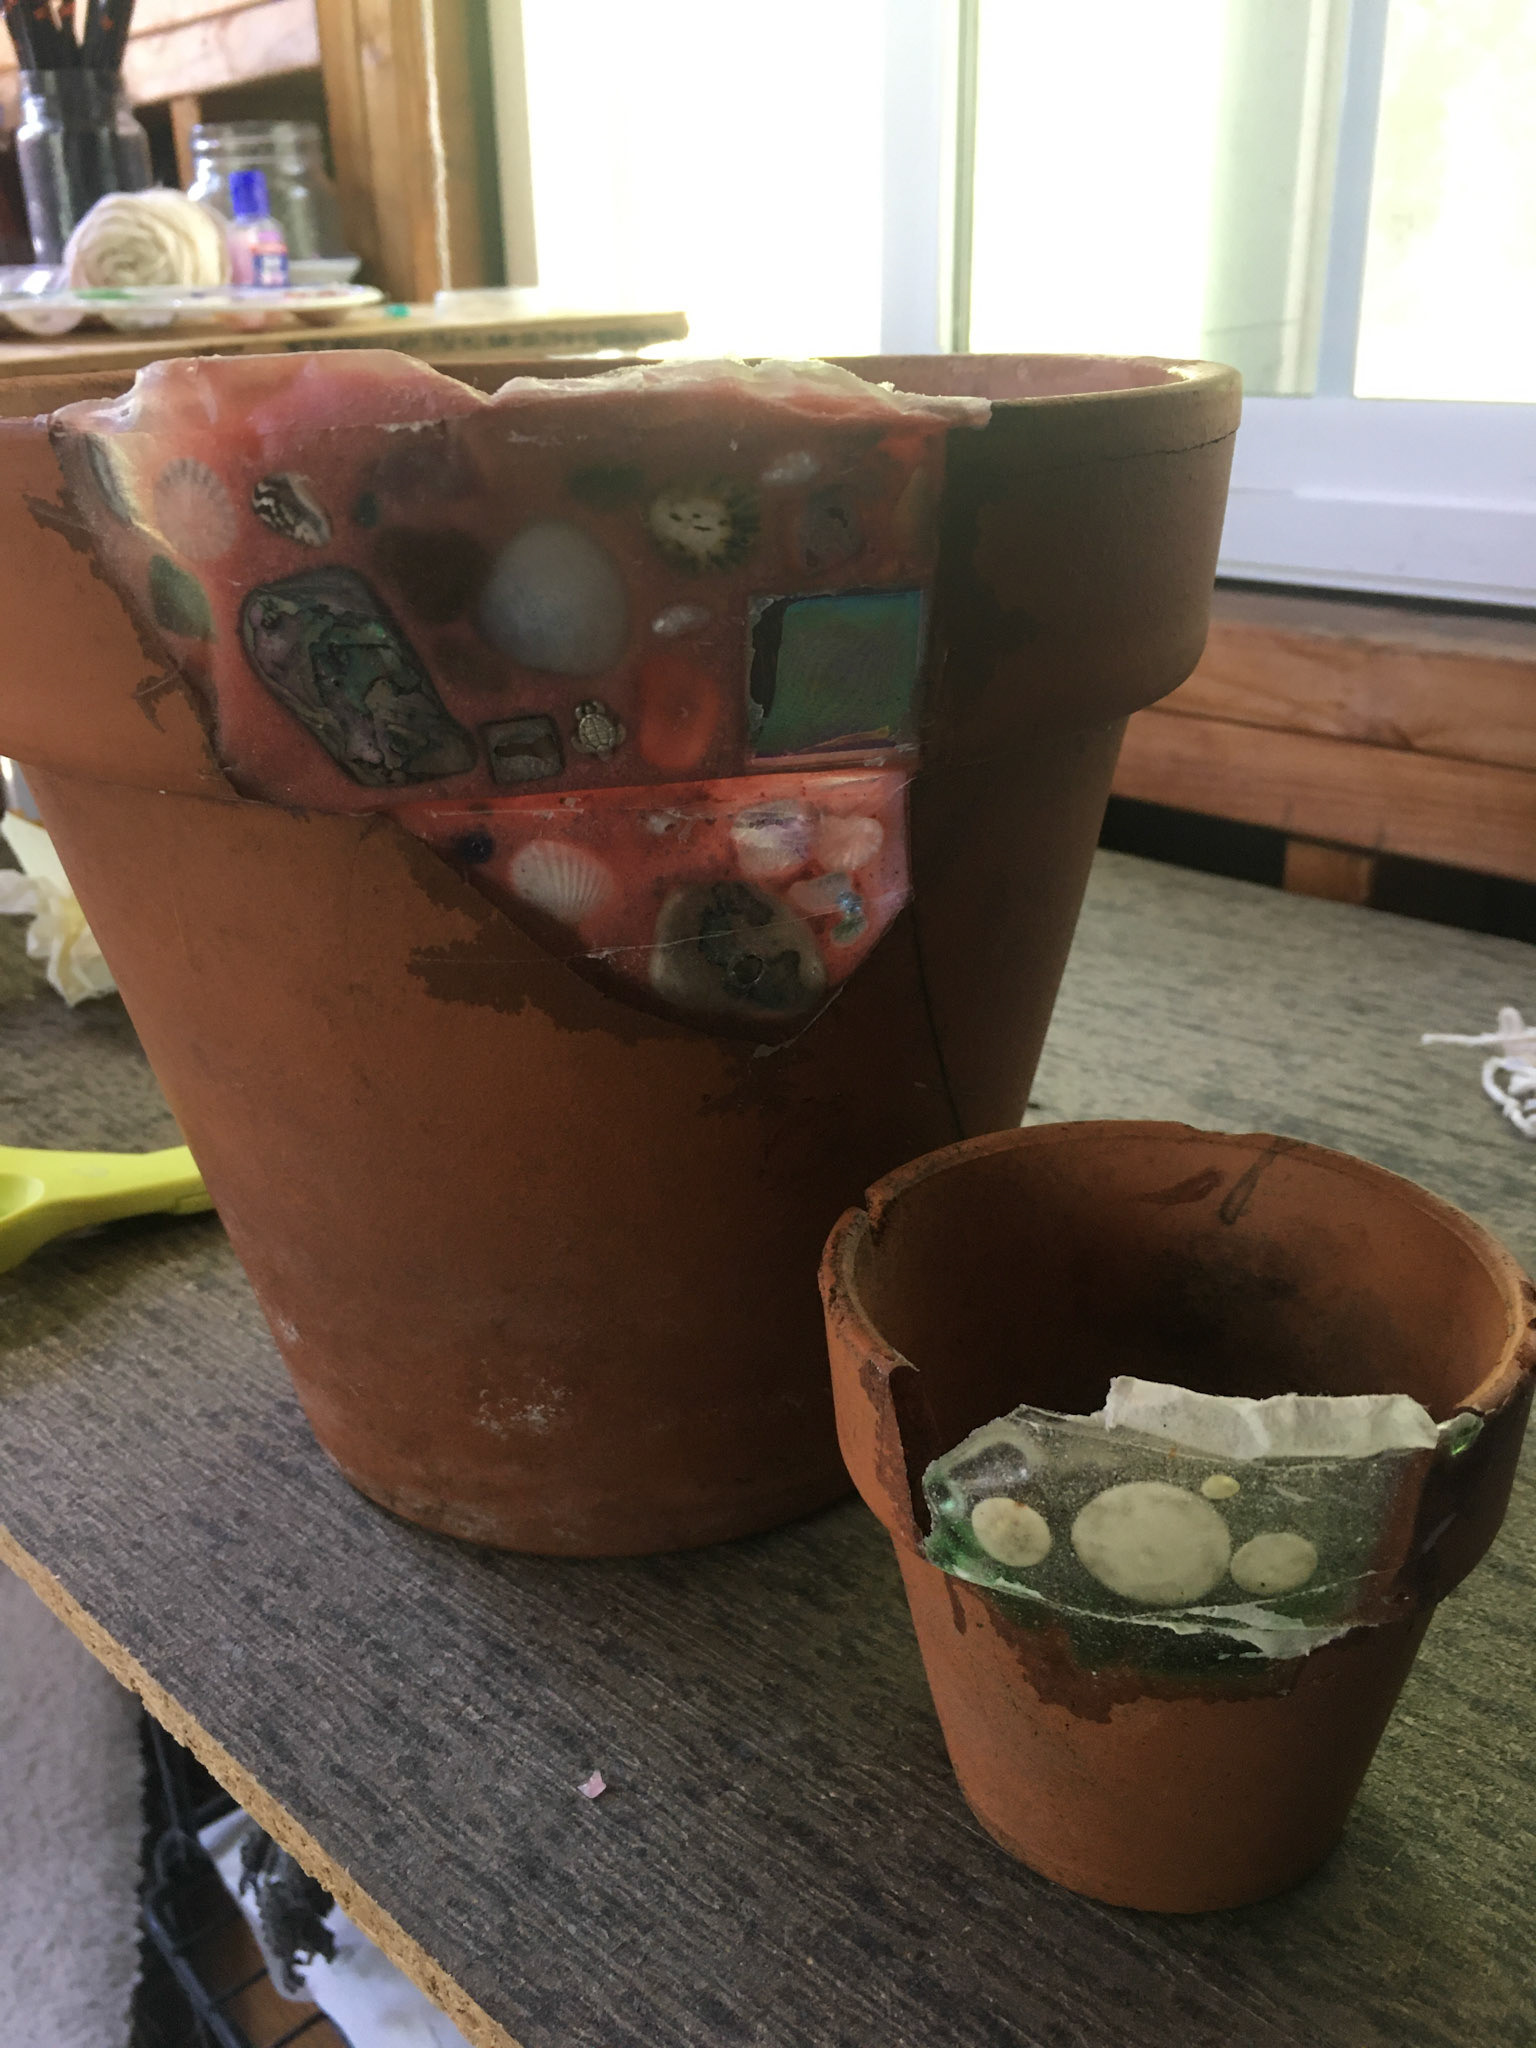
After removing the tape (as best as I could - some pieces were really stuck), I sanded down the tops to make them level with the pot.
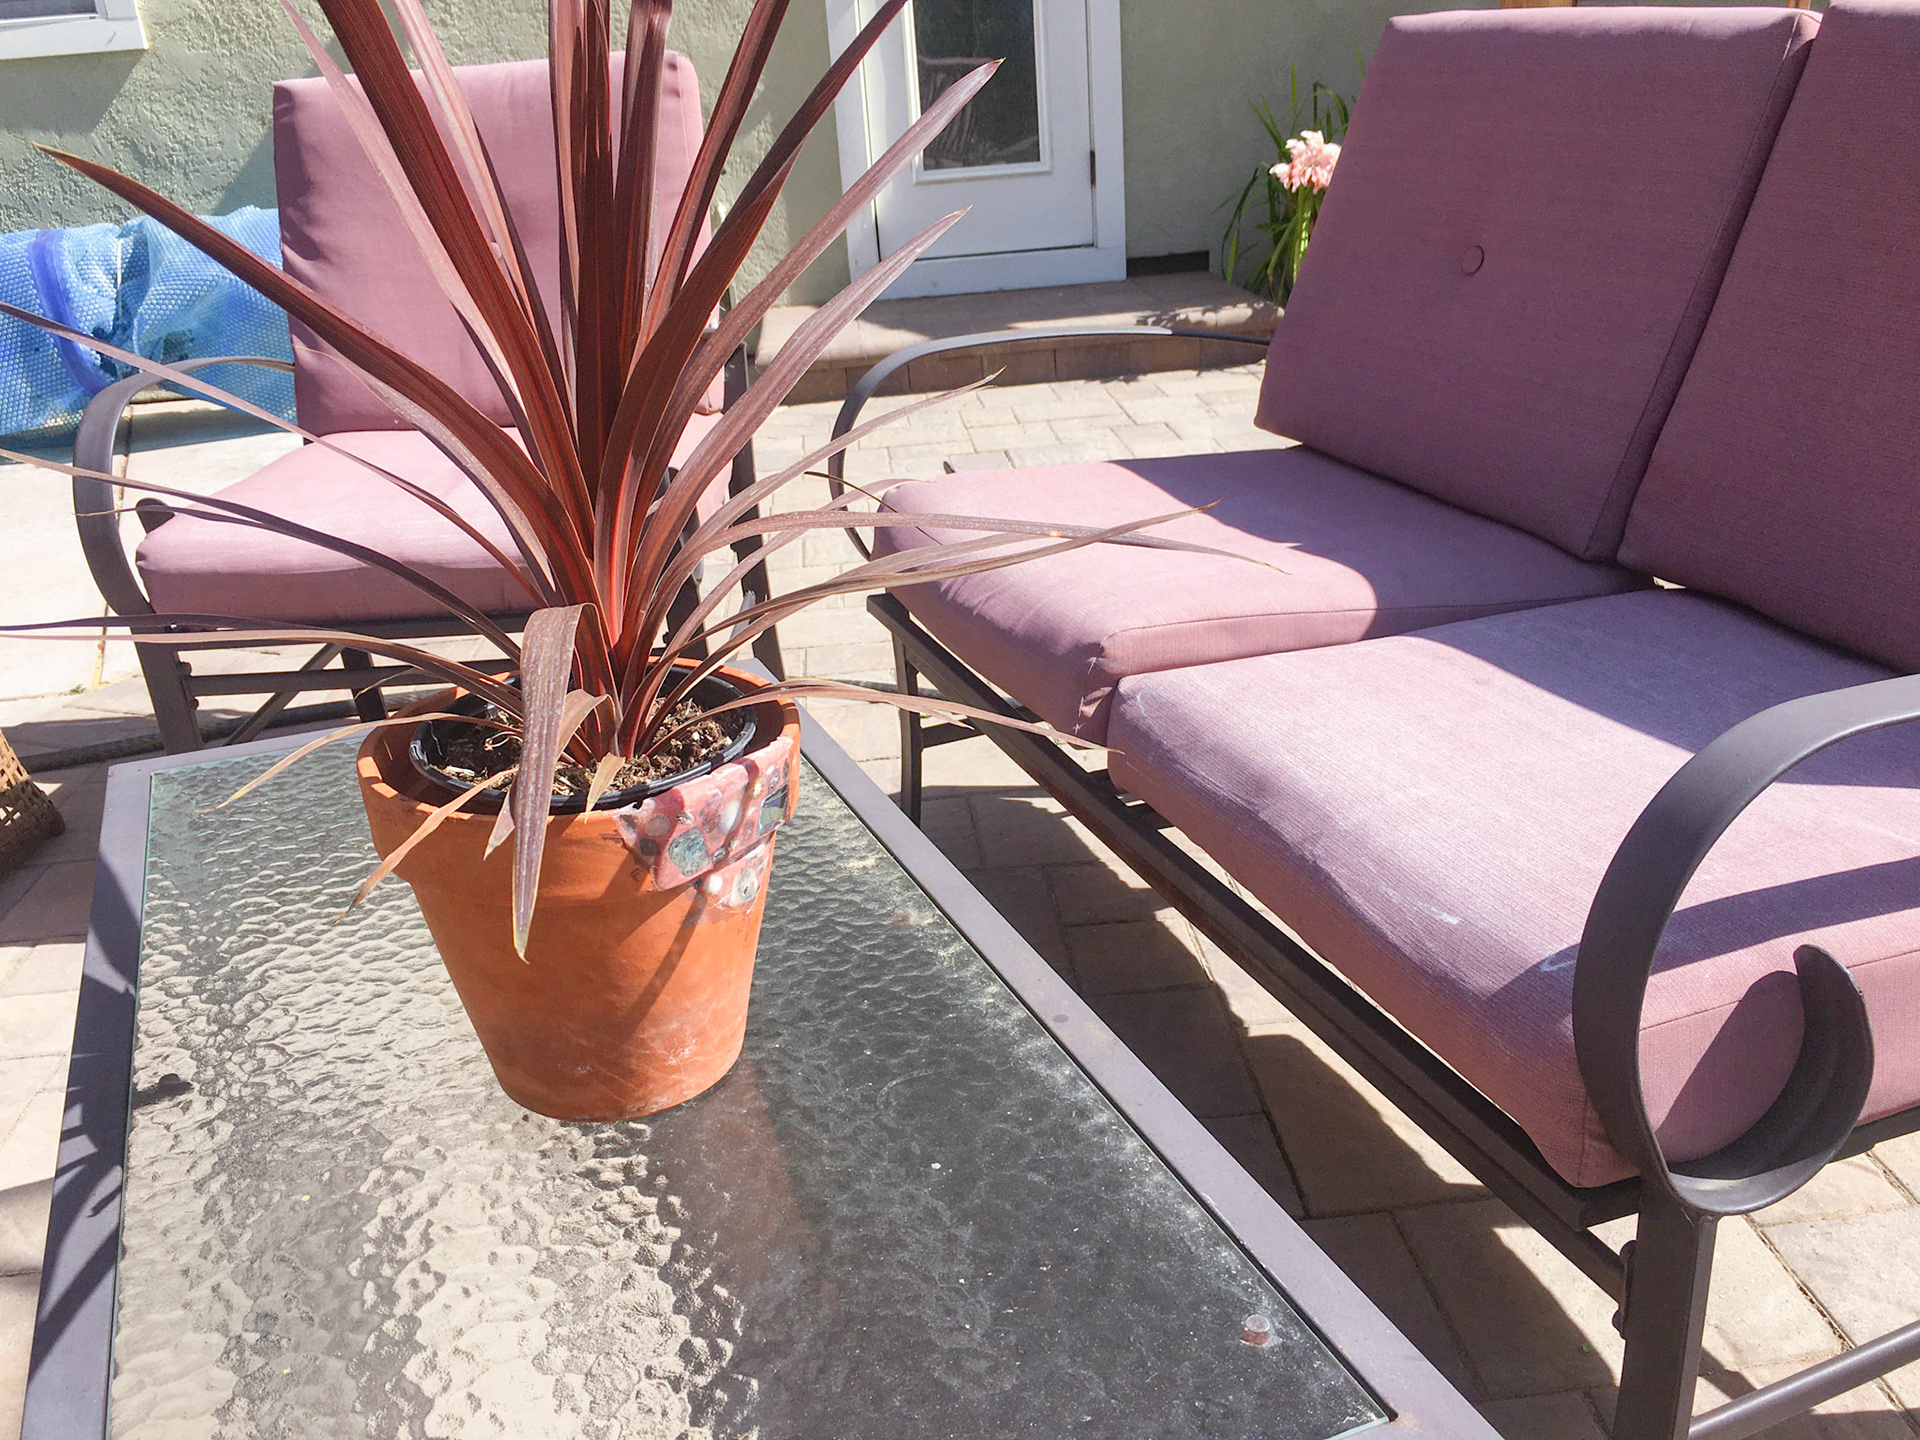
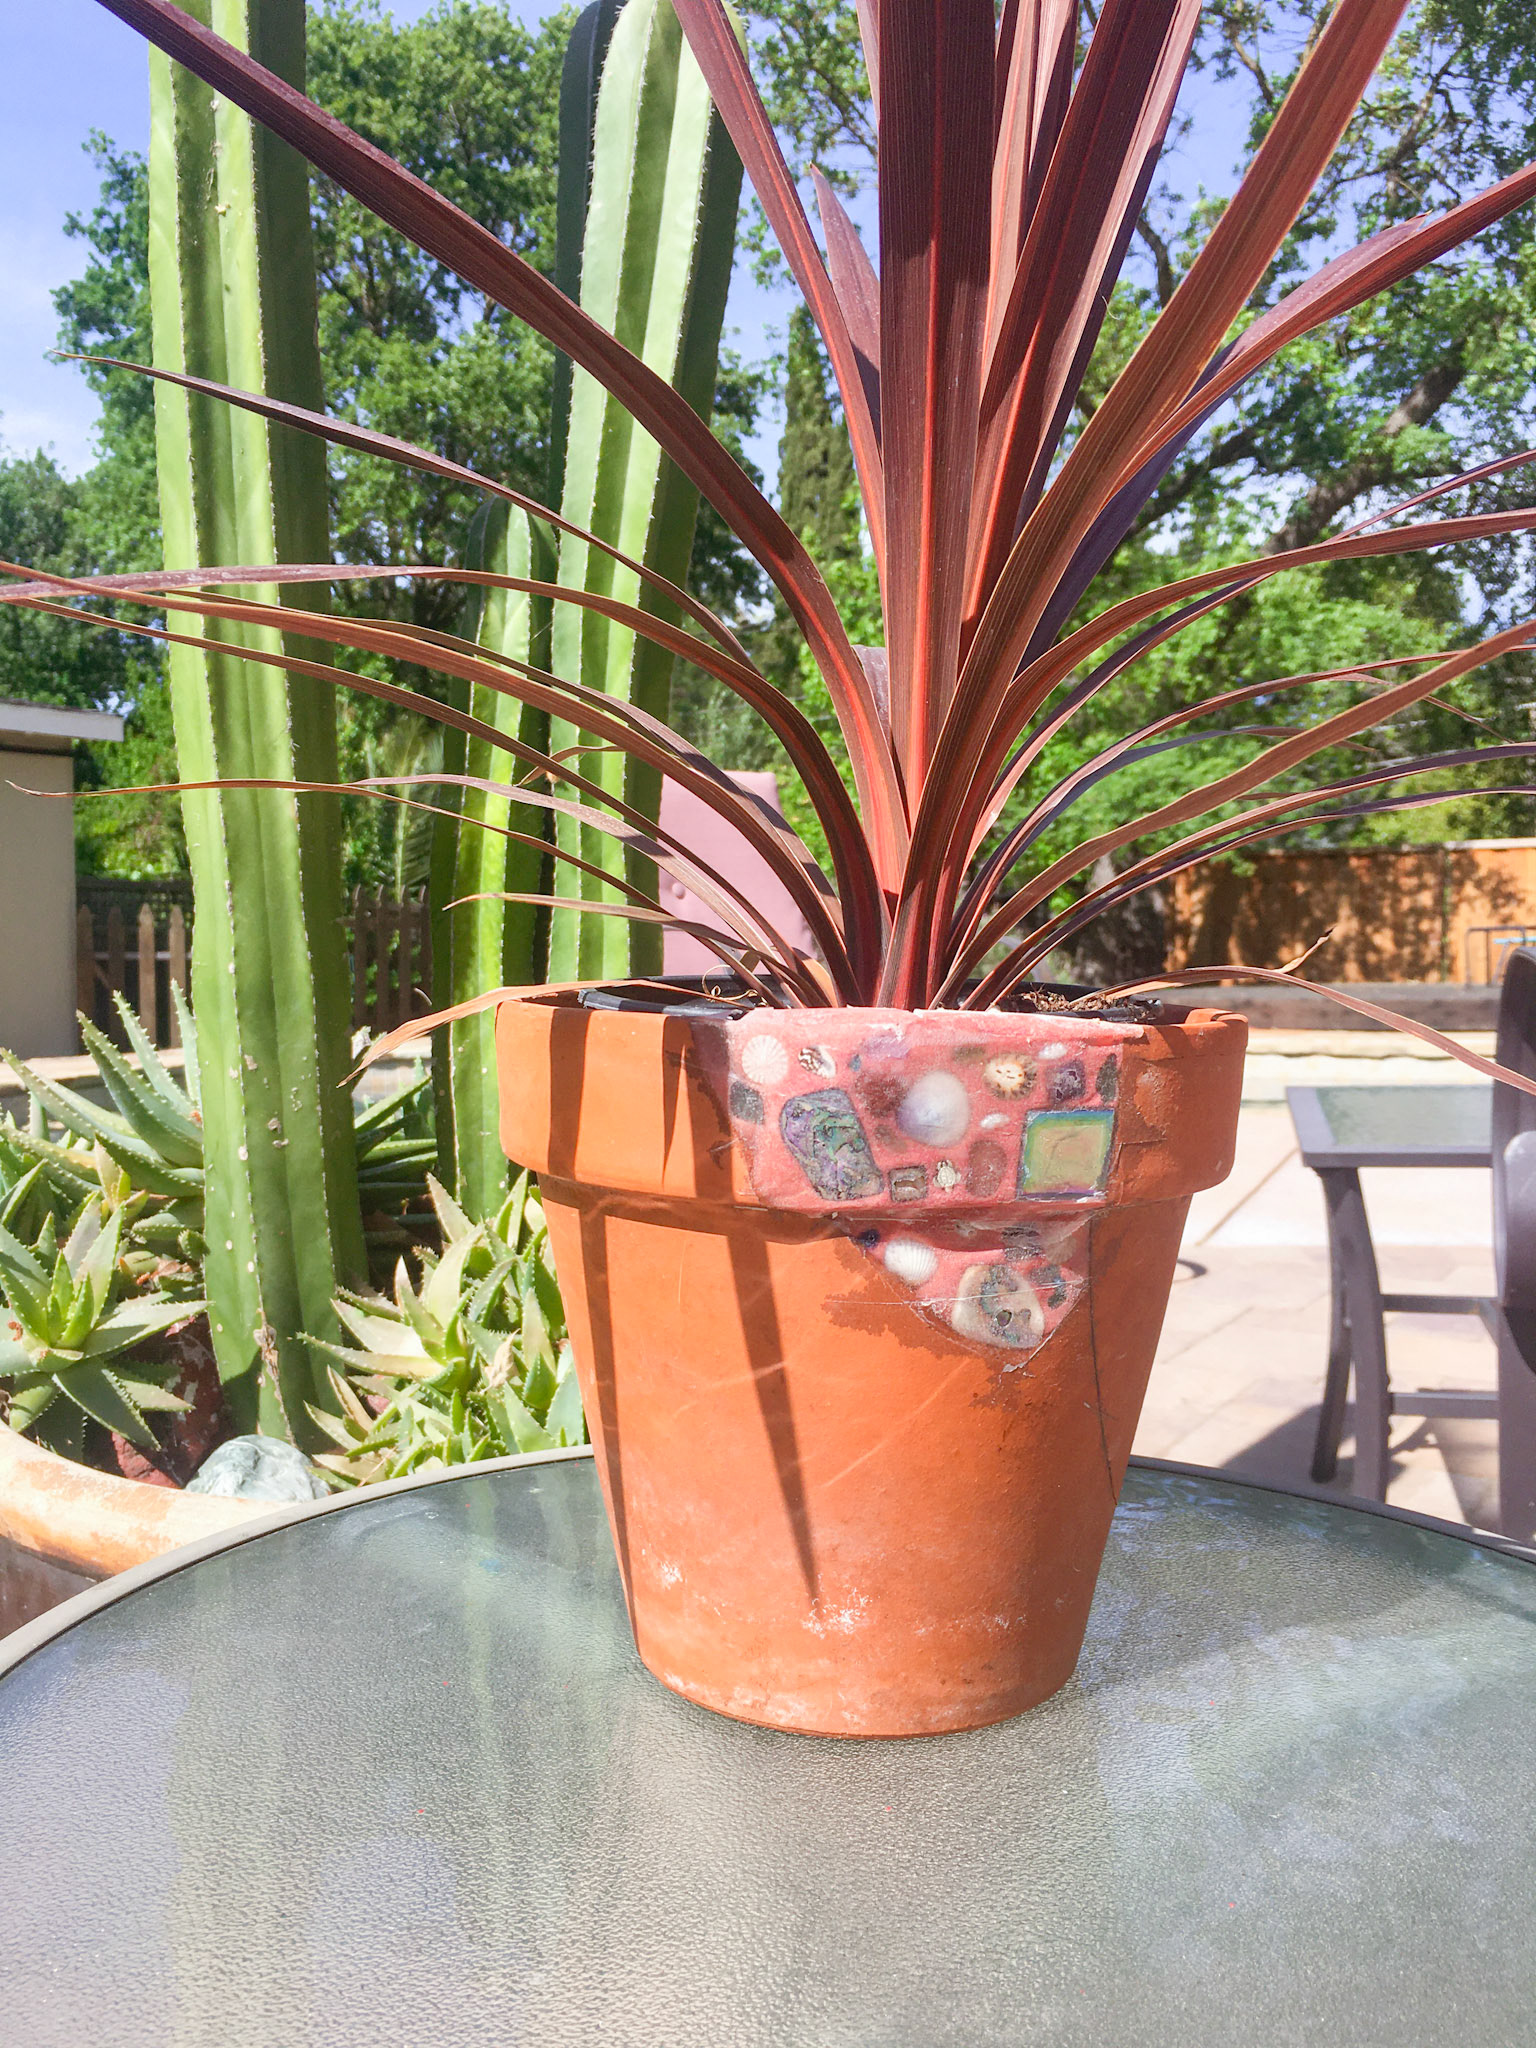
My final pot turned out like this! I posed it in a setting I thought it would look nice it, with a plant that matches teh color scheme well. I put it outside near a cactus we had and on outdoor tables because I think it fits will with the summery aesthetic.
As for the structural integrity of the pot, the epoxy does a great job of making this feel solid again. Handling it before was a bit difficult, it felt very delicate, but now it feels really solid.
Overall she's cute, probably could use a gloss coat though. If i had a few more days I might paint a little as well and varnish with a clear coat.