
ESTABLISHING SERIAL COMMUNICATION
For this lab, we used Arduino's serial control feature to connect to an external software. I used P5.js, and this was my first time coding with it. To start, we needed to establish serial communication between the Arduino and P5 in the browser. I used P5's serial control app to connect the two.
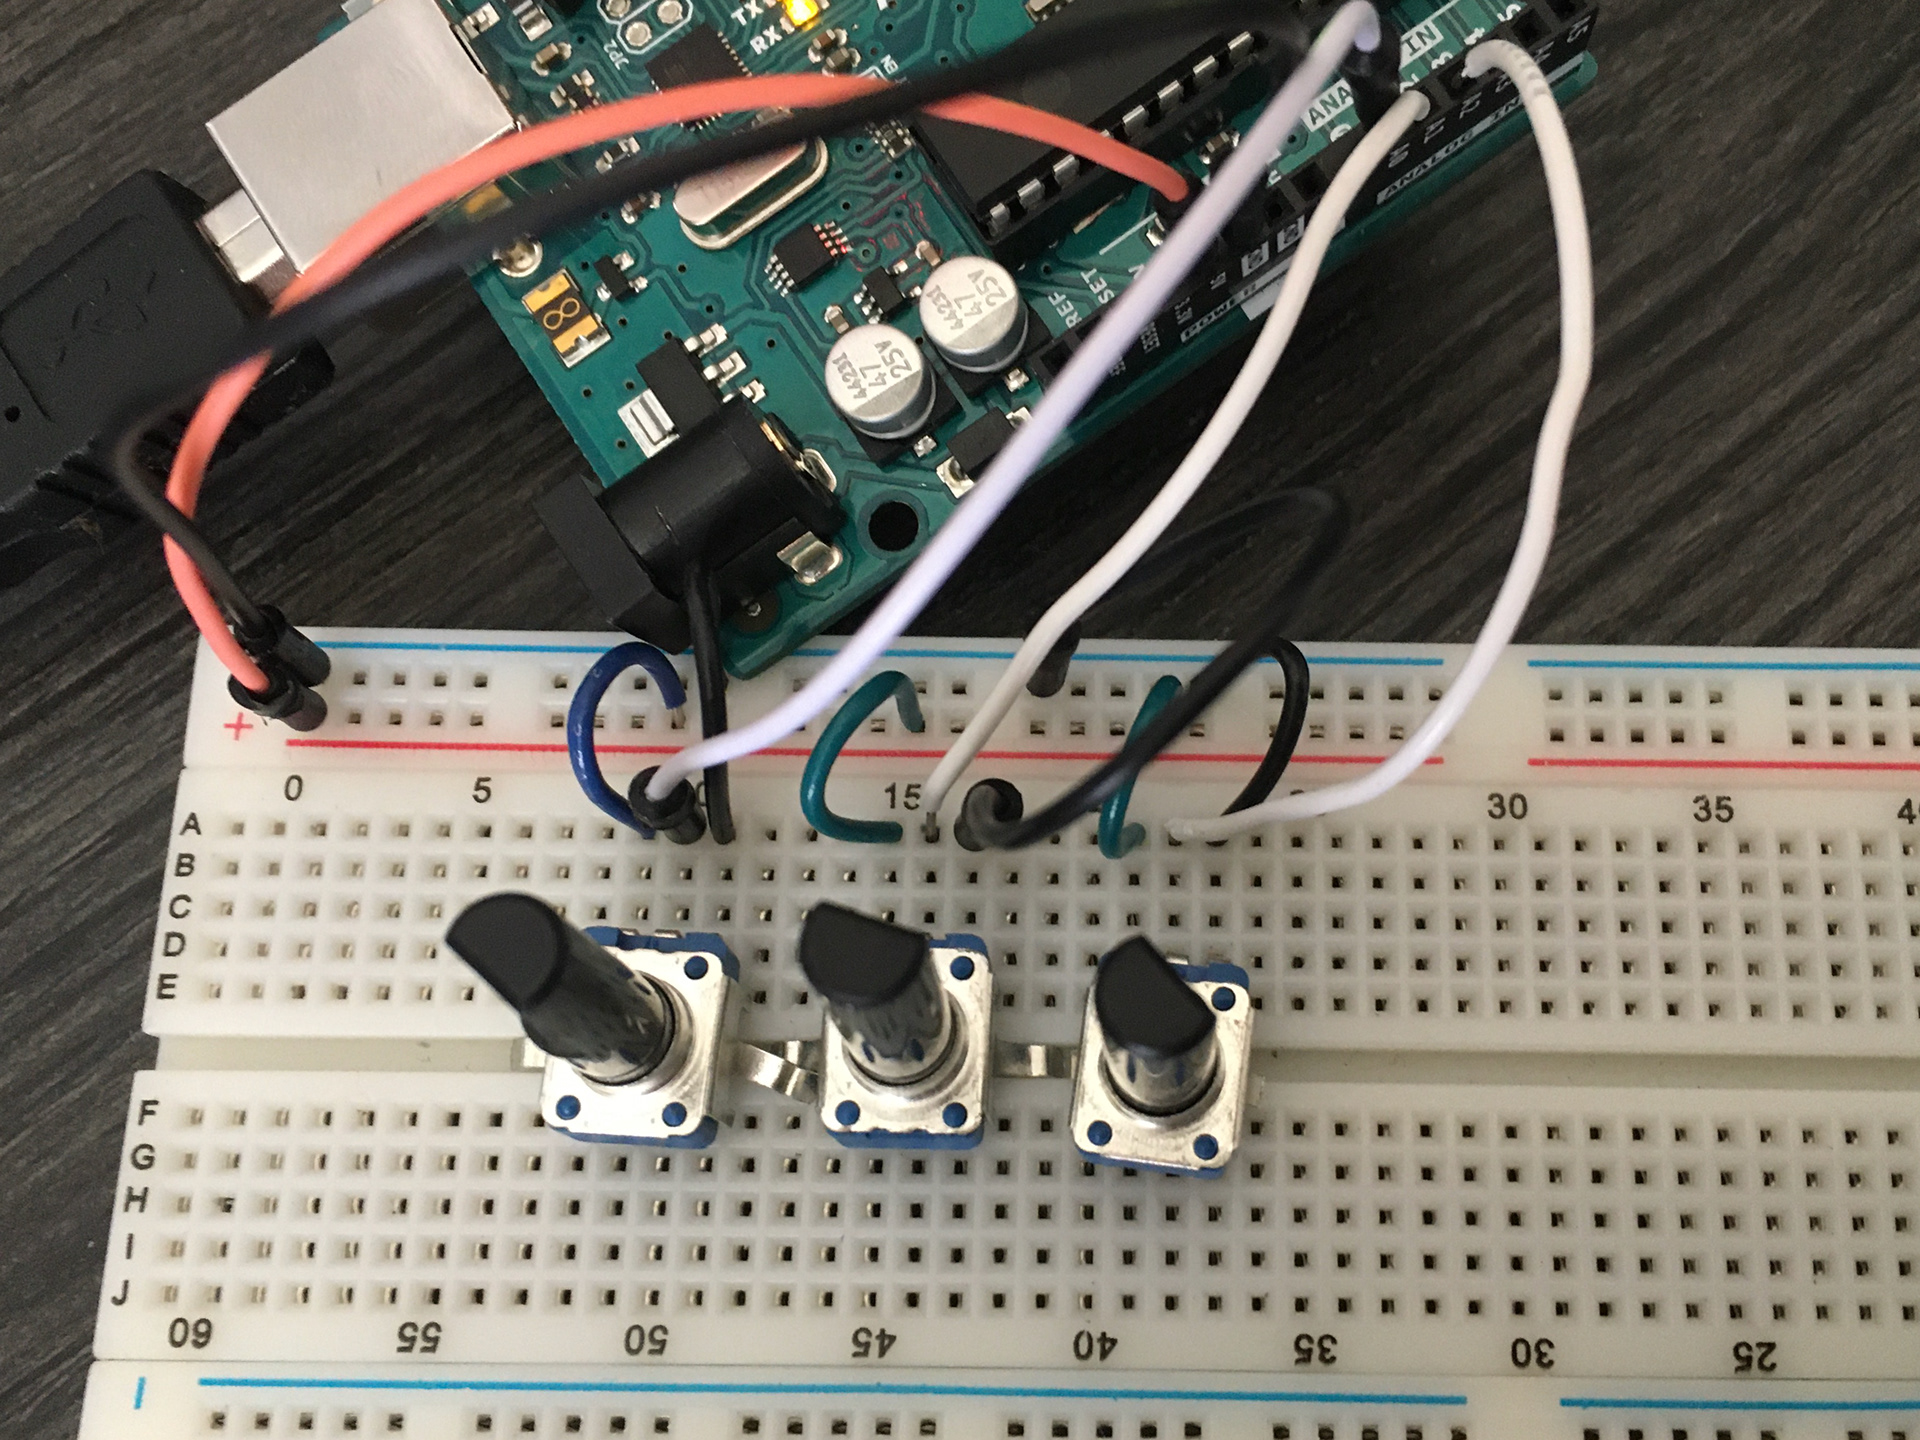
First, I set up the inputs. I used potentiometers for all of my inputs, and connected them the same way. They connect to pins A0, A1, and A2. I started establishing my communication by making sure I could get on potentiometer value to send at a time, and then sending all of the values on one line, separated by commas. I also mapped my values so that they would be between 0-255, as this is more useful for my game. I used p5 to parse apart the values, and then used those various values as part of my code.

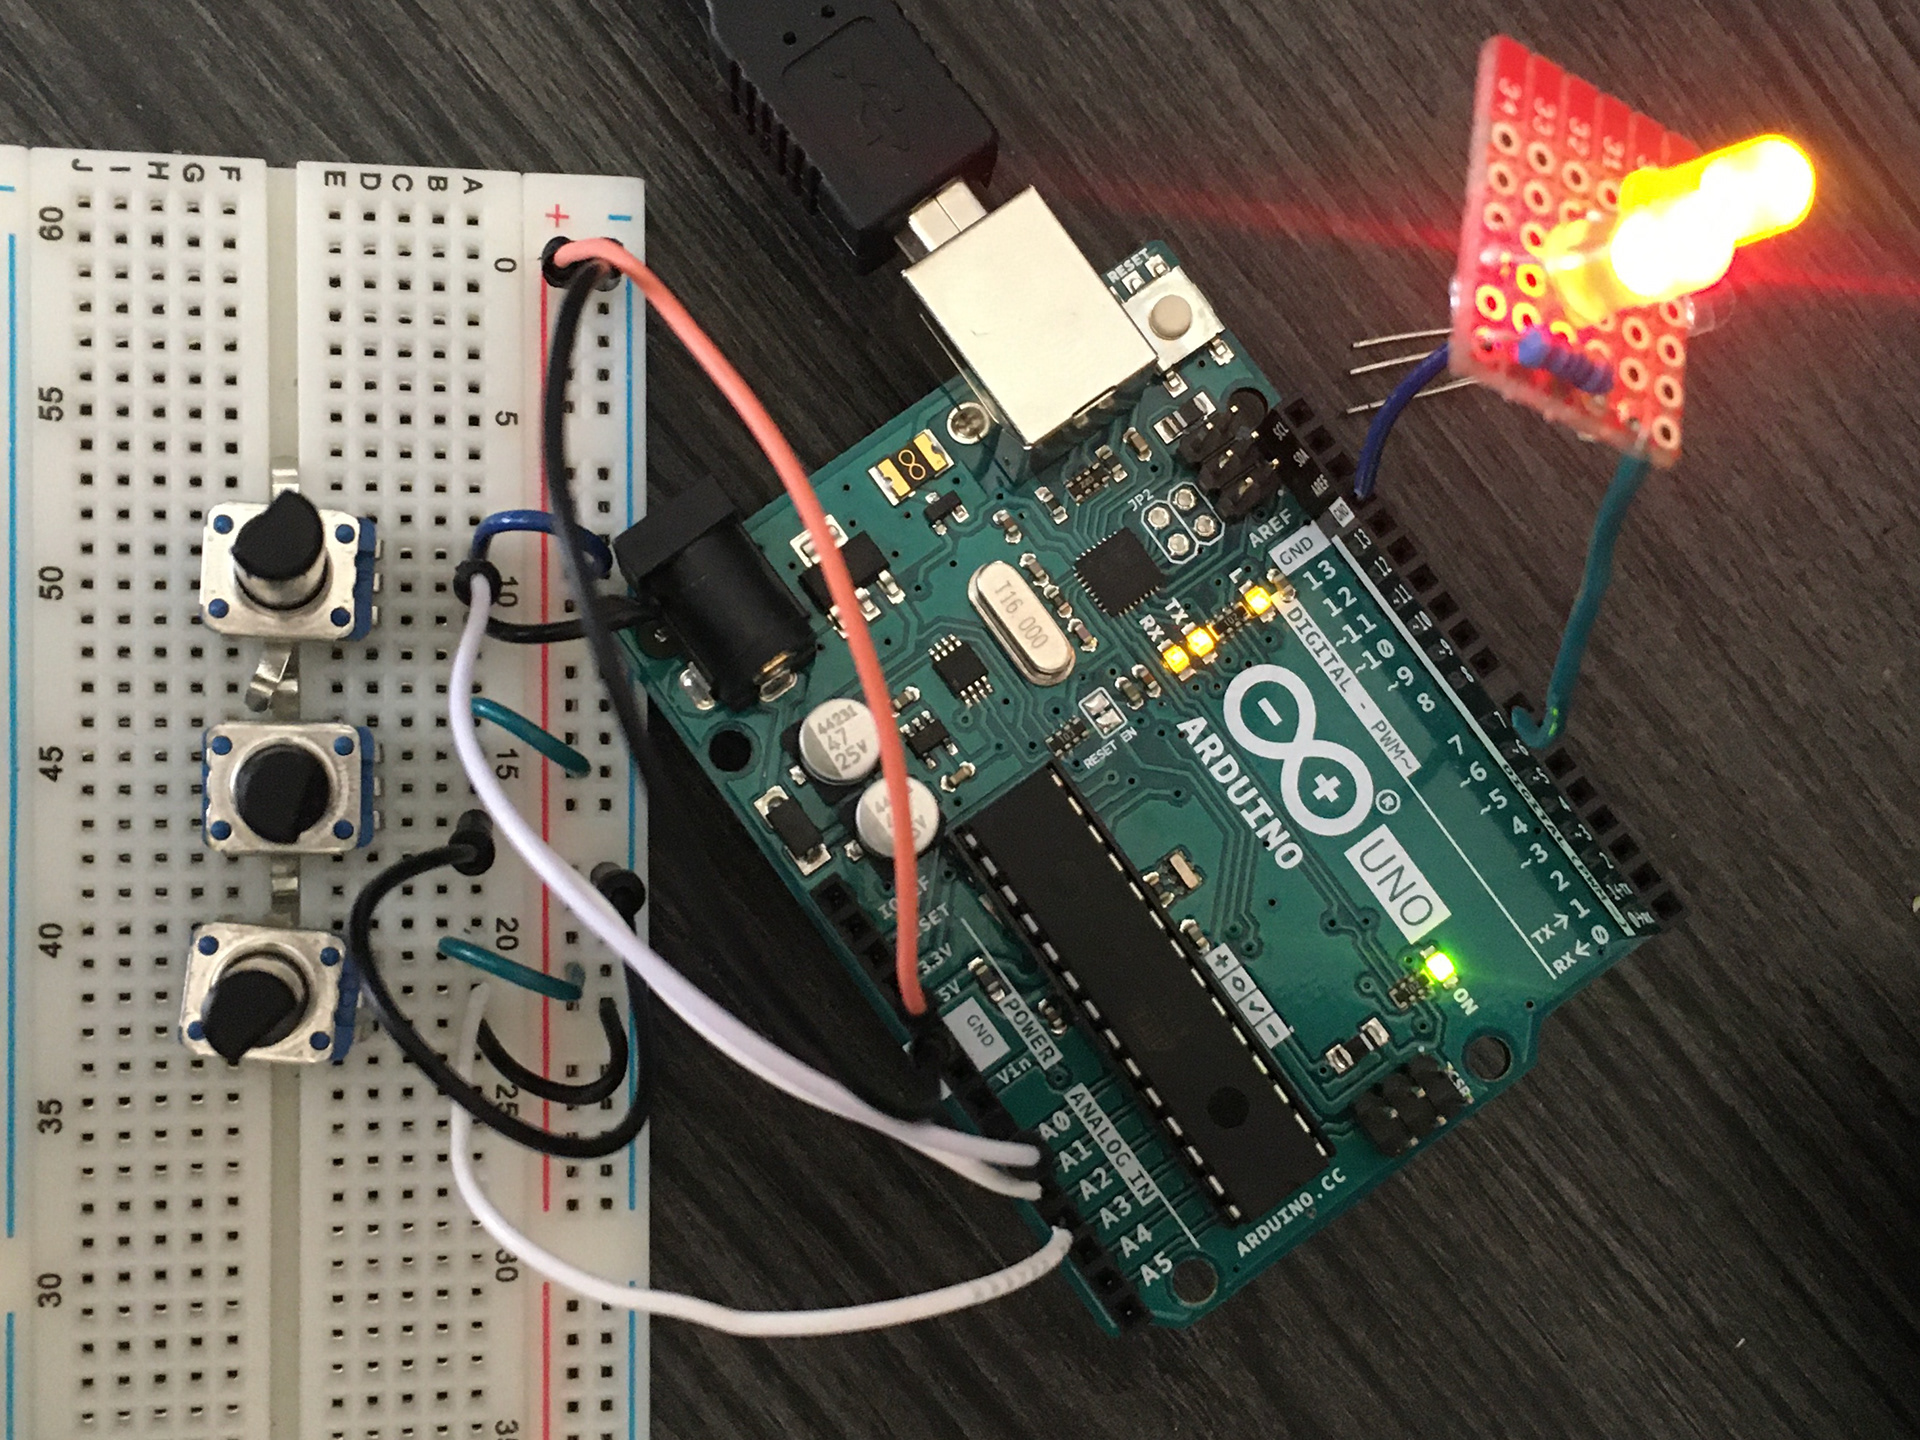
For my output, I used a breakout board from a previous lab. I set an "if" condition in my P5 code that would send a signal to the Arduino if that condition was met. Then, once the Arduino received the signal, it lights up the LED.
My Arduino side serial communication code is linked below.
Simple Interactive Game
For my game, I decided to create a color-matching game. I had my game start by initializing a random color rectangle, and another rectangle whose color is controlled by the Arduino input. For that rectangle, each potentiometer controlled one of the color values, R, G, or B. Turning the potentiometers would change the second rectangle, and the goal is to turn them just right so the colors match. When a RGB value is matched, the corresponding letter shows up to let the user know they have gotten one of the colors right. When all the colors are met, the lights on the Arduino turn on.