
PART 1: DIGITAL I/O CIRCUIT
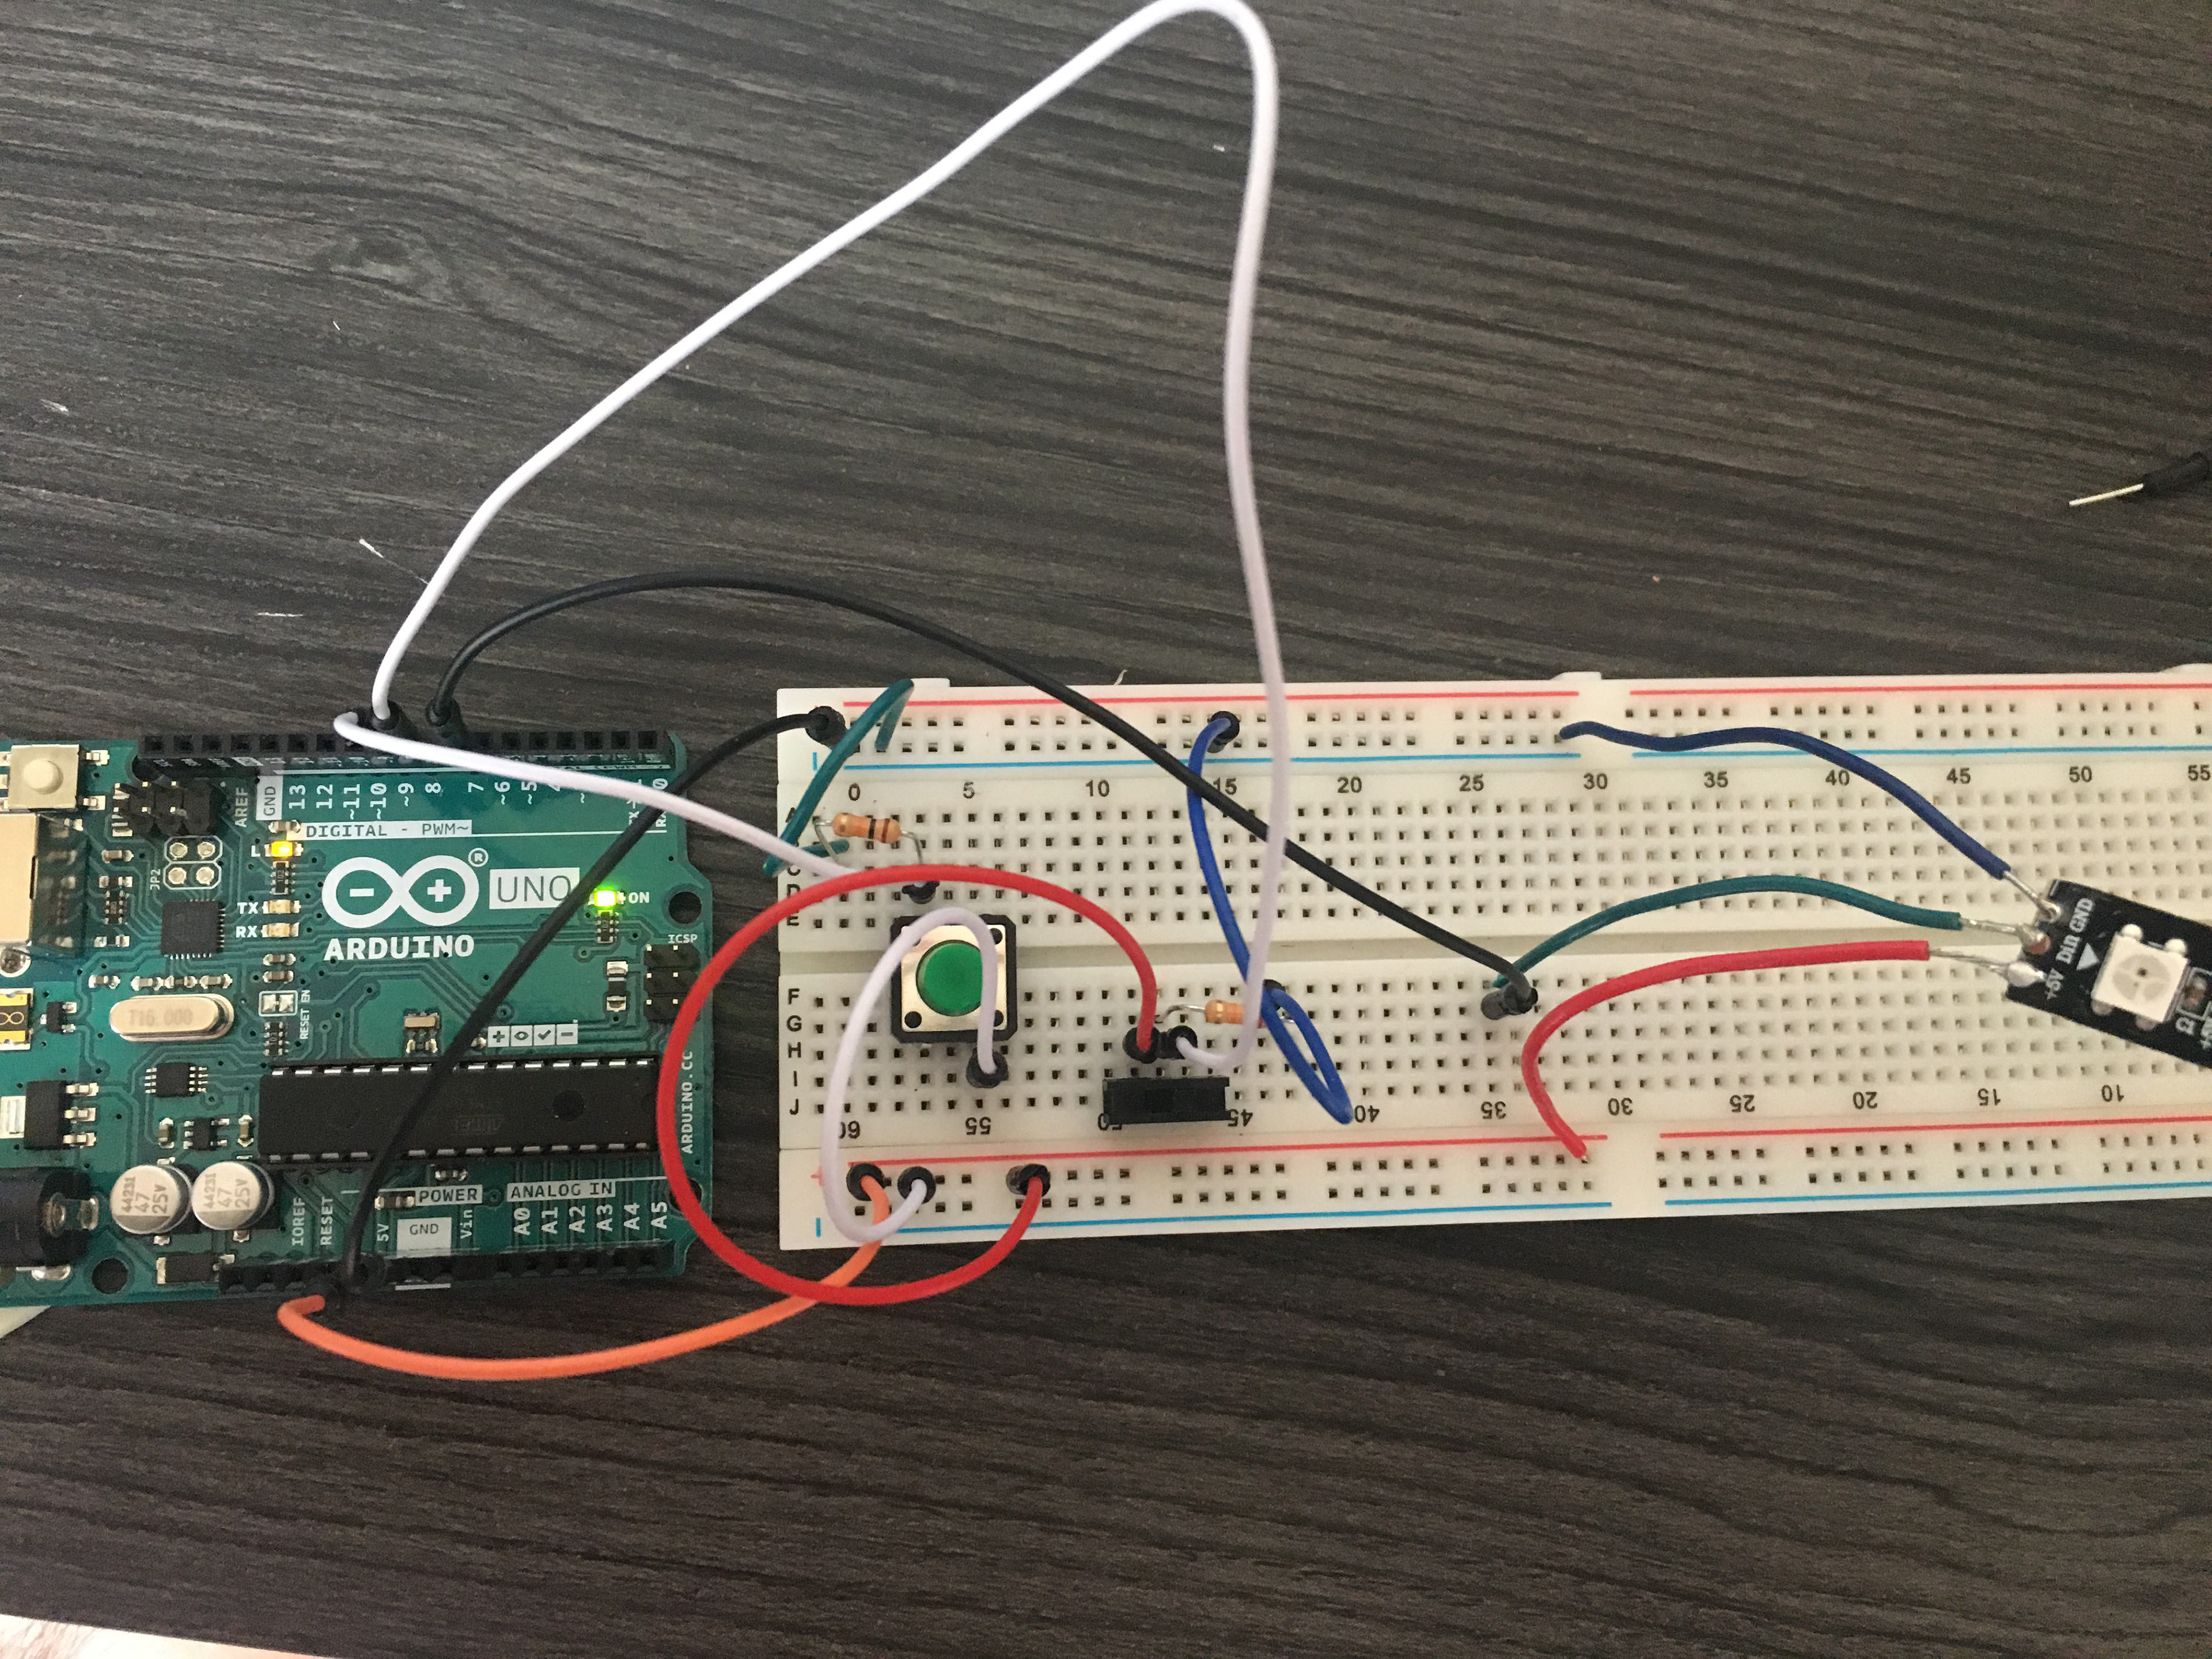
The first part of this lab was to create a circuit with at least 2 digital inputs to control and LED output. I chose to use a Neopixel strip as my output, and a push button and toggle switch as my inputs. The circuit is connected as show in the schematic below.
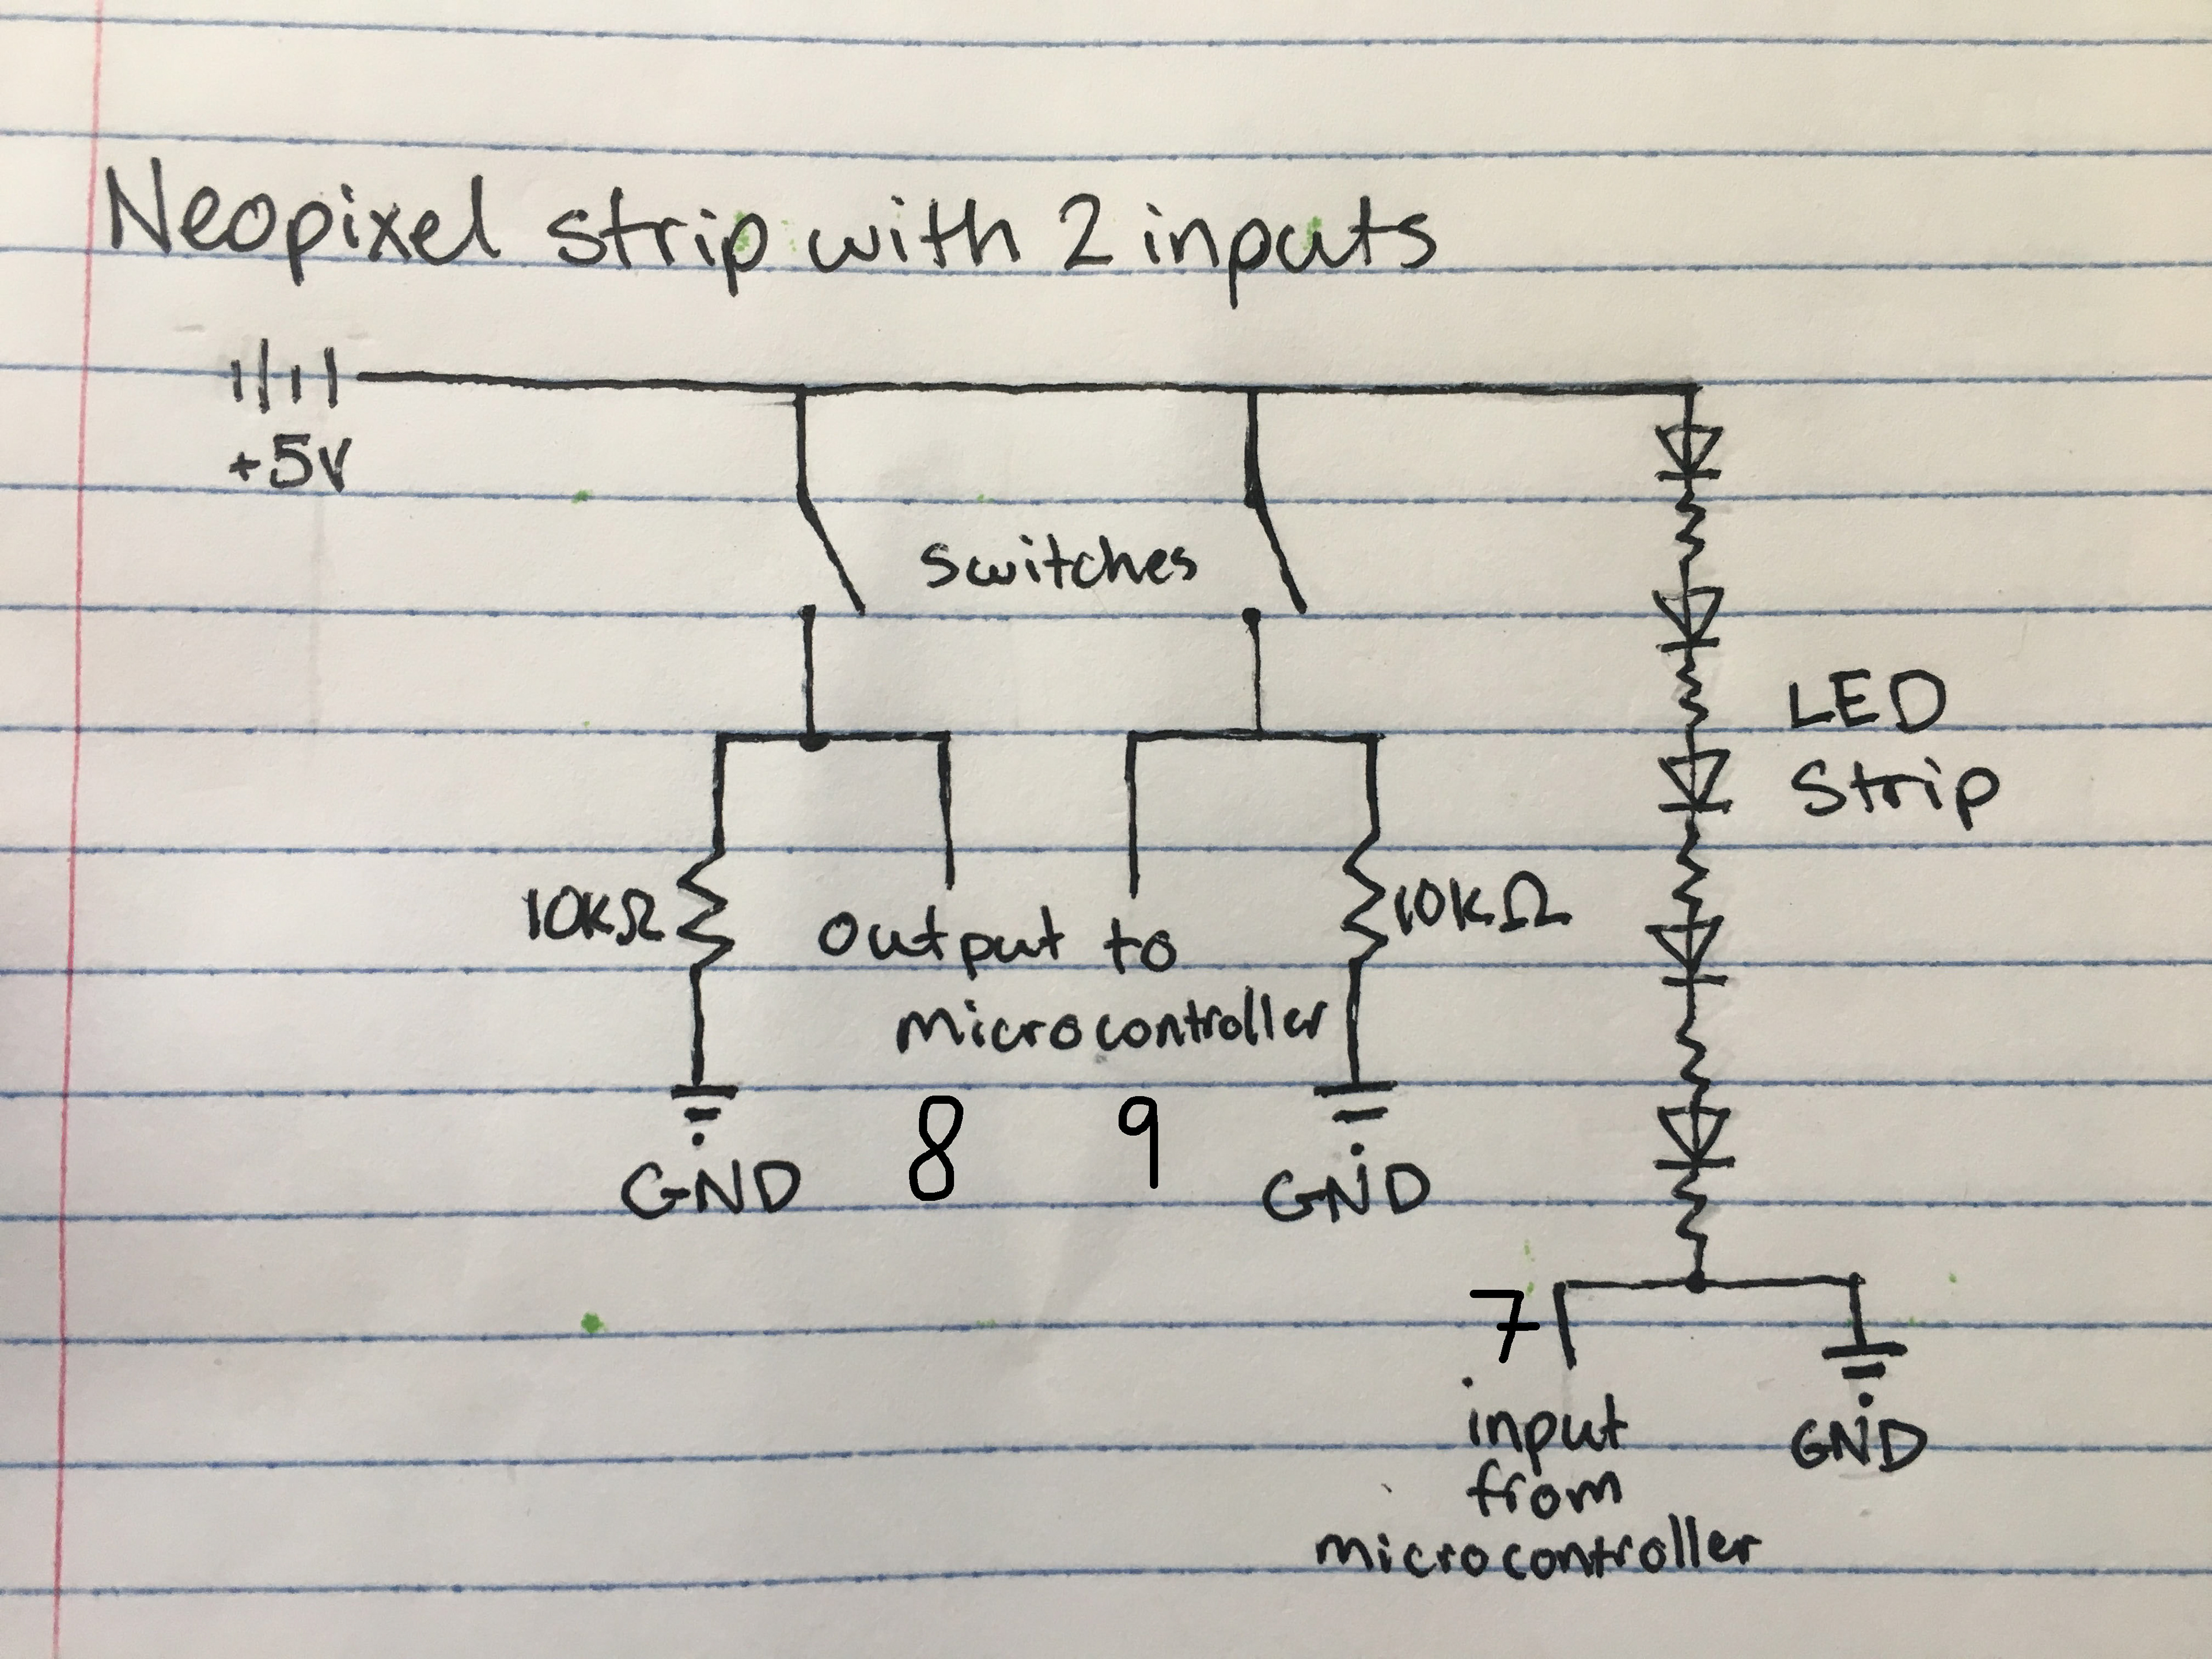
For the inputs, I chose to have them run different patterns when activated. The momentary button will activate a rainbow light function on the strip that runs for 5 seconds. The toggle switch activates an RGB color wipe function that runs until the switch is turned off.
PART 2: Soldered Breakout Boards
For the second part of this lab, we create individual breakout boards for inputs and outputs. A breakout board is created for electrical components that are used repeatedly, so that a circuit does not have to be created every time, but rather one is soldered and ready to go.
I created my breakout boards based on the following schematic.

For my input board, I used a momentary push button and a 10K Ohm resistor, called a "pull down" resistor. The resistor is added before ground so that the majority of the current flows through the switch when activated and not straight to ground. The components were soldered together on perforated board. The green wire is for power, the blue wire is for ground, and the yellow wire connects to the input pin on the microcontroller.

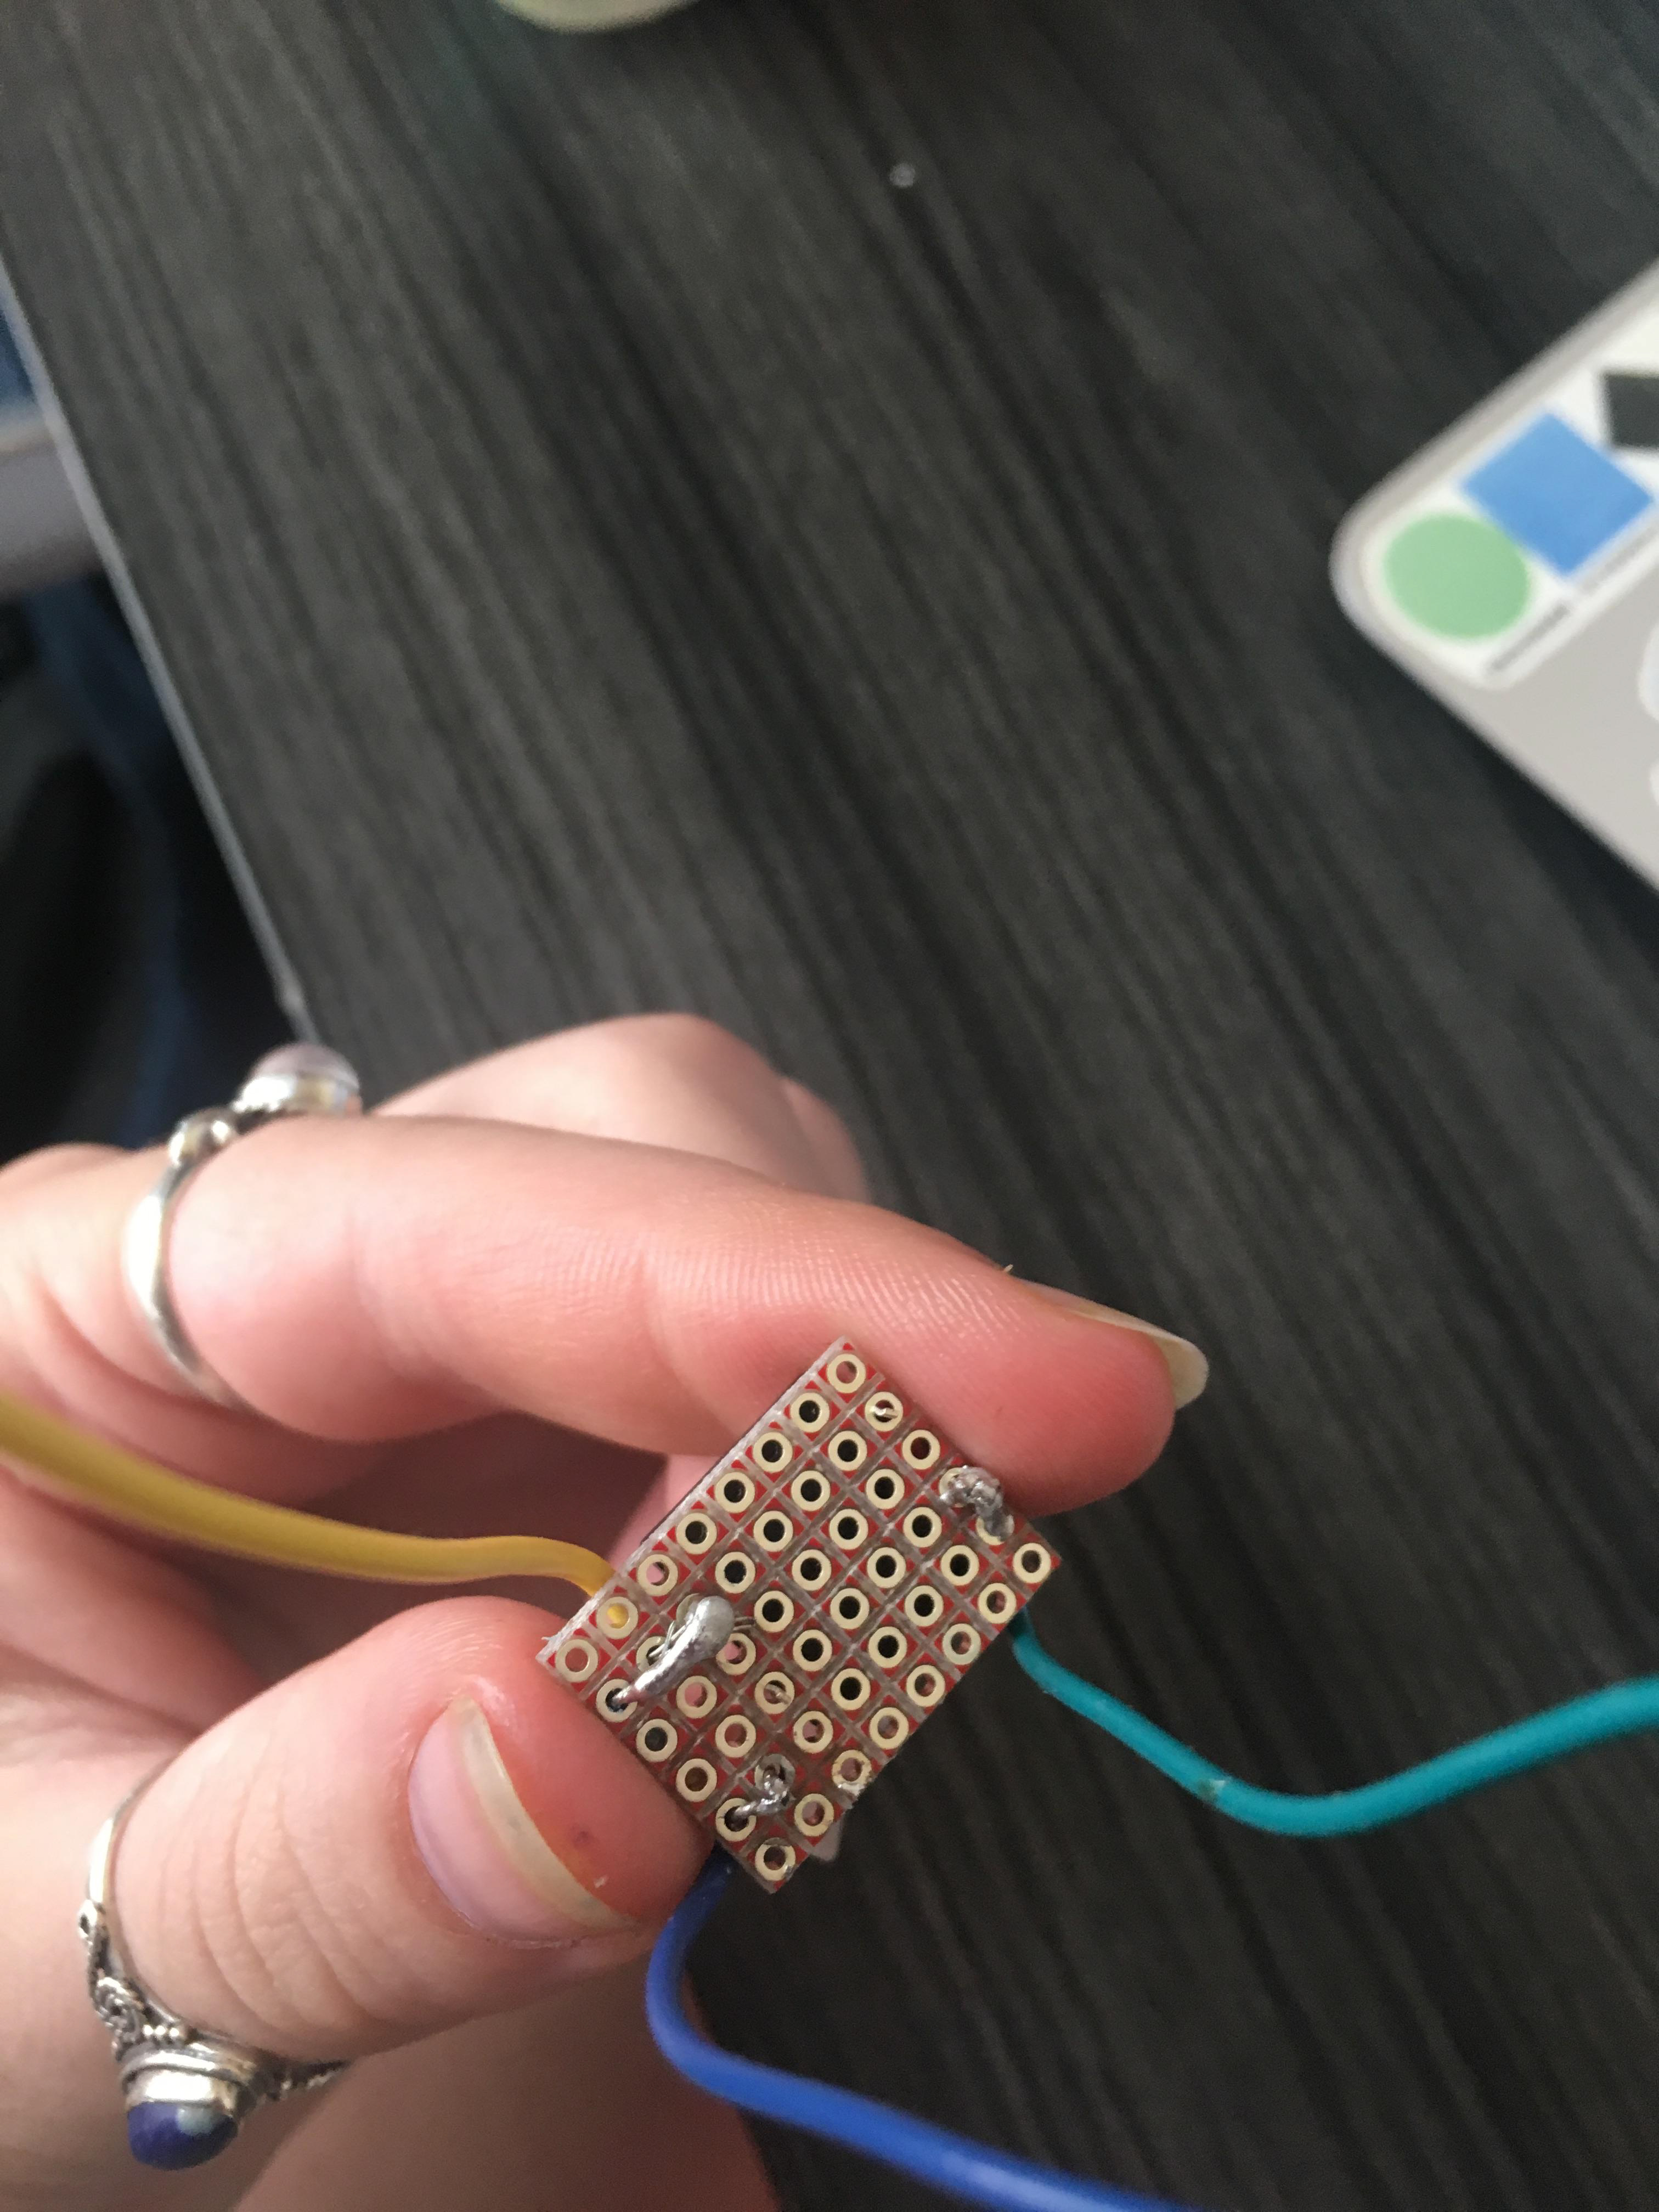
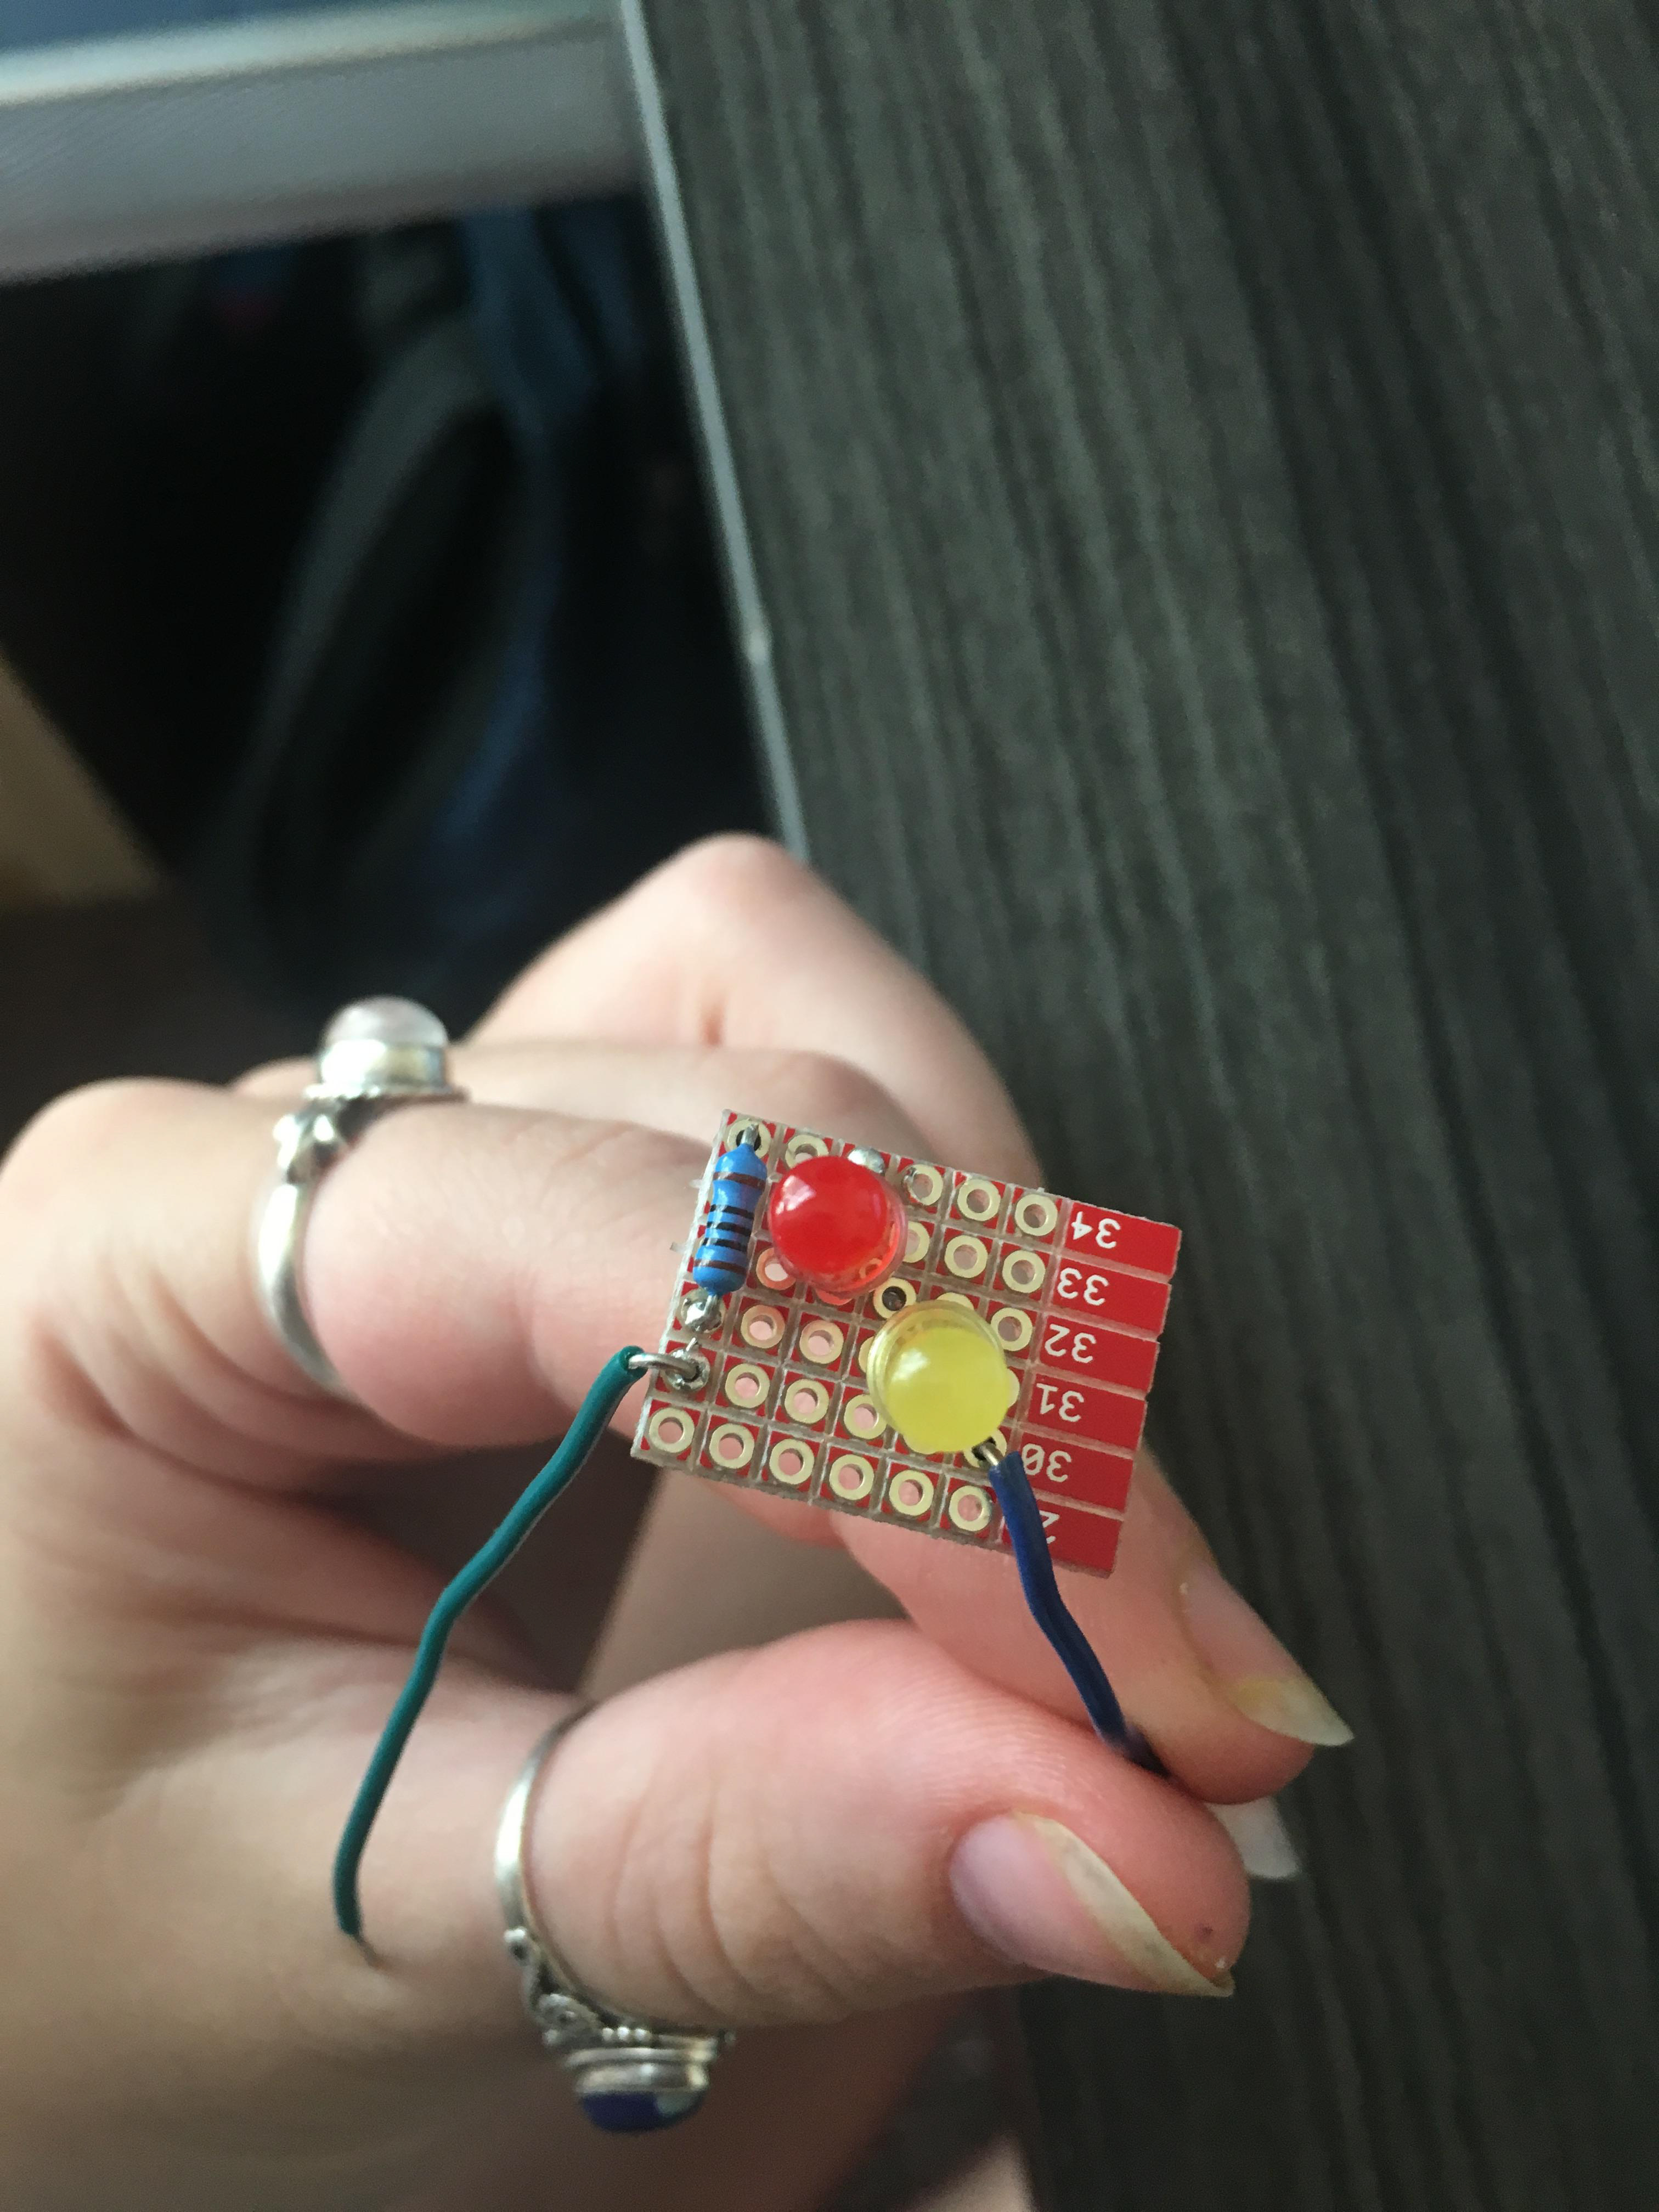
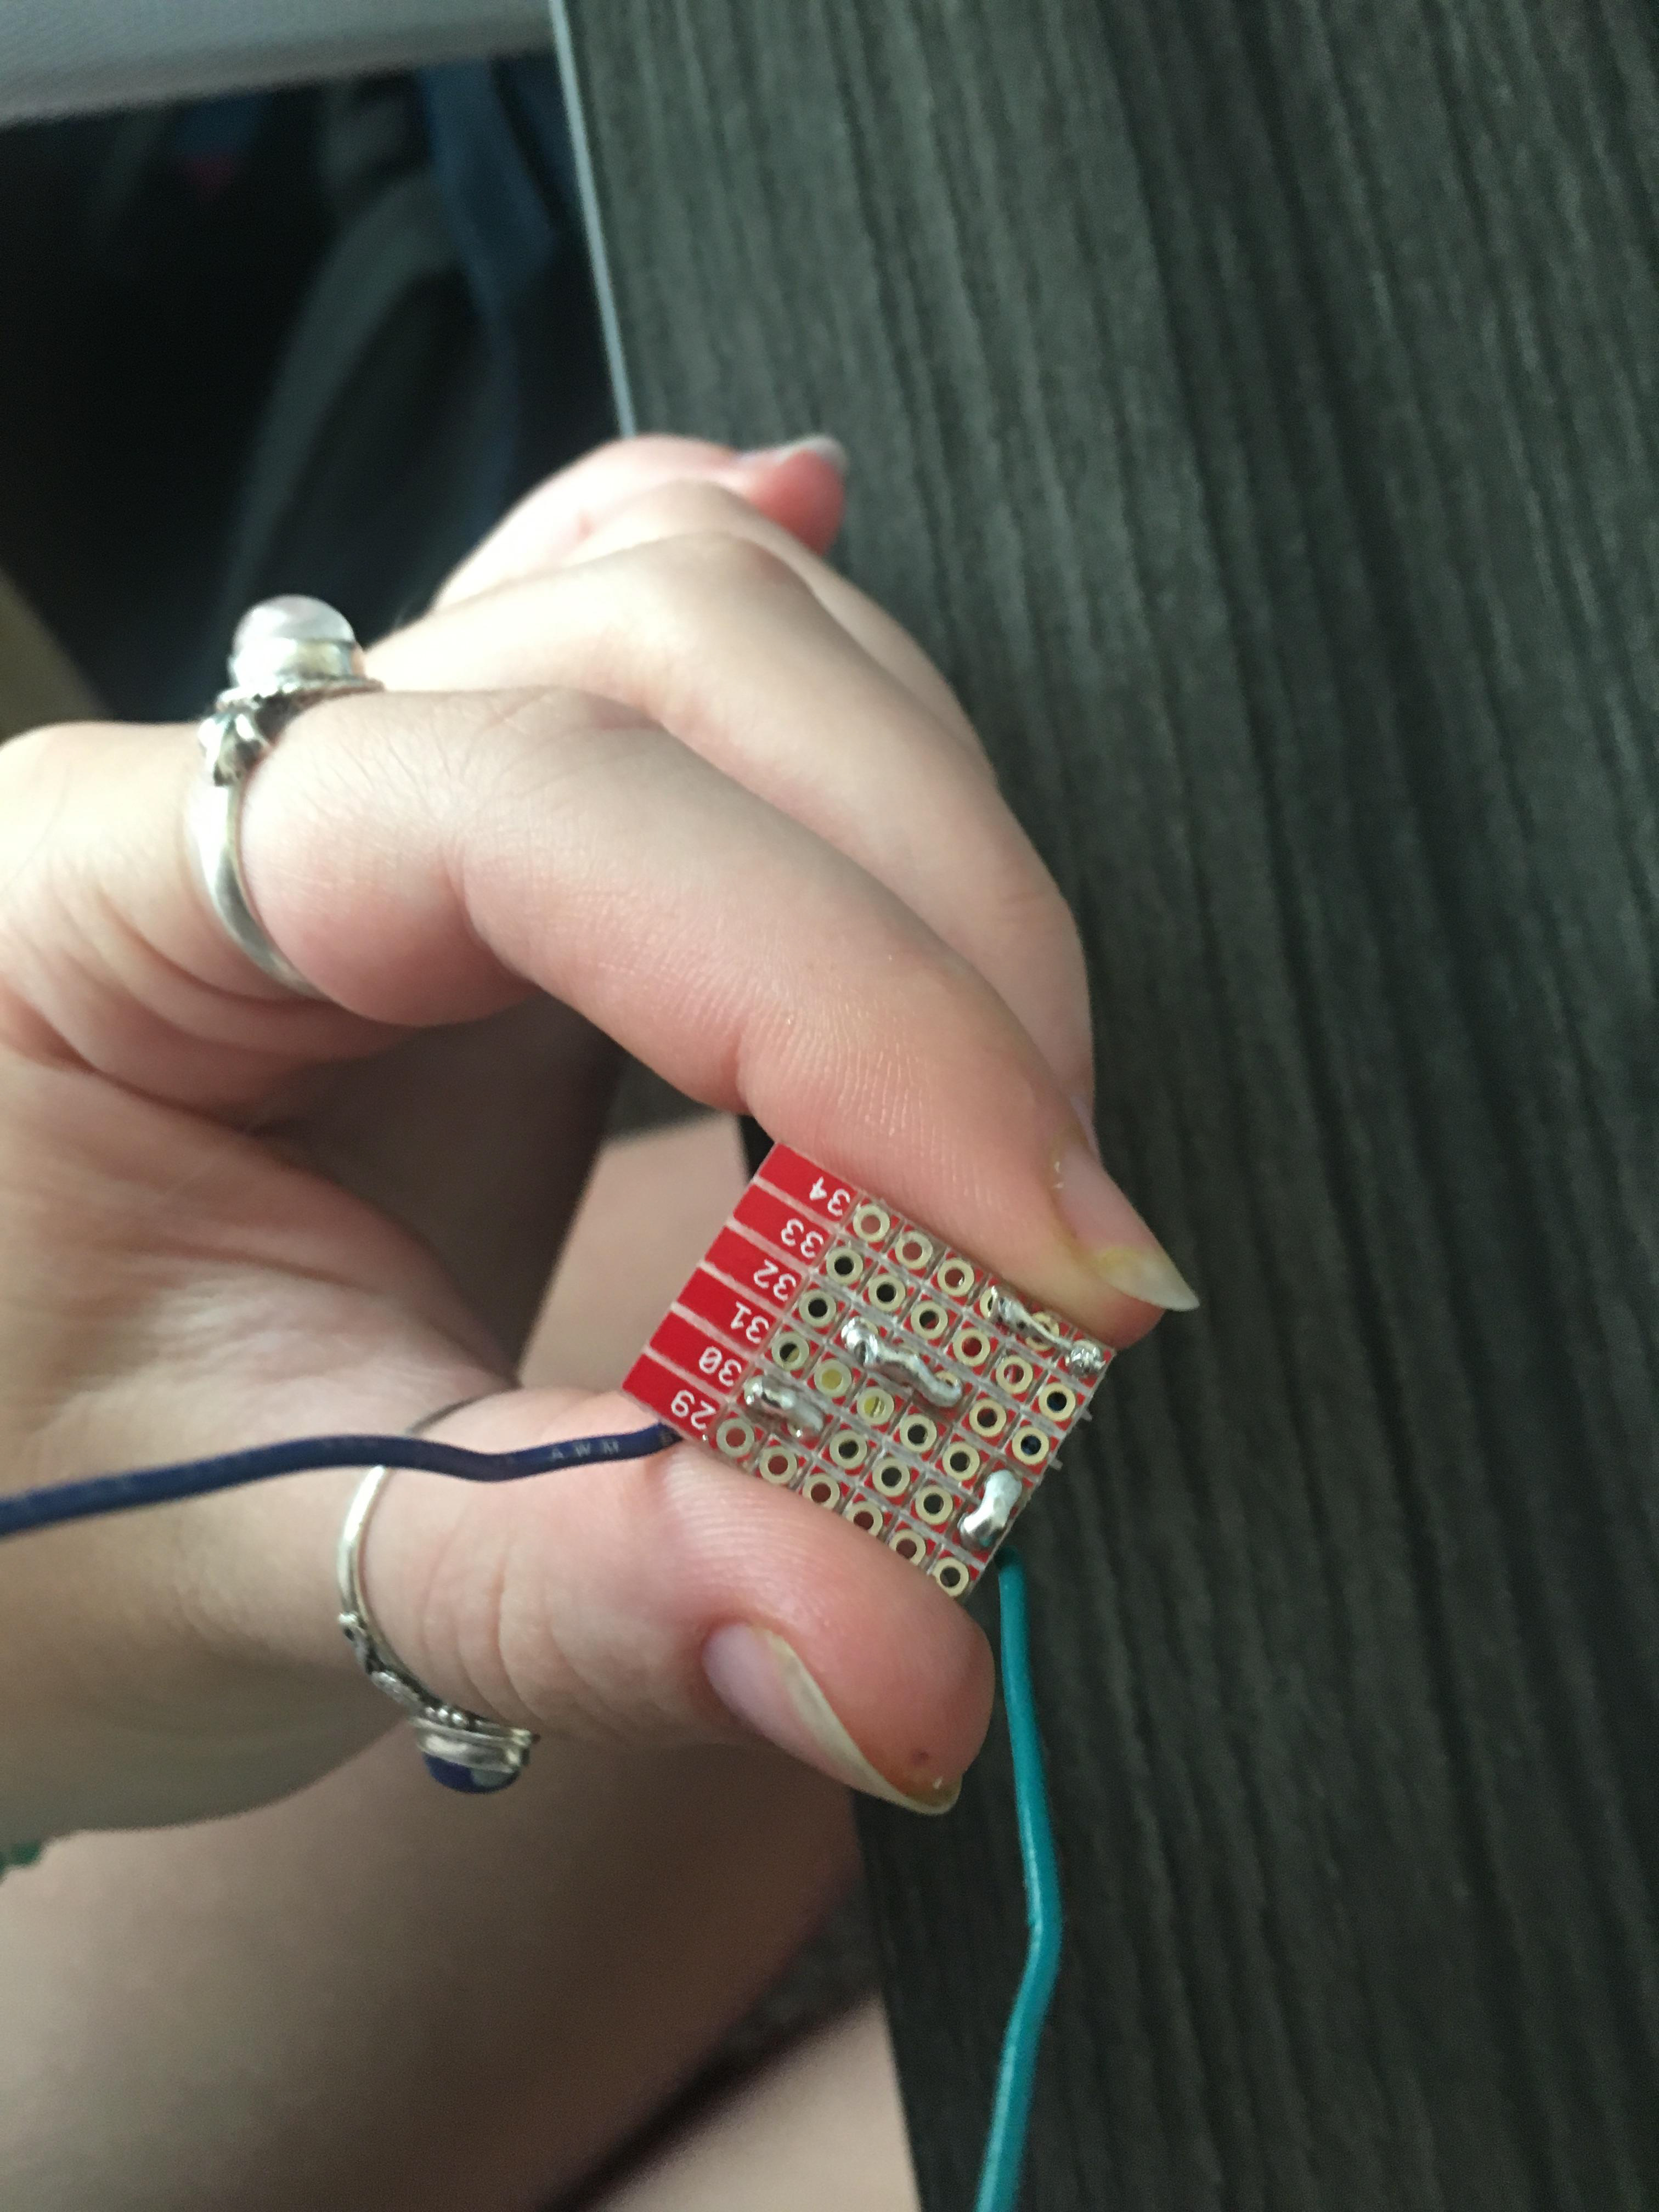
My output board was created using 2 LEDs and a 100 Ohm resistor. This circuit was very similar to the basic circuit I created for the last lab. The resistor here is added so that the current doesn't overload the LEDs. The components were soldered together on perforated board. The green wire connects to power, which in some cases means the signal pin on the microcontroller, and the blue wire connects to ground.
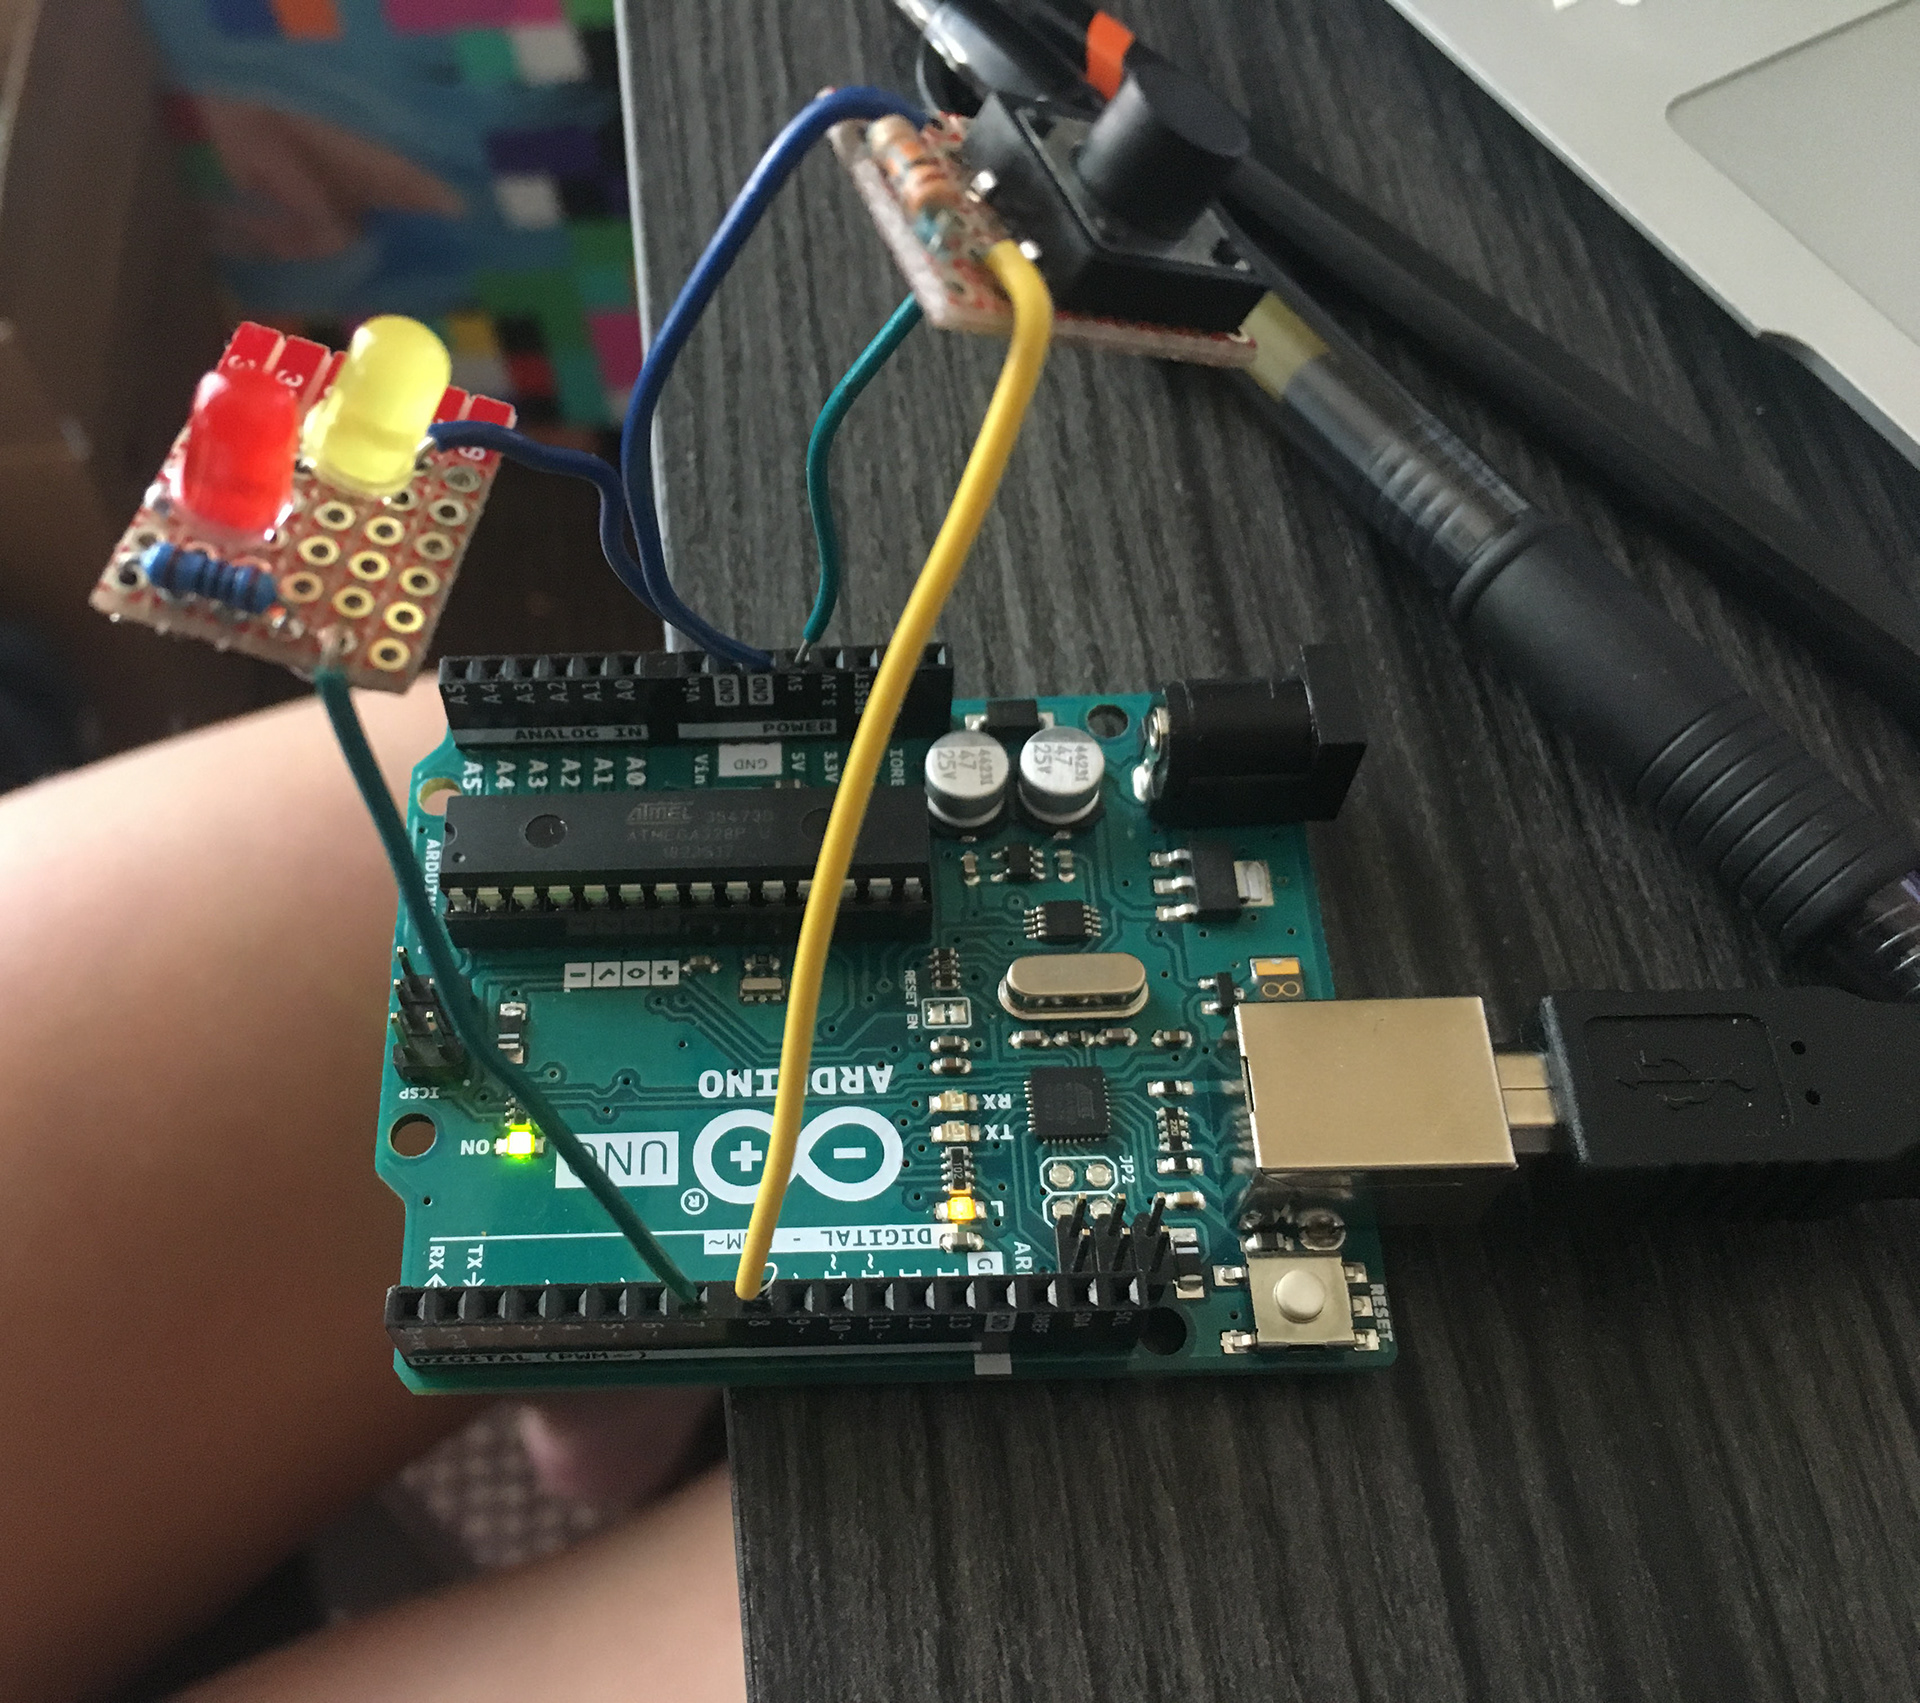
These two boards can be connected separately, or together to create a basic input/output circuit as shown in the video and photo below.
CODE
The code for the Arduino for both parts is linked below.
Note: I was unable to embed the code because Adobe Portfolio will not support Github.